Charles Bush Photography – June 2026 Newsletter
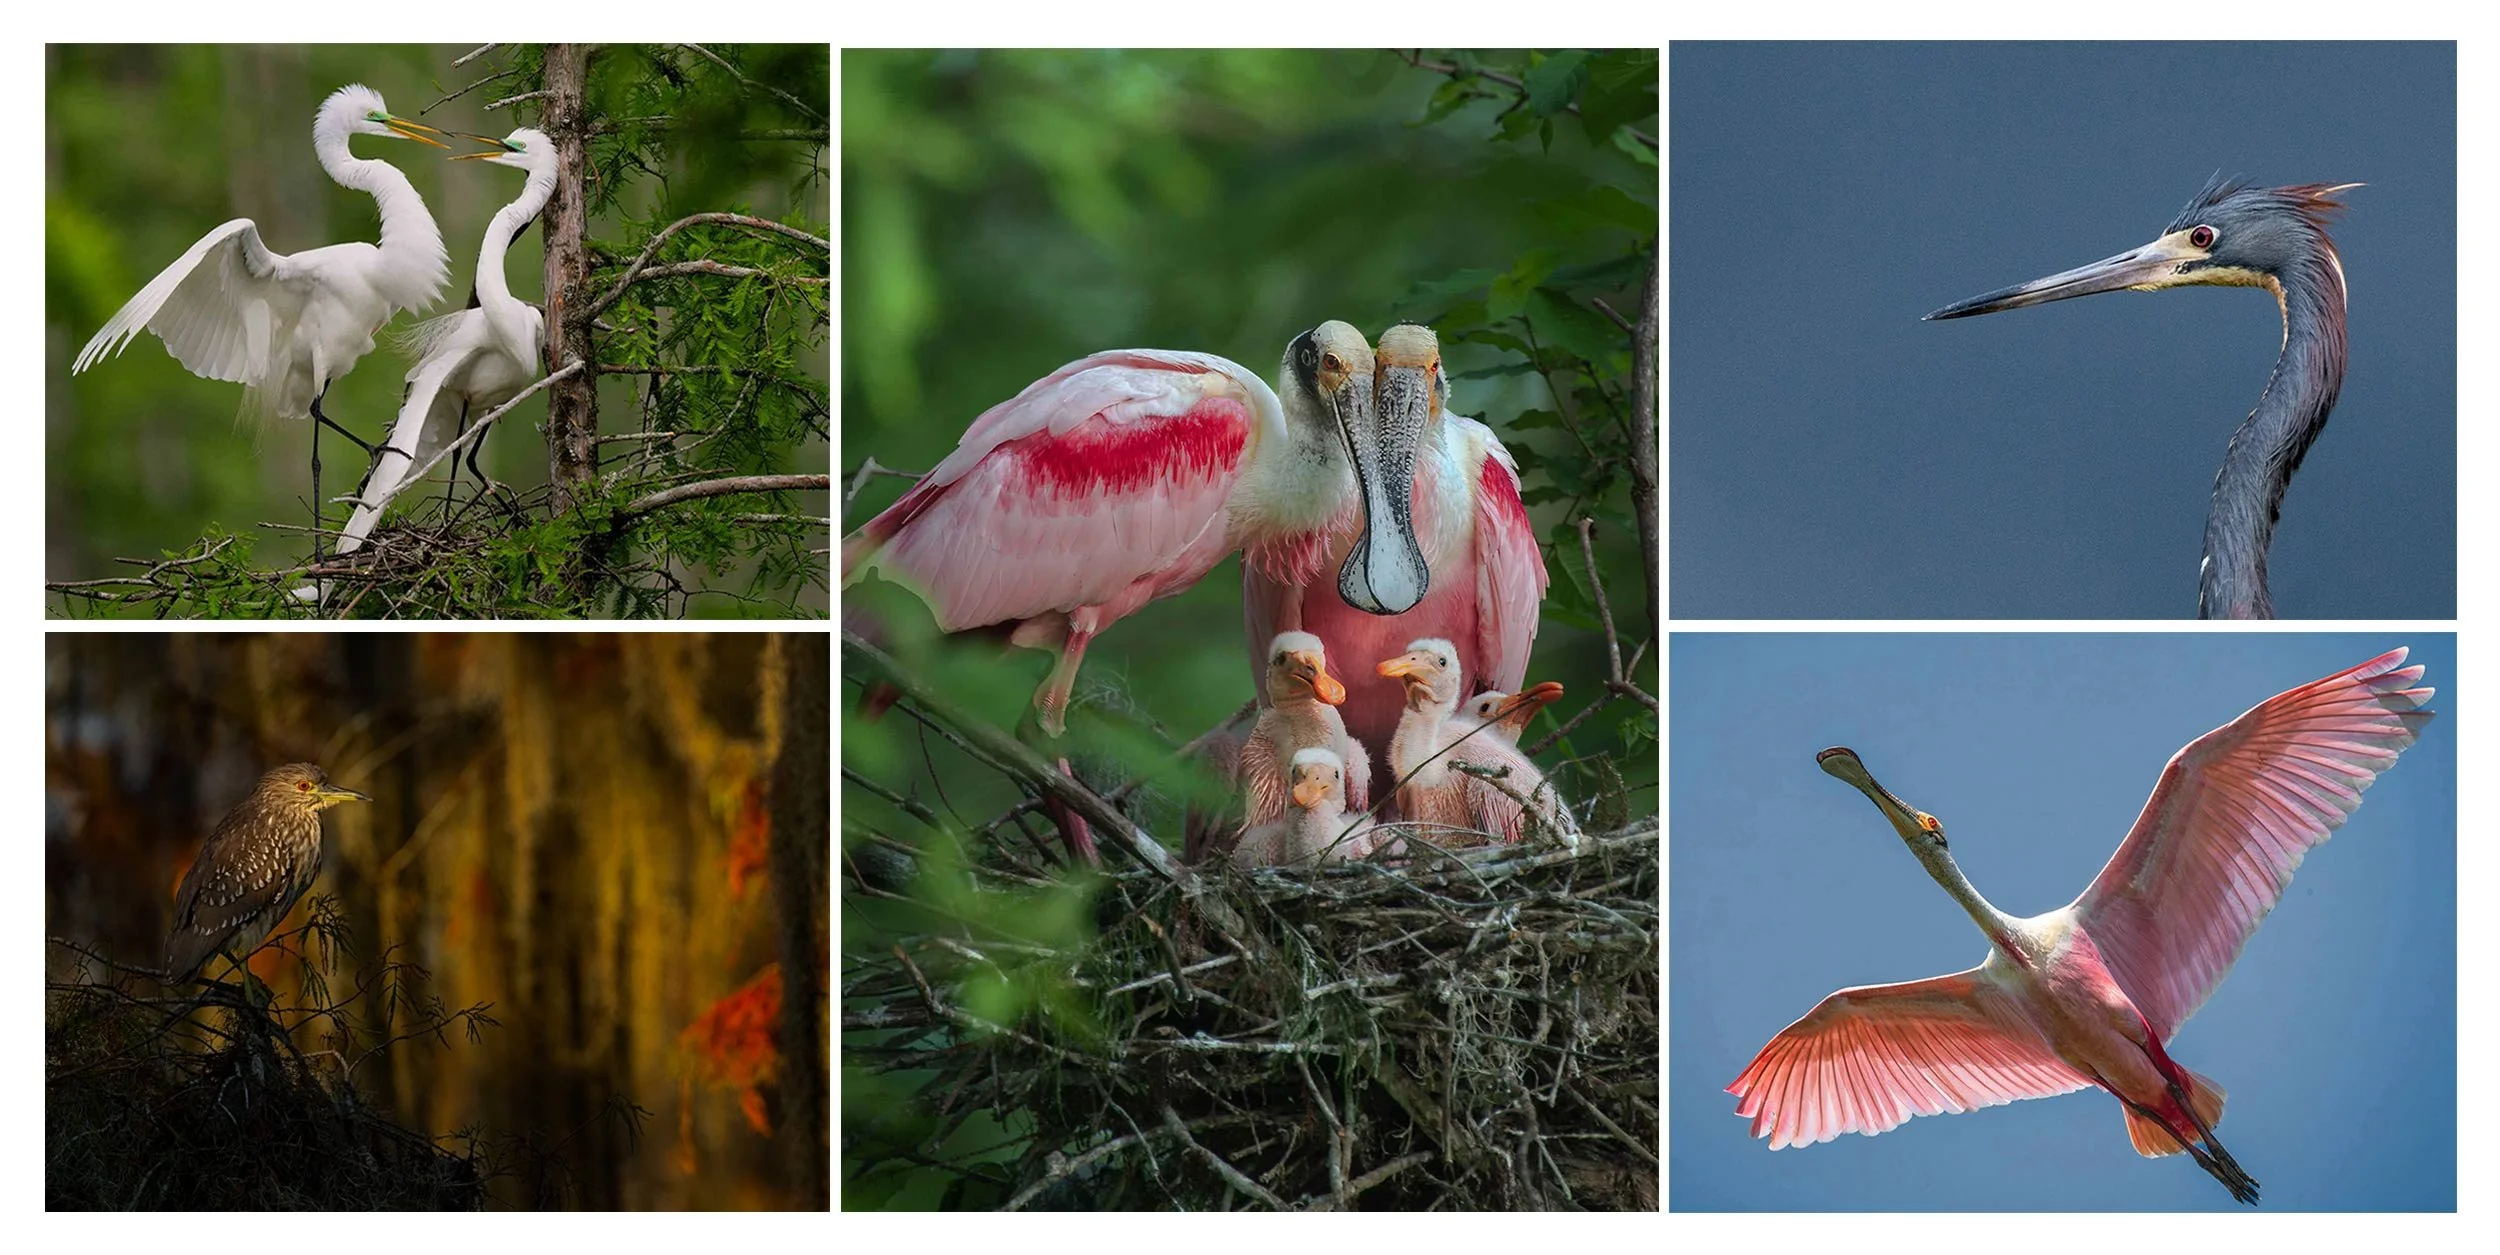
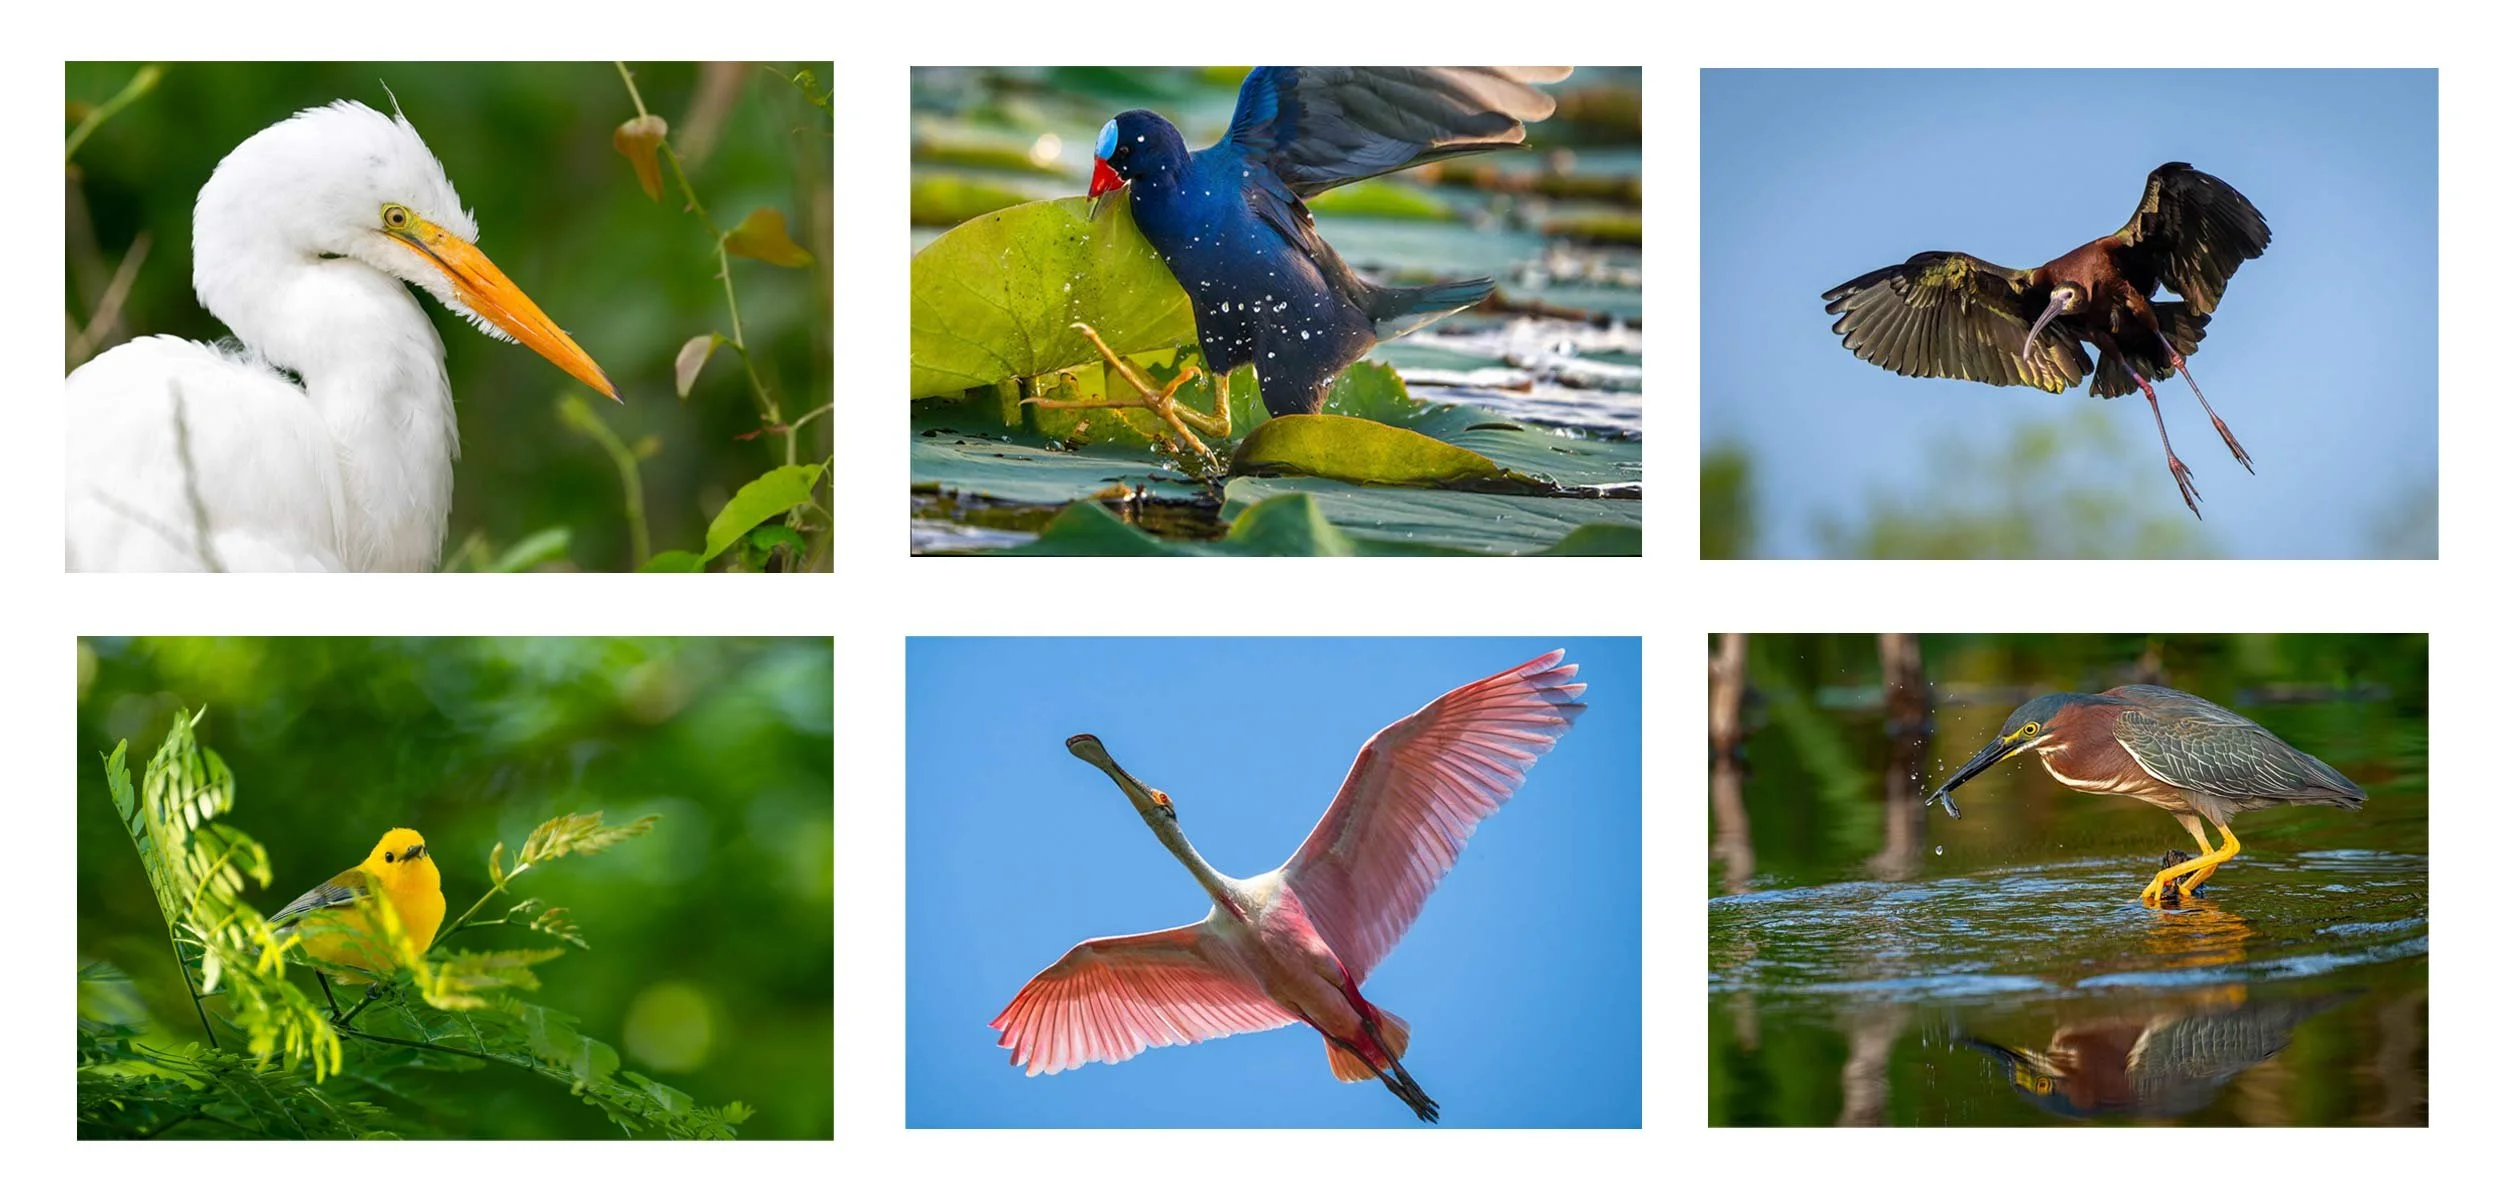
The 2026 Spring Louisiana Bird Photography Tours are now behind us, and I want to thank everyone who joined me. Each trip brought different conditions and opportunities, and we photographed everything from Great Egret courtship displays to nesting Roseate Spoonbills and growing chicks.
One of the things I enjoy most about these tours is that no two seasons are exactly alike. Weather, water levels, nesting activity, and especially light combine to create unique experiences, and this spring produced many memorable moments and some wonderful images.
Featured Video: Roseate Spoonbill Nesting Behavior
One of the highlights of the spring season was watching Roseate Spoonbills raise their young. I recently put together a short video showing some of the nesting activity we observed this year.
Fall Tours Are Full
I’m pleased to report that all three Fall 2026 Cypress Swamp Photography Tours are now completely full.
Thank you to everyone who signed up. Fall remains one of my favorite seasons in Louisiana, with beautiful color, quiet mornings, reflections, and dramatic light in the cypress swamps. I look forward to spending time on the water again this November.
Featured Story: Storm Light at Miller’s Lake
Many photographers think bright blue skies create the best photographs. In reality, some of the most dramatic light occurs just before a storm.
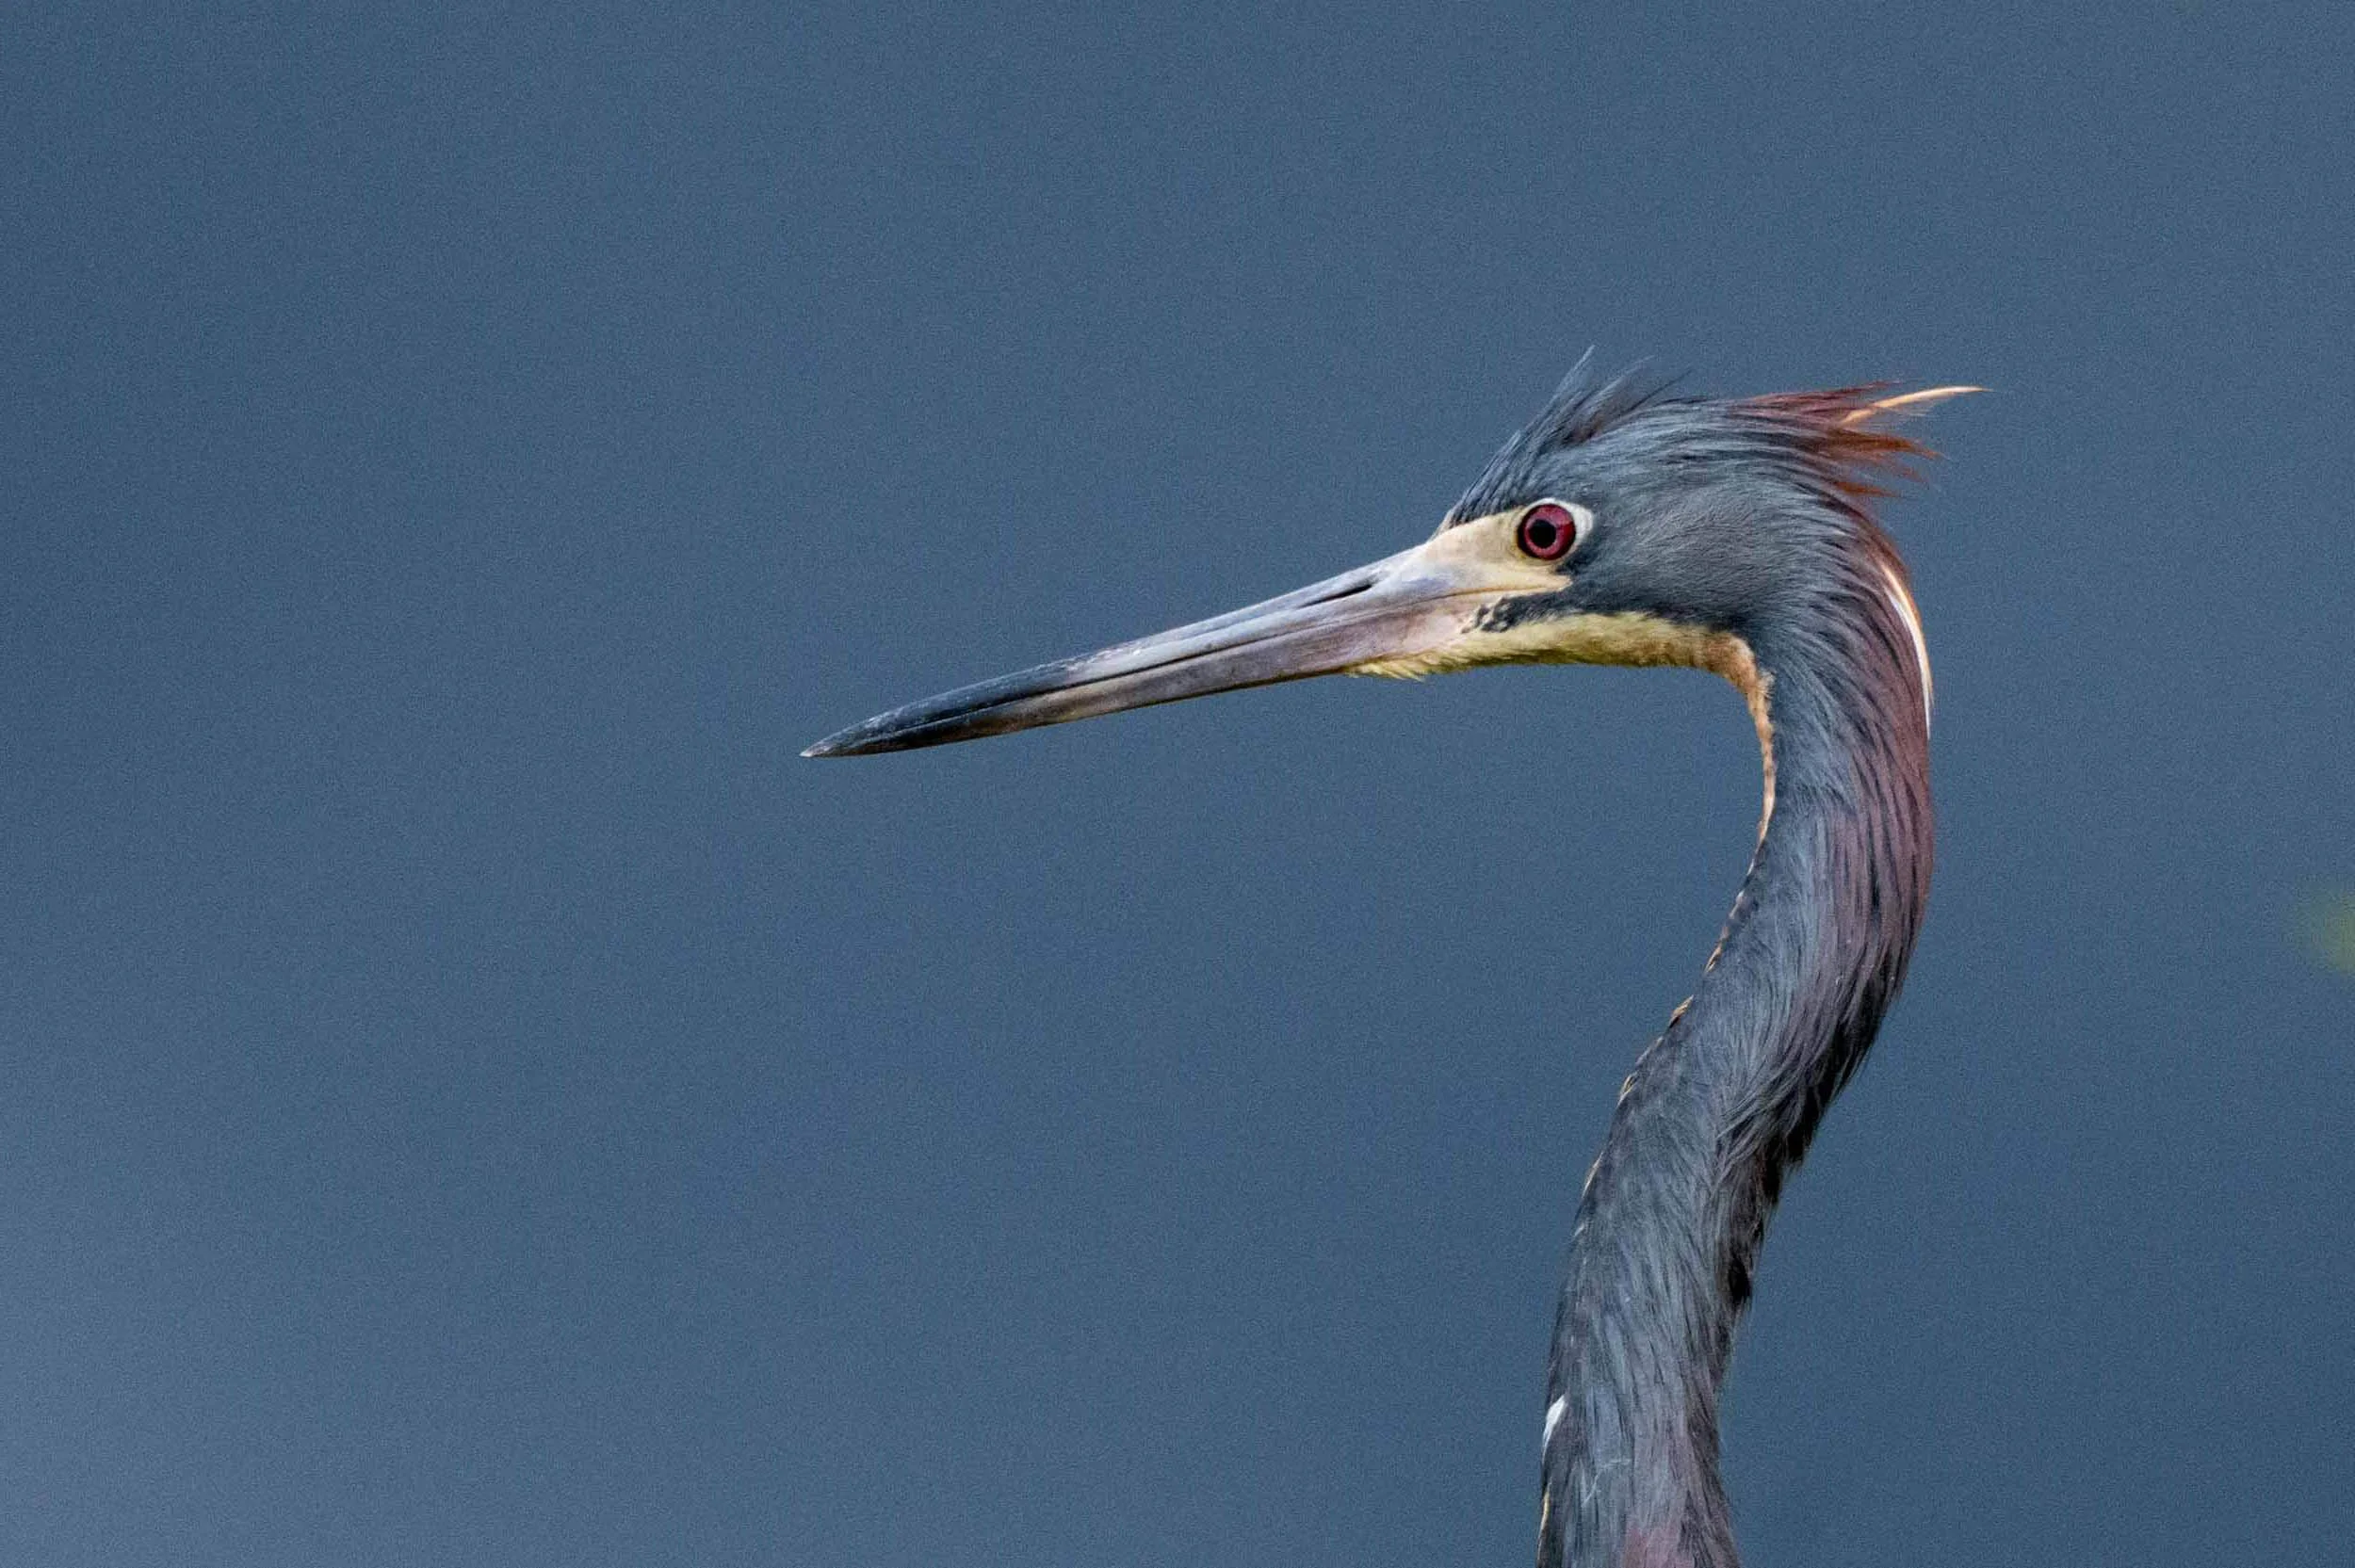
During one evening at Miller’s Lake, dark clouds created the perfect background while filtered sunlight illuminated a Tricolored Heron. I recently wrote a short article and included a brief video recorded from the boat just before we headed back to shore before the storm arrived.
2027 Spring Tours Are Now Open
Registration for the 2027 Spring Louisiana Bird Photography Tours is already underway, and I’ve already had my first photographer reserve a spot for next April.
The three tours are timed to capture different stages of the nesting season:
• April 18–21, 2027 – Courtship and early nesting activity.
• May 16–19, 2027 – Nesting birds and early chicks.
• June 6–9, 2027 – Larger chicks and the best opportunity for spoonbill chicks.
Each tour is limited to five photographers, allowing everyone plenty of room to work and take advantage of changing light and bird behavior.
Complete details are available here
More Stories Coming Soon
I still have several stories and videos from this spring that I look forward to sharing over the coming weeks.
As always, thank you for following along and for your continued support.
Behind the Photograph: Storm Light on the Lake
Many photographers believe the best wildlife photographs are made under bright blue skies and full sunshine. In reality, those conditions often create harsh shadows and washed-out highlights that hide fine detail.
Some of the most beautiful light appears just before a storm. As dark clouds move in, they form a natural backdrop while sunlight filtering beneath the cloud deck acts like a giant spotlight. Subjects are illuminated with rich, directional light that stands out dramatically against the dark sky.
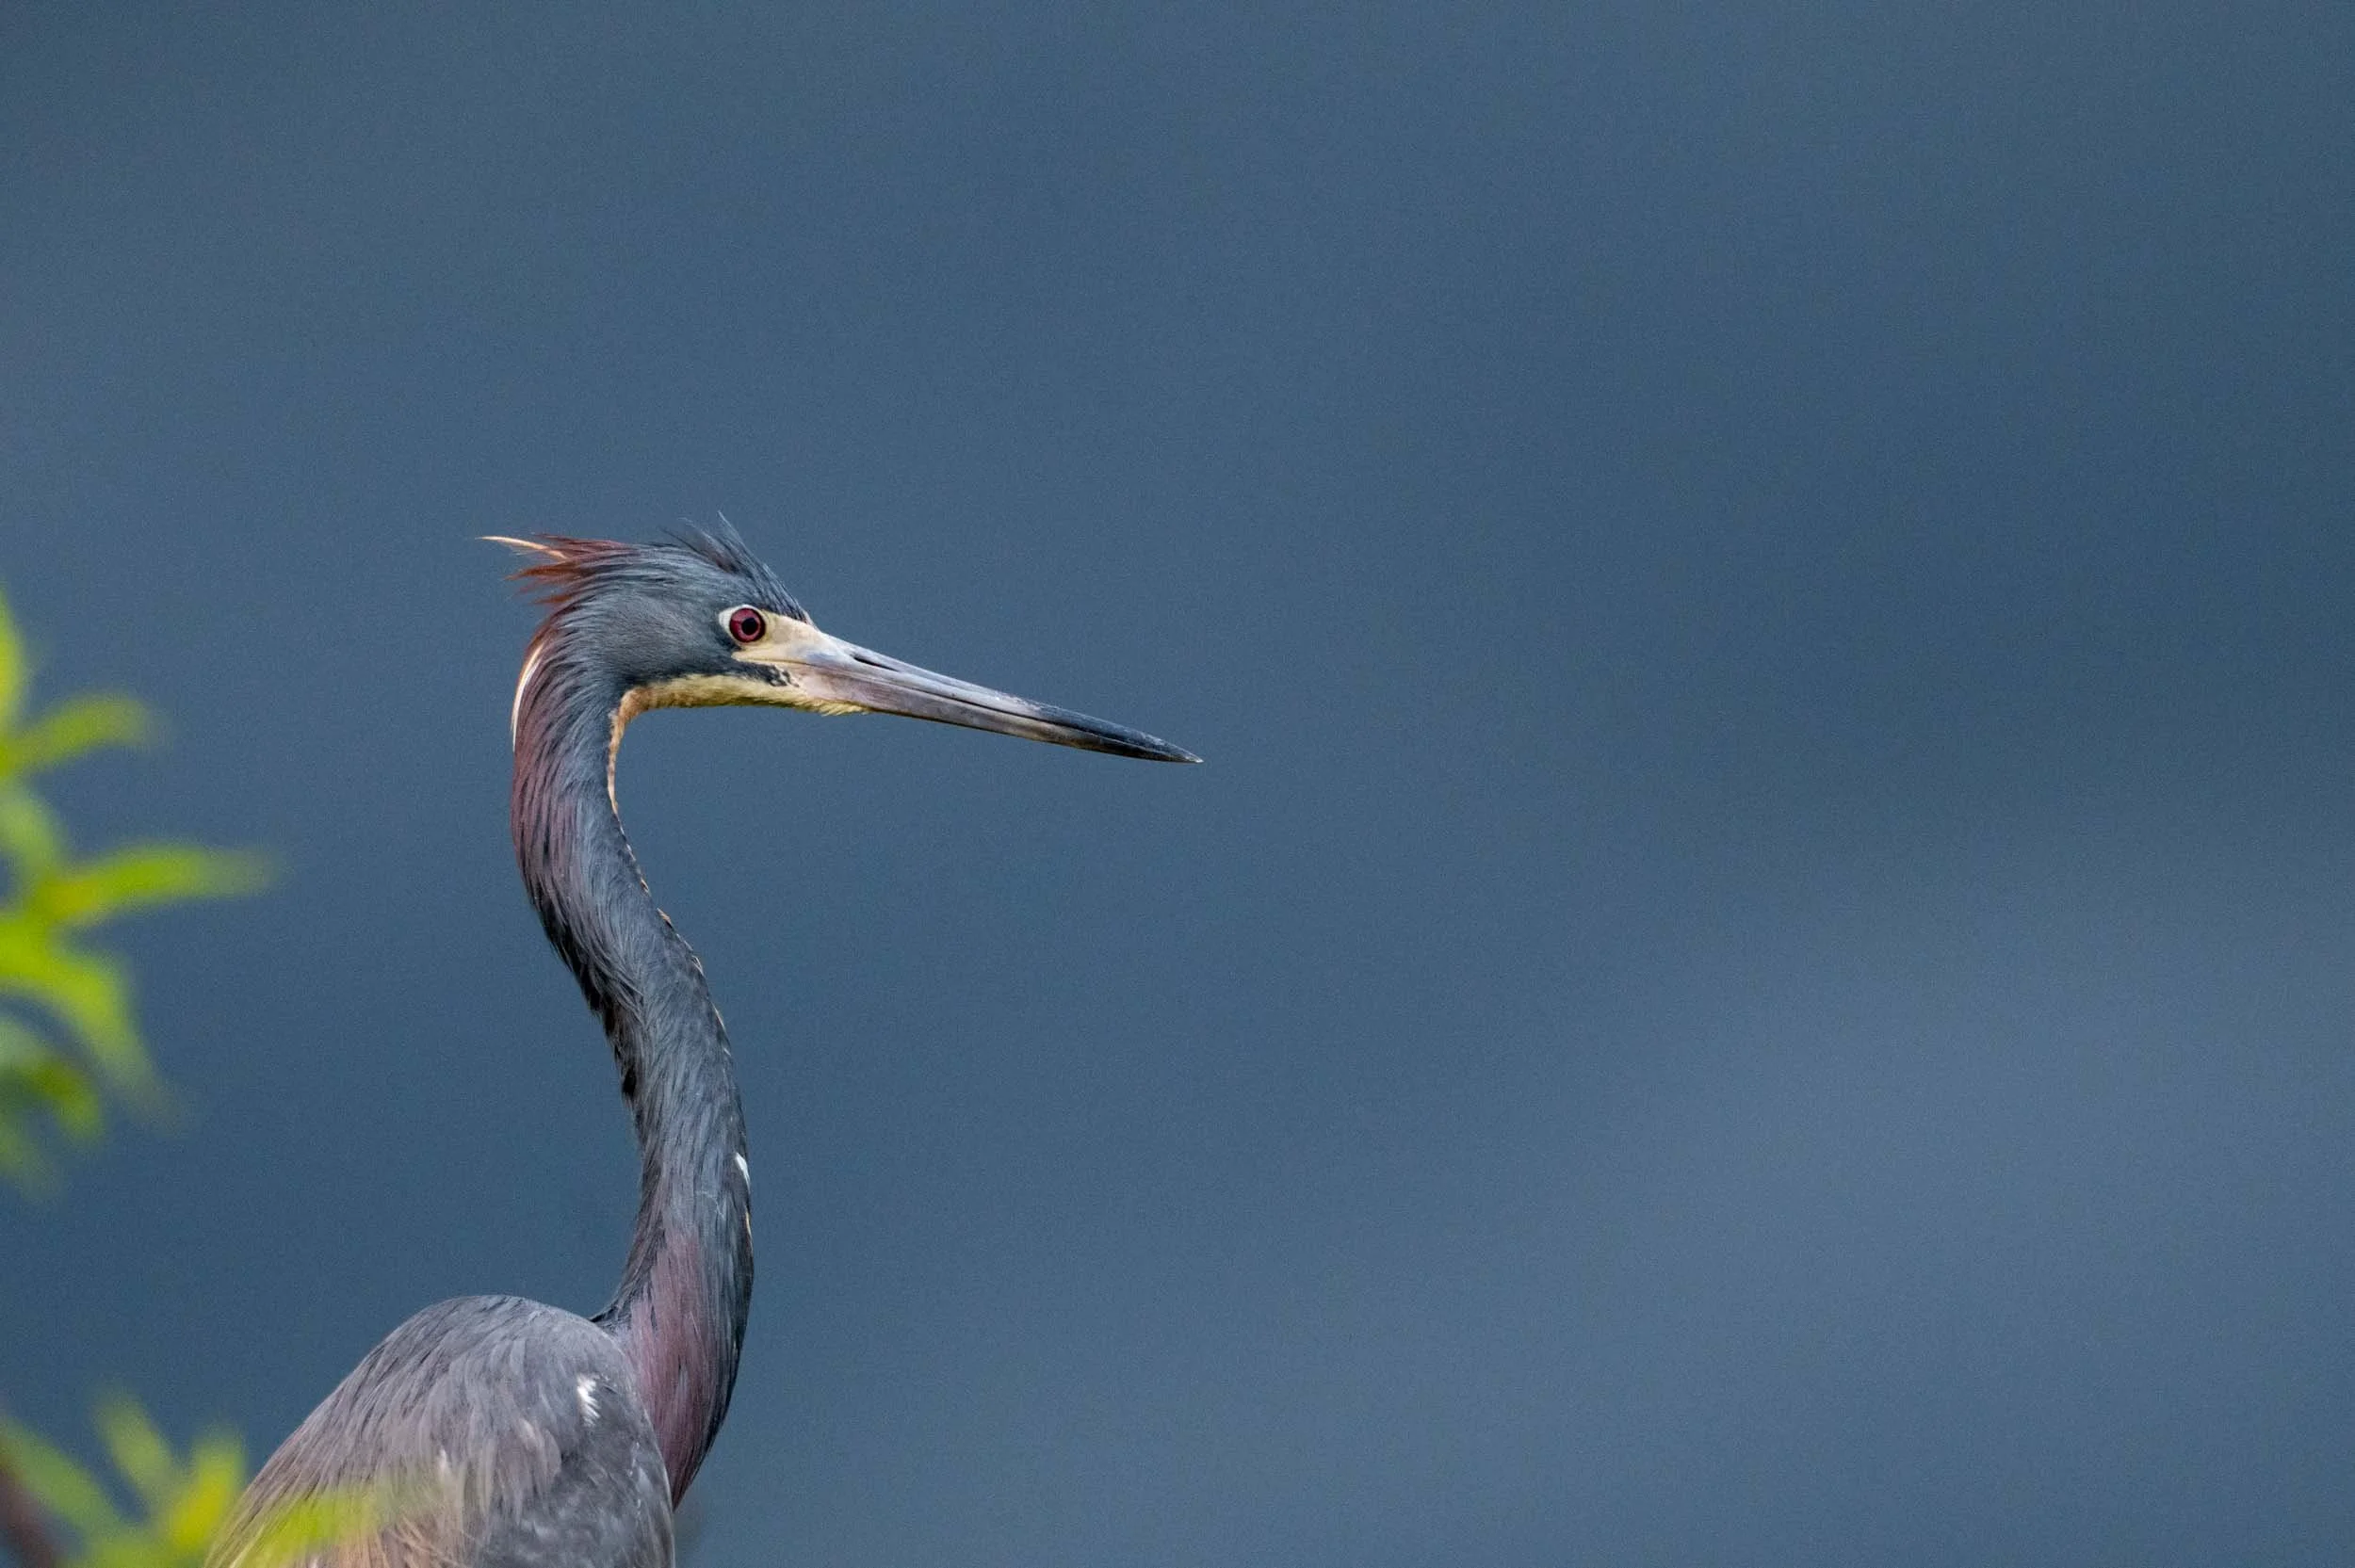
On this evening at Miller’s Lake, we were hoping for the perfect subject—a white egret flying across that dark background. Nature had a different idea. Instead, we found a Tricolored Heron, beautifully lit by the last rays of sunlight with the dark sky as the background. The result captures the kind of light that wildlife photographers wait for: dramatic, fleeting, and impossible to create artificially.
As the boat eased back toward the landing, a distant flash of lightning signaled us that the window was closing. It was time to head in, but not before experiencing one of those magical moments that make Louisiana’s swamps such a remarkable place to photograph.
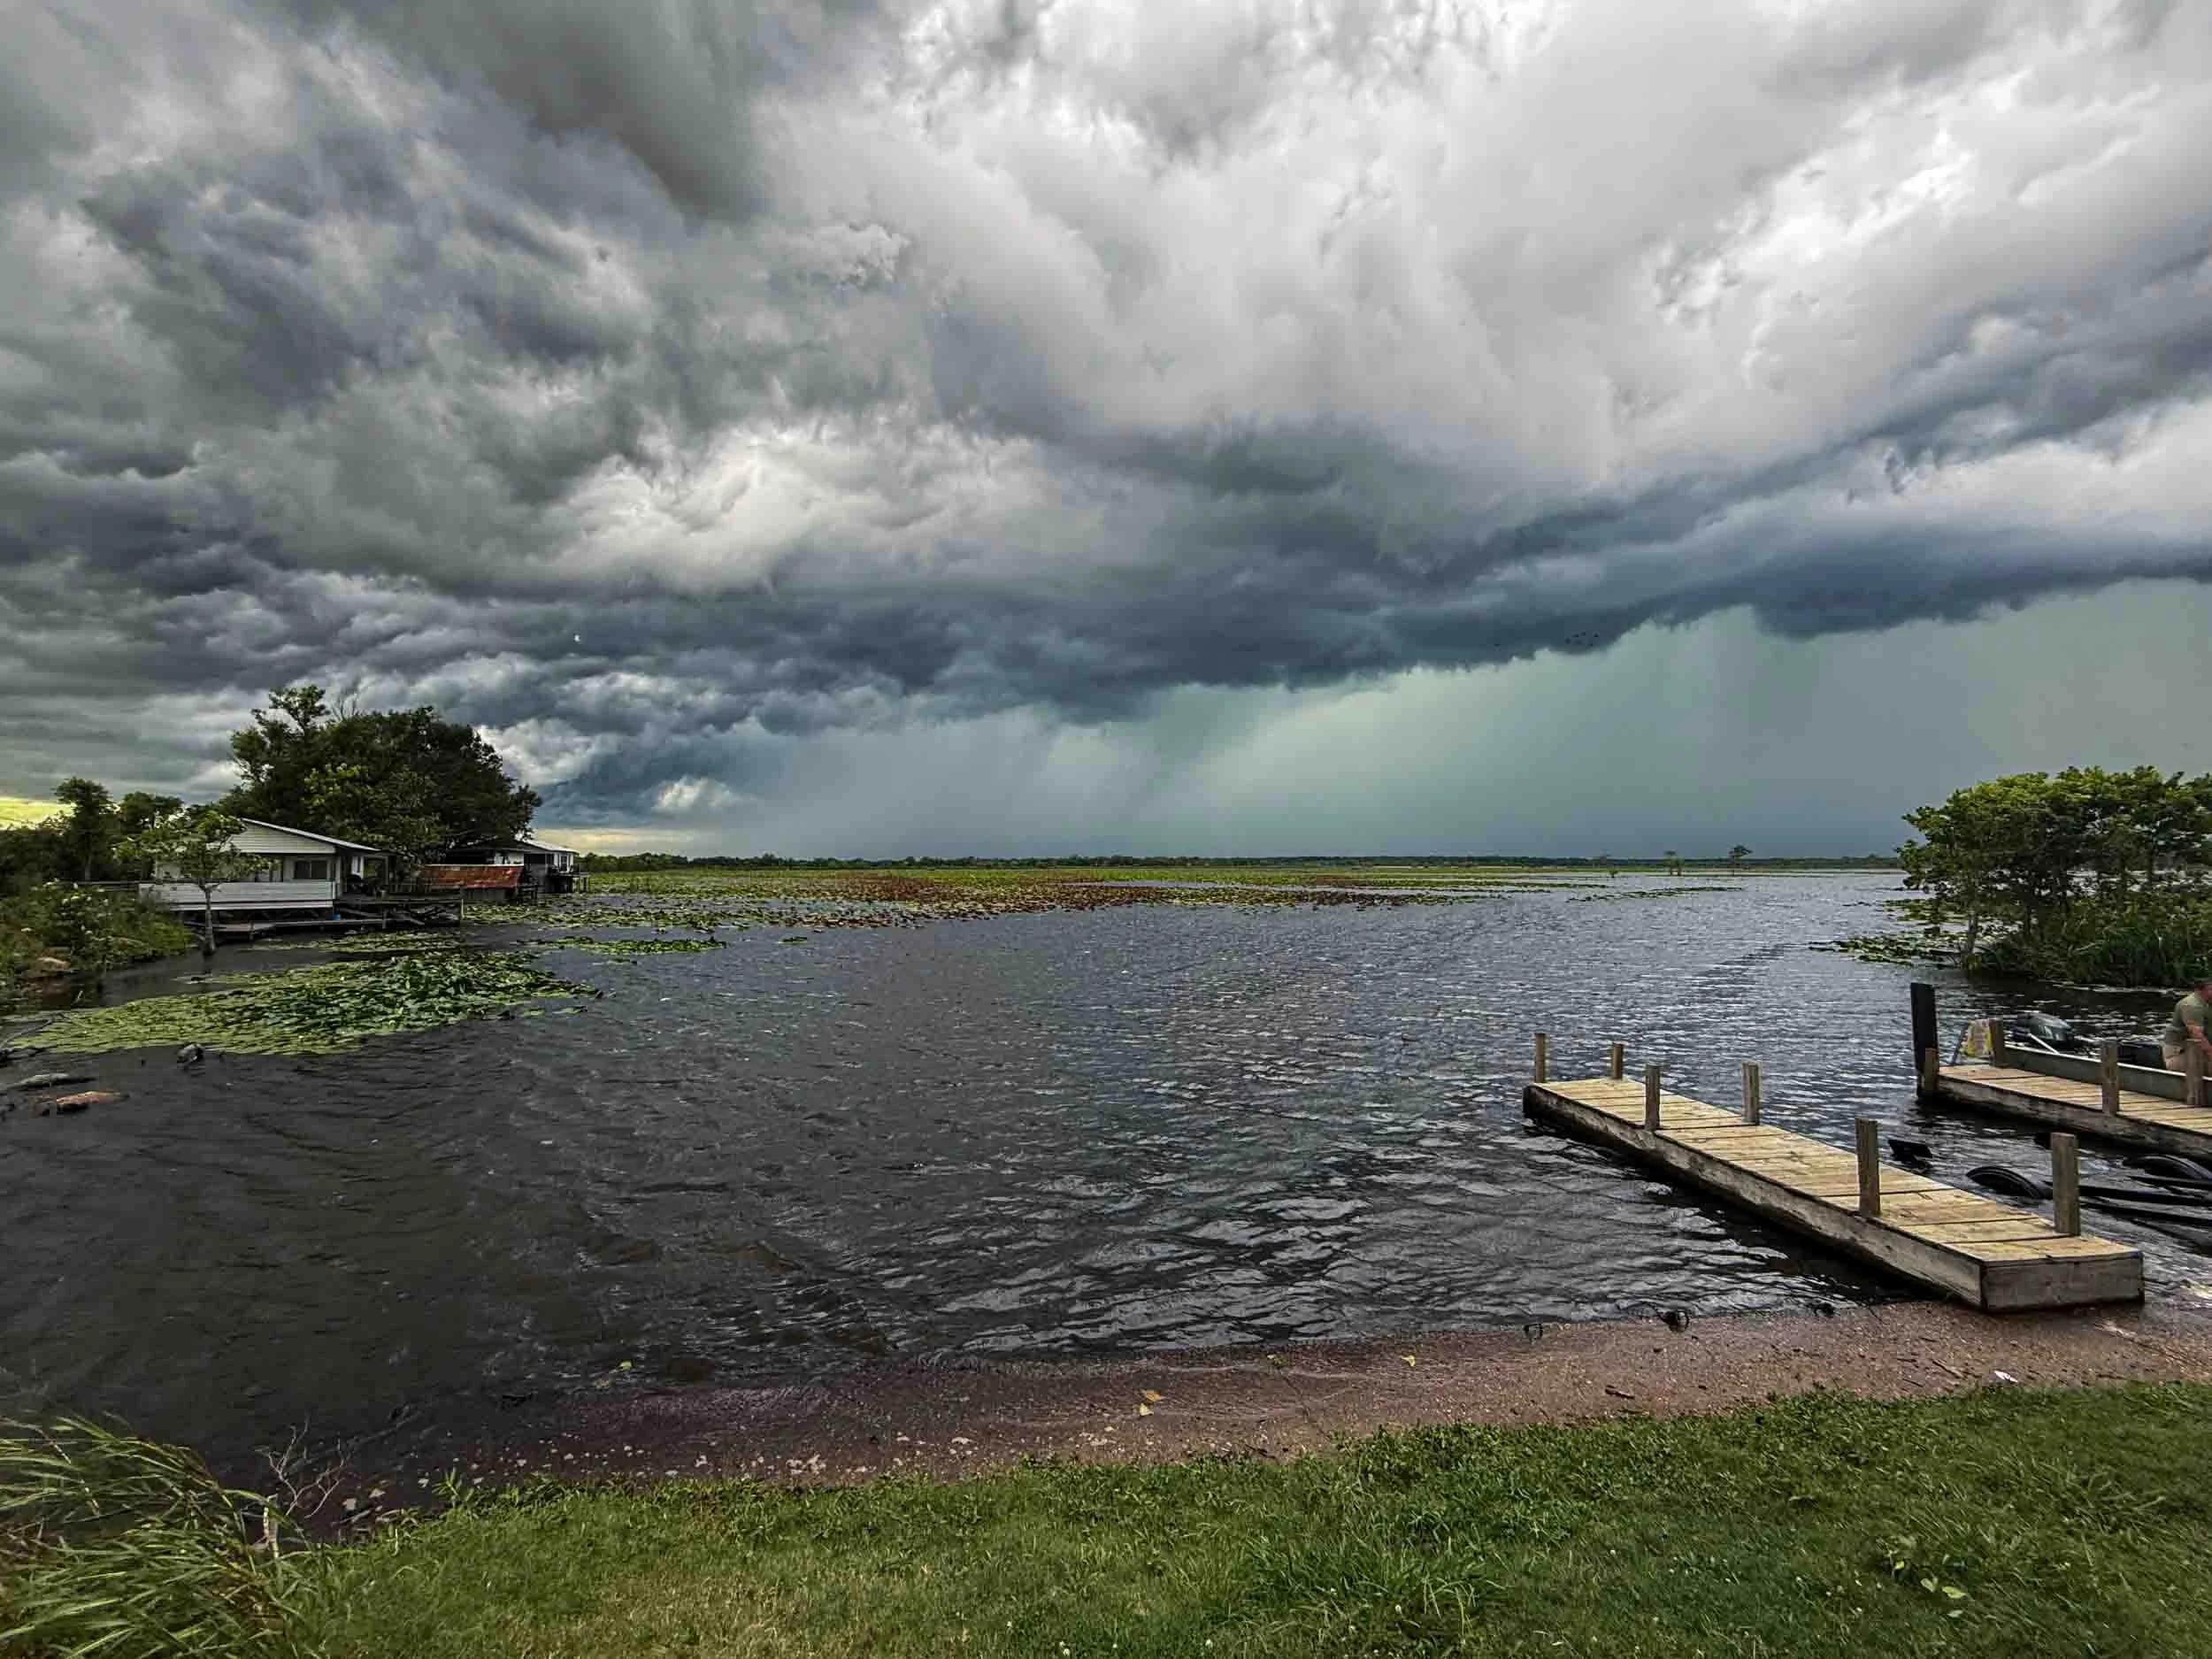
On Shore prior to the Storm
The best wildlife photographs often come from a brief window when light, weather, and subject all come together. Those are the moments we look for on every tour.
If you’d like to join me on a future Louisiana wildlife photography adventure, I’d love to have you along. Click here to sign up for one of my 2027 Spring Bird Photo tours
Spring 2027 Louisiana Bird Photo Tours Open
I’m pleased to announce that my Spring 2027 Louisiana Bird Photography Tours are now open for registration.
This year, I’ve scheduled three small-group tours to coincide with the changing stages of the nesting season—from courtship and nest building to active rookeries and the opportunity to photograph Roseate Spoonbill chicks on the nest.
Each tour is limited to five photographers to ensure a relaxed pace and plenty of individual attention.
You can learn more about the tours and reserve your spot here:
Click here for the Spring 2027 Tour Page
I hope you’ll join me for another memorable season in the Louisiana wetlands.