Charles Bush Photography – September 2025 Newsletter
Last Chance for Fall Cypress Swamp Photo Tours
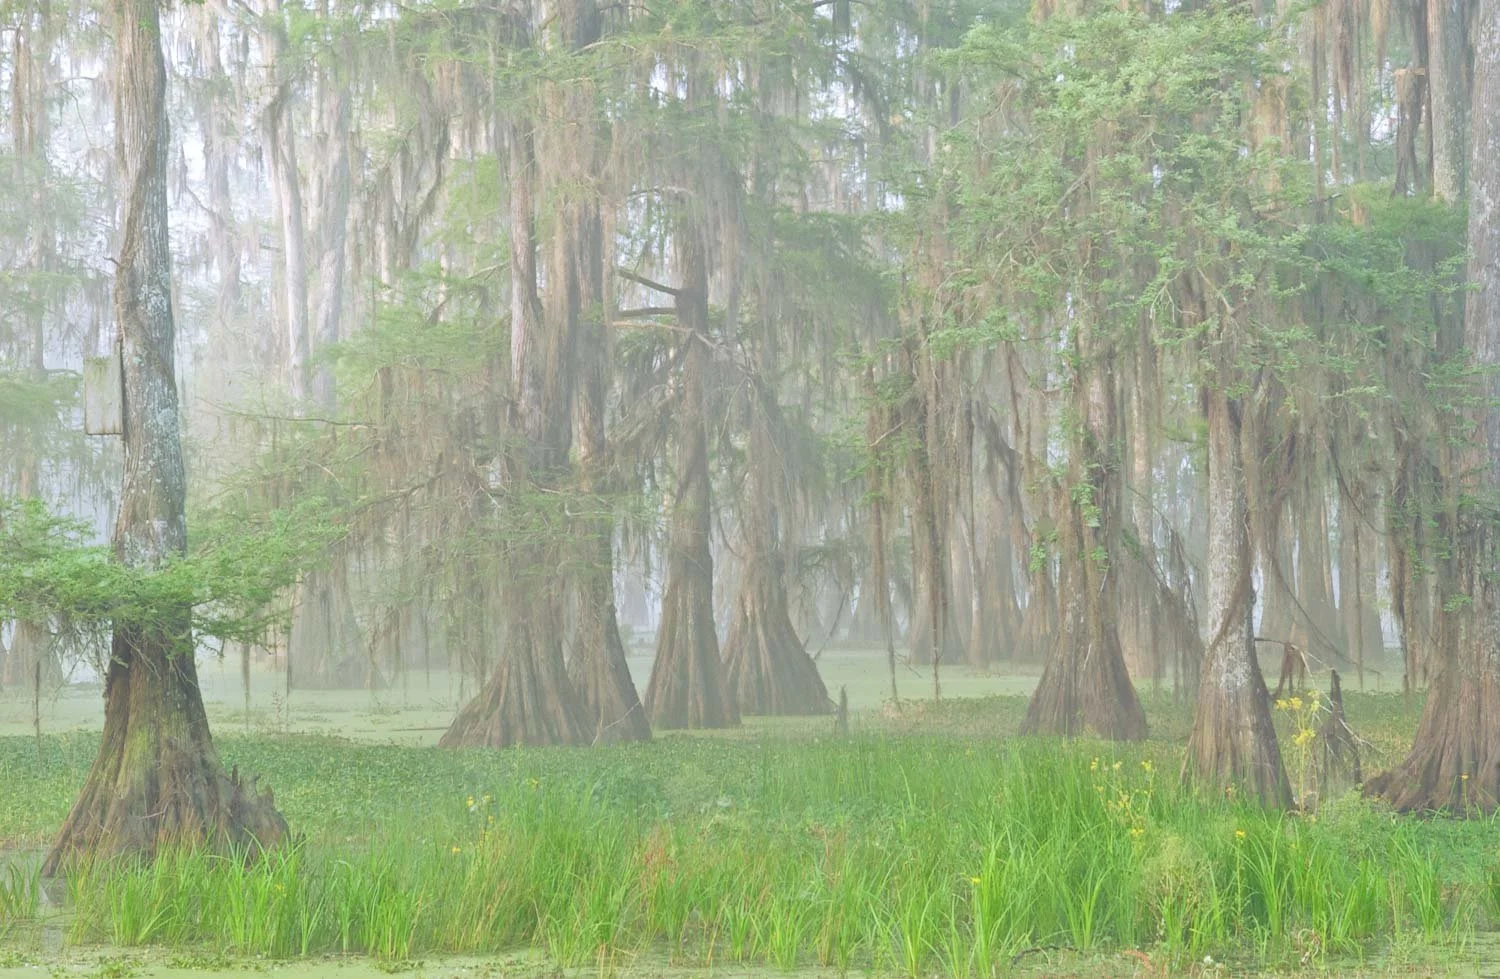
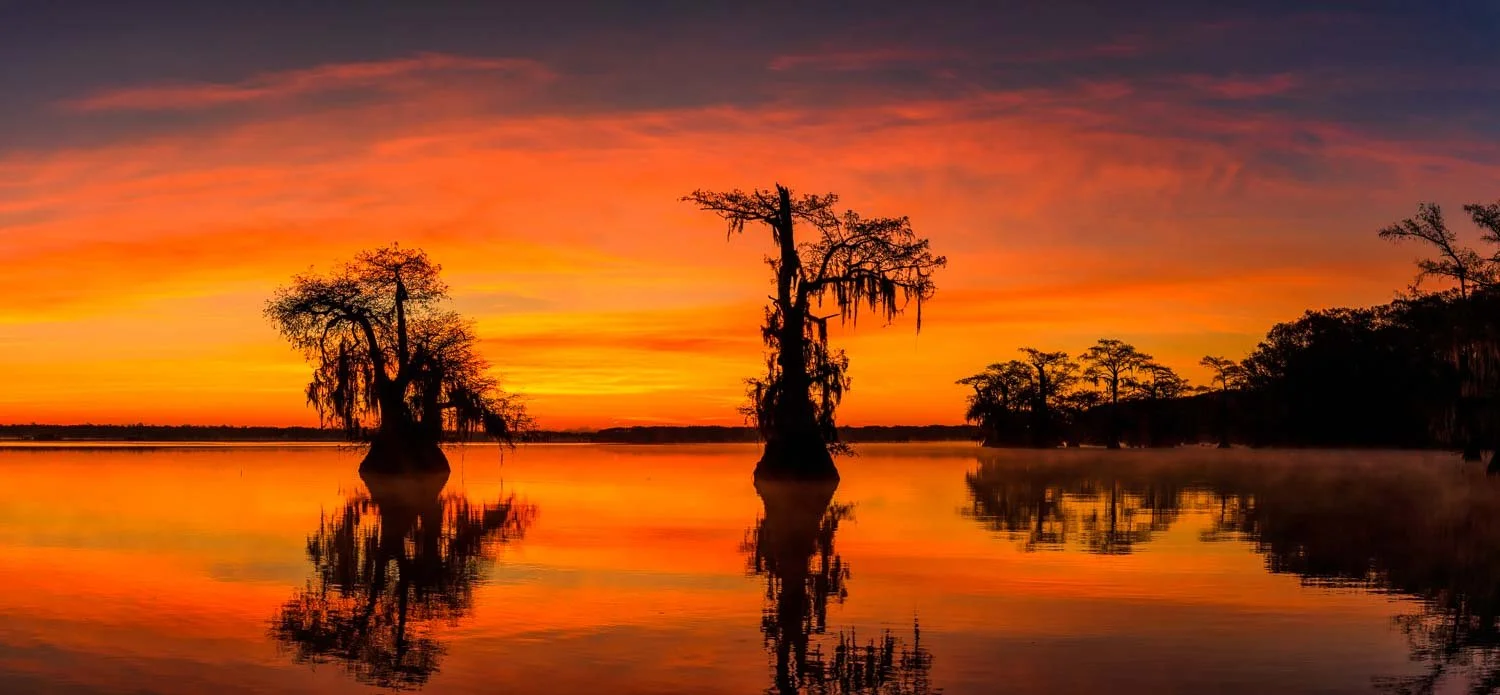
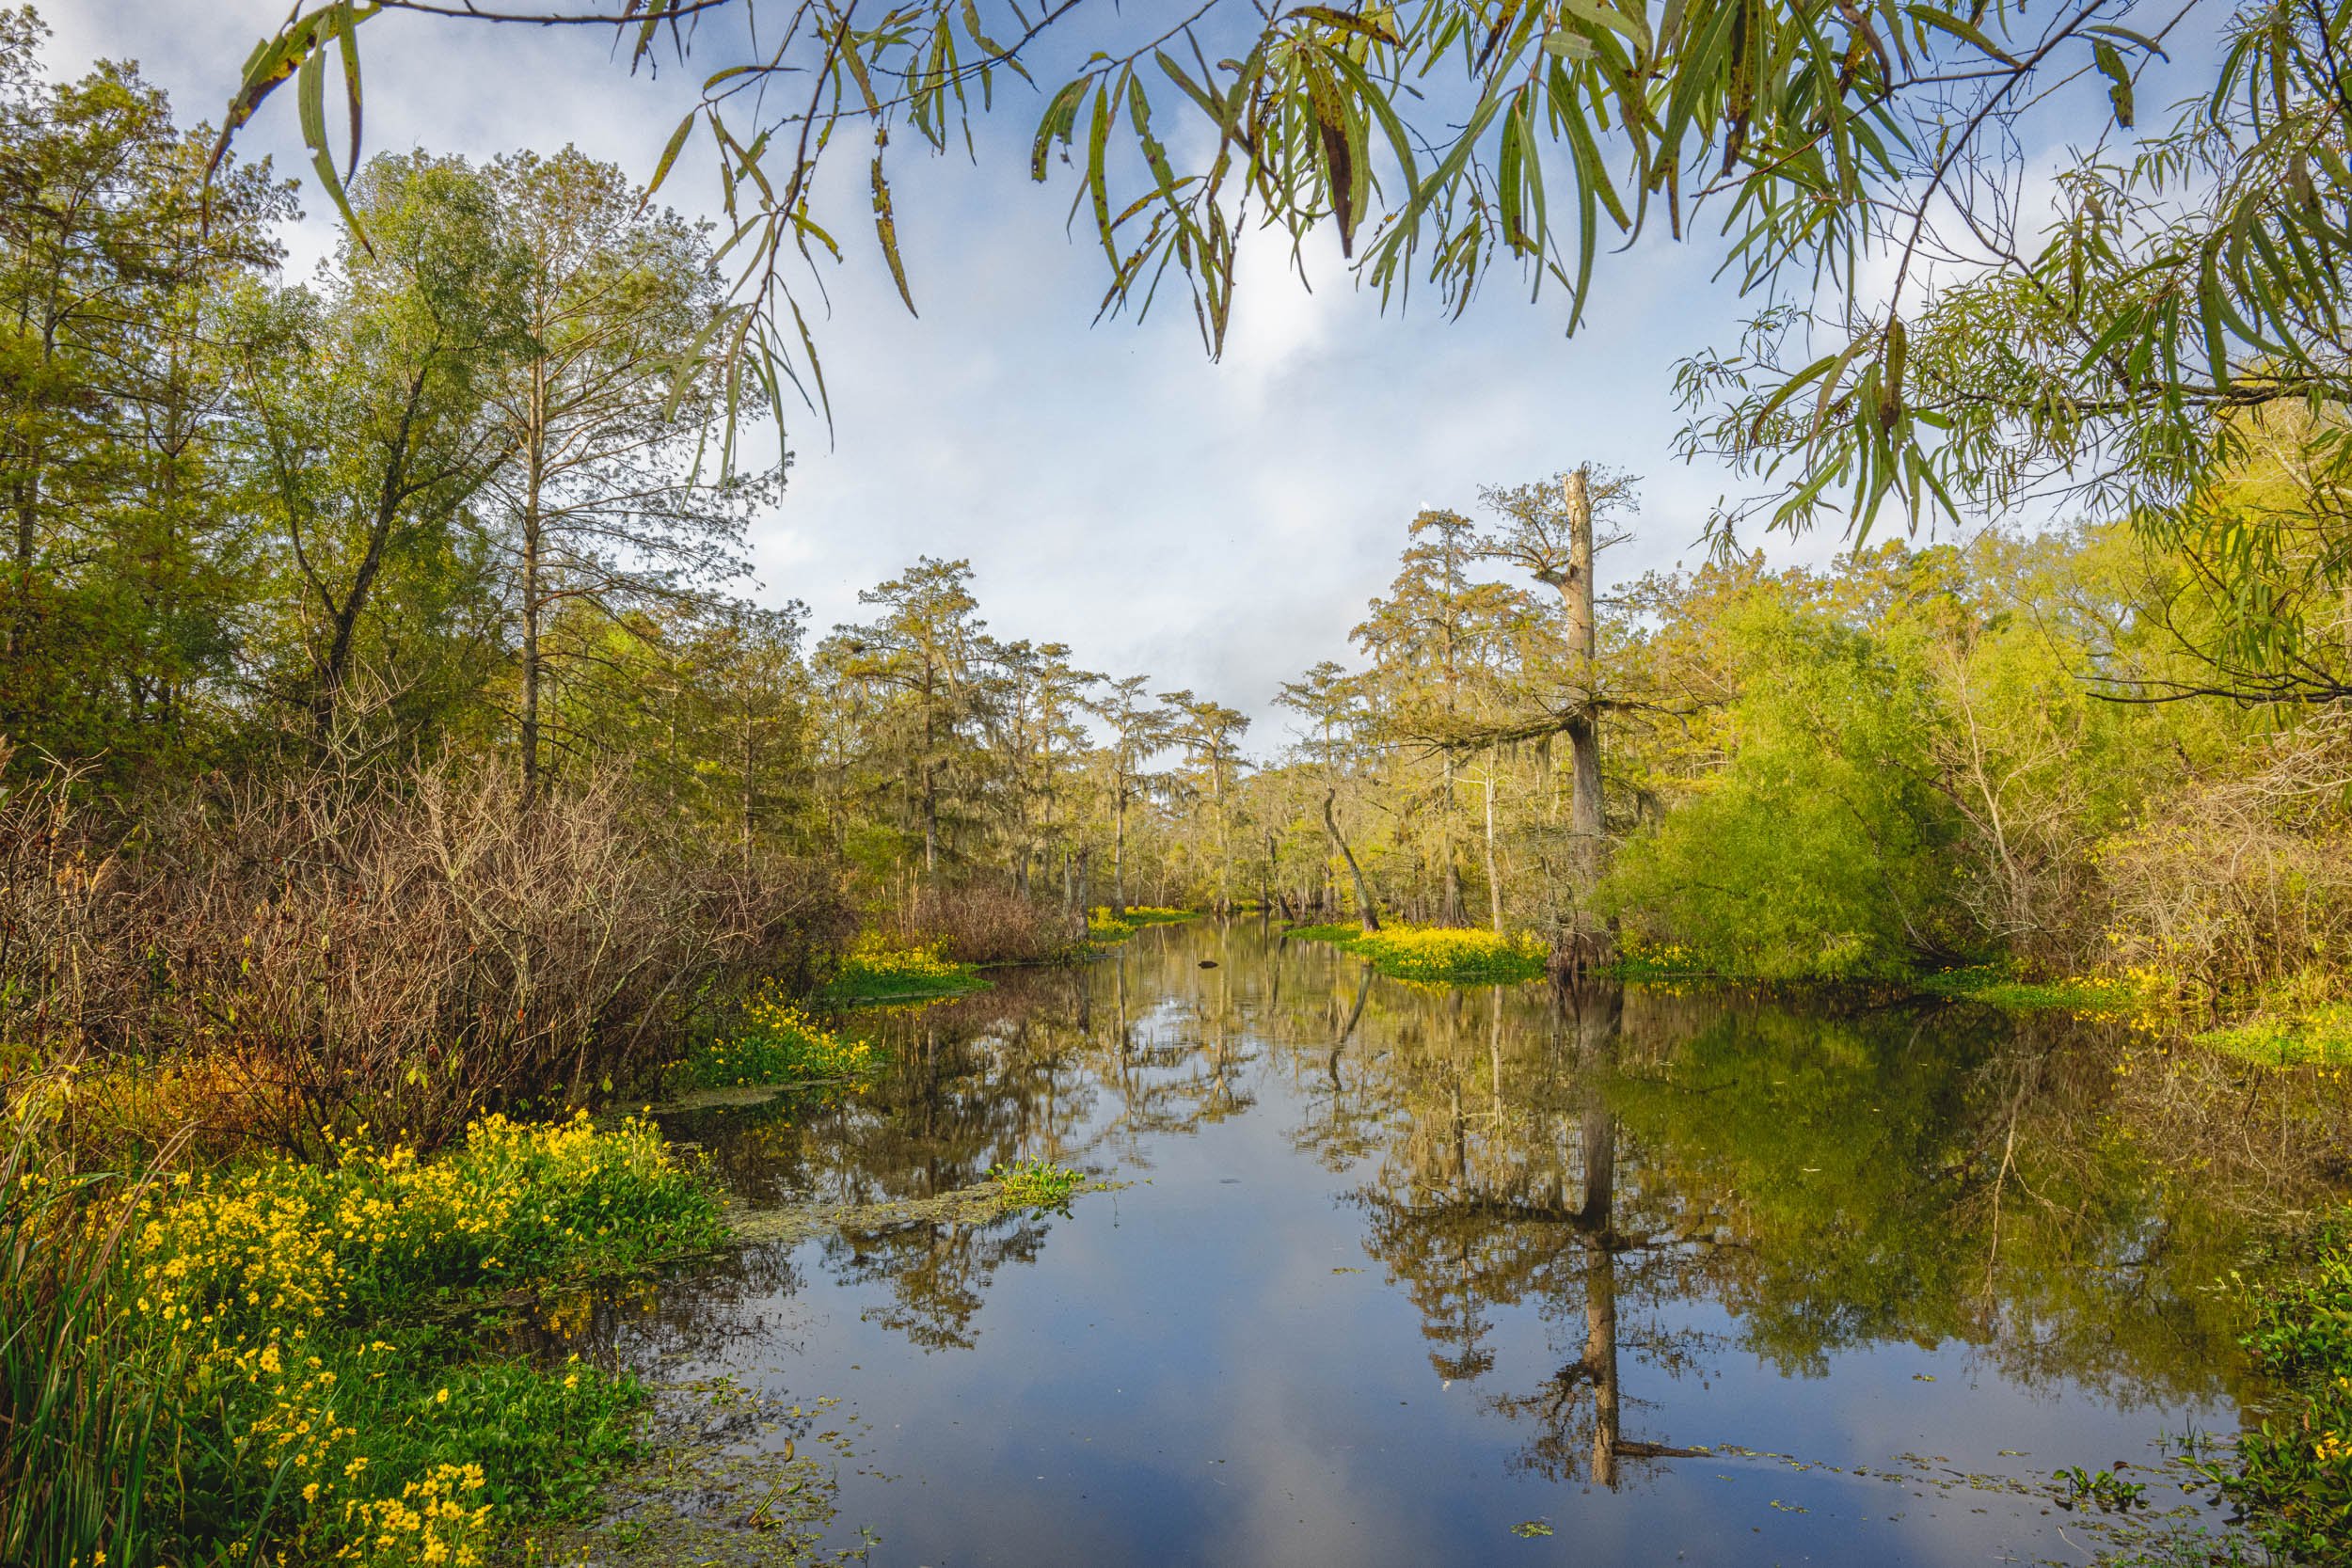
Cypress Scene captured on the morning of November 5th, 2023, showcasing the tranquil beauty of Southern Louisiana’s wetlands.
Autumn is here, and so is the peak season for photographing Louisiana’s cypress swamps. This is your last chance to join my Fall Cypress Swamp Photo Tours in November and December. Spaces are limited, and once they’re gone, they’re gone until next year.
Experience the Magic of Louisiana’s Swamps
Morning sessions by boat – photograph fiery red and gold cypress trees reflected in still waters, often with mist or backlit fog for atmosphere.
Afternoon explorations – Rip Van Winkle Gardens, and additional opportunities at Lake Martin.
Sunset opportunities – Lake Martin offers dramatic skies and reflections to make the most of the end of the day.
Small groups mean personalized guidance and easy access to prime locations. Whether you’re looking to refine your technique or simply immerse yourself in Louisiana’s autumn beauty, this tour is designed to inspire.
👉 Reserve Your Spot Now, November 2–5, November 16–19, December 1–4
Gliding silently while polling through ancient cypress trees shrouded in a thick, mystical fog on a December Photo Tour.
Why Louisiana? Why Now?
Many photographers head to Caddo Lake in Texas, but Louisiana offers a different experience:
Fewer competing photographers — more space and freedom to create.
Later peak season — perfect timing if you’ve already visited Caddo.
Rich Louisiana culture and food — enjoy the full experience while creating unforgettable images.
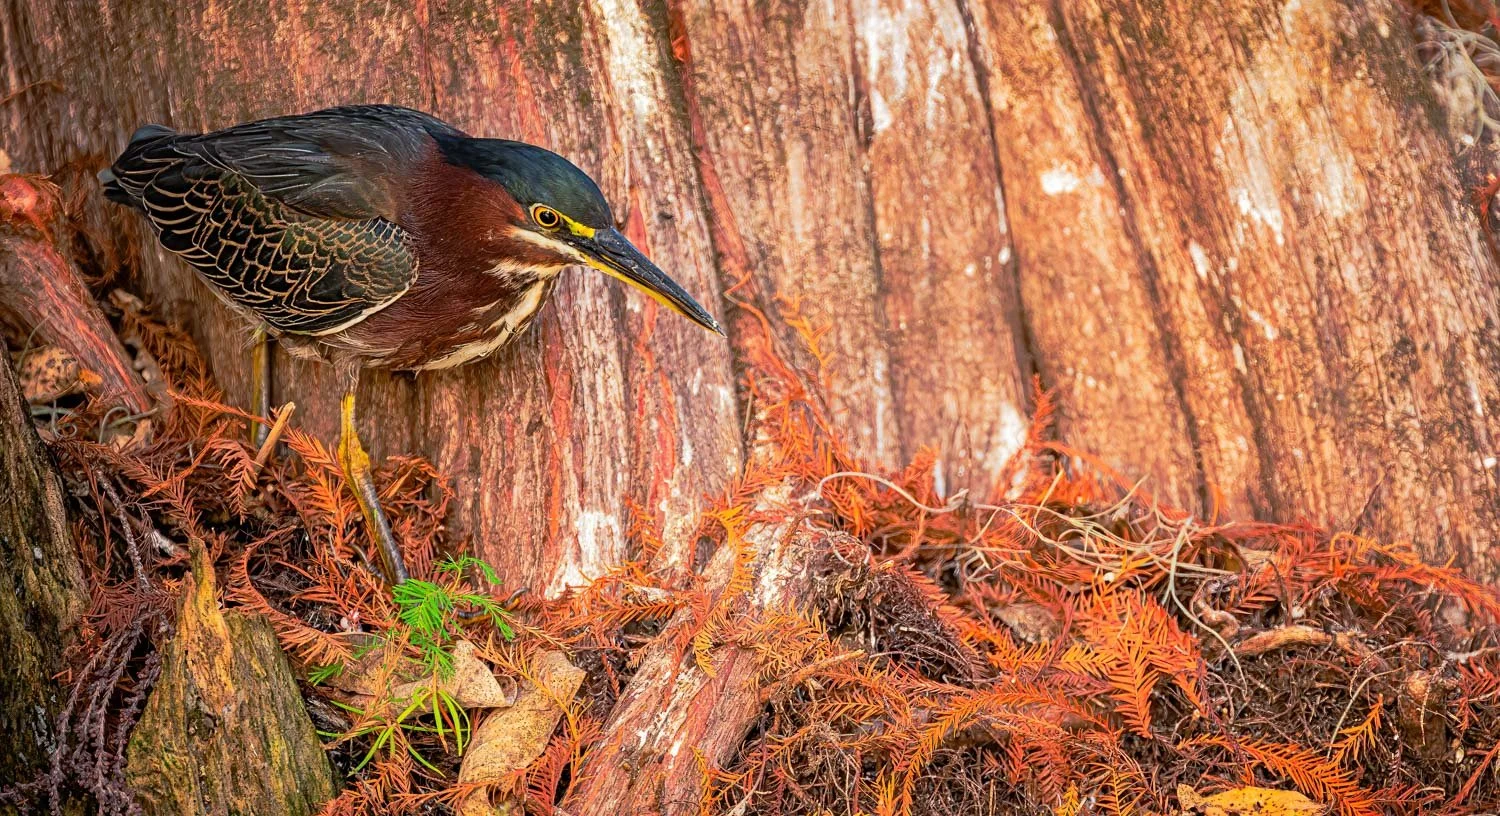
A Green Heron perched quietly at the base of a large, majestic Cypress tree during a November 2023 photo tour in Southern Louisiana.
Time is Running Out
Fall colors in the swamps don’t last long, and neither do these spots. A small group size ensures everyone gets the best vantage points, but it also means space is extremely limited.
If you’ve been considering it, now is the time.
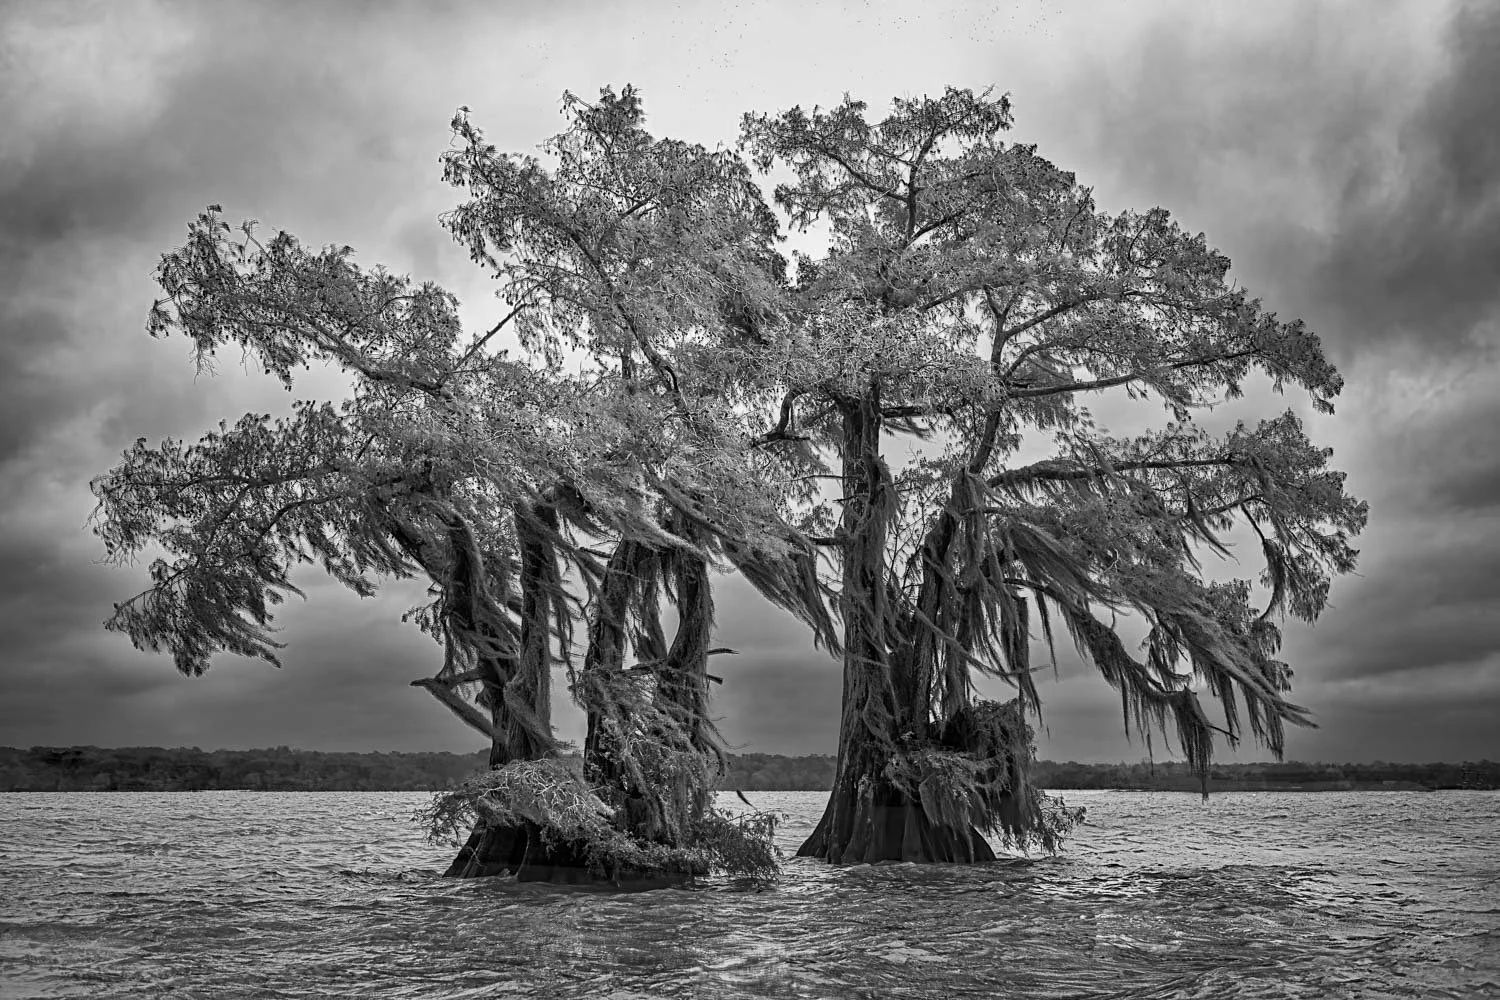
A Black and White Photograph of Cypress Trees on a stormy day on a November Photo Tour.
Closing Note
I’d love to see you in the swamp this fall, capturing the unforgettable beauty of Louisiana’s cypress trees in peak autumn color.
Stay tuned for October’s newsletter where I’ll share more Nikon Z8 tips and spring tour updates.
Until then — happy shooting,
Charlie
Charles Bush Photography - August 2025 Newsletter
Lake Martin Cypress Scene
Late Summer Notes from Louisiana
August in Louisiana is always a mix of heat, humidity, and anticipation. The cypress swamps are heavy with green, and soon the first hints of autumn will arrive. For me, it’s also the time to put the finishing touches on the Fall Photo Tours and look ahead to what’s coming in spring.
Fall 2025 Cypress Swamp Tours
Sunrise at Lake Dauterive
This fall’s cypress swamp tours are shaping up beautifully. I’ve completely rebuilt the tour page with a clearer overview, collapsible sections for locations, and more direct booking links. Whether you’ve been with me before or are considering your first tour, the page is now much easier to explore and plan your trip.
We’ll spend time at Lake Dauterive, Lake Fausse Pointe, and Lake Martin, each offering unique compositions with fall color, misty mornings, and dramatic cypress reflections. If photographing backlit Spanish moss at sunrise is on your bucket list, this is the season to join.
👉 View Fall 2025 Tour Details & Book Now
Spring 2026 Bird Photography Tours
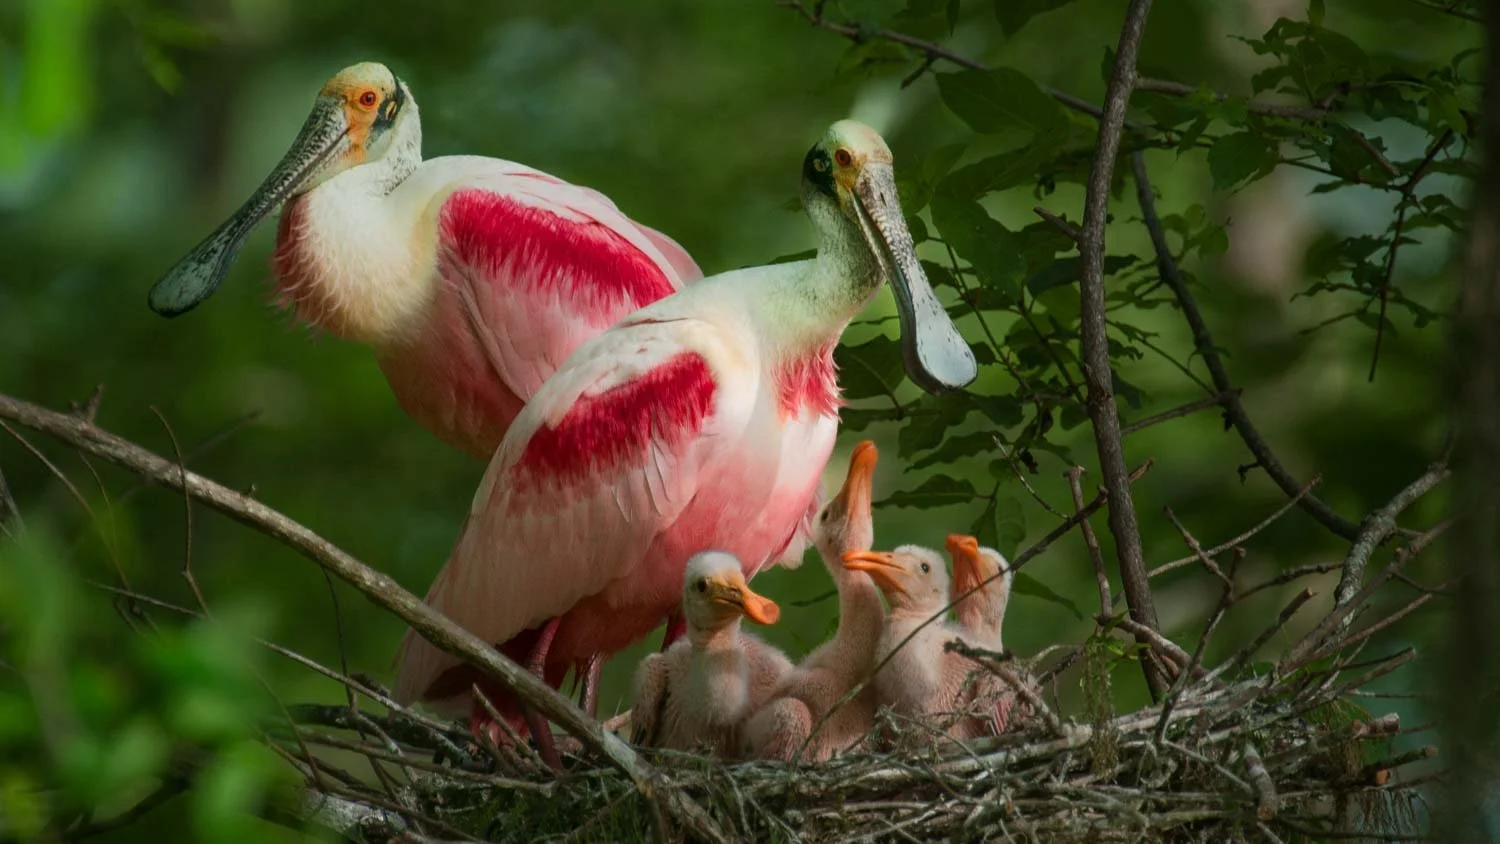
Roseate Spoonbill Family
The Spring 2026 bird tours are now published, complete with images highlighting the opportunities in April, May, and June. From nesting Roseate Spoonbills to Black-crowned Night Herons and Ospreys, Louisiana continues to deliver some of the best bird photography in the country.
I’ve also added more variety to the galleries, showcasing behaviors such as feeding, flight, and nesting — not just portraits. These tours are small, boat-based, and give you access to locations that casual visitors simply can’t reach.
👉 View Spring 2026 Tour Details & Book Now
Blog Highlights
Nikon Z8 Firmware Updates – If you’re a Nikon Z8 shooter, you’ll find my recent posts useful. I’ve written about the new focus limiter in firmware v3.00, as well as the v3.01 bug fix release. I’m also building downloadable comparison tables that line up menu changes across firmware versions.
Photographing in Fog and Backlit Mist – This post kicked off a new series on photographing in unique light conditions. I’ll soon be sharing a step-by-step on how I processed one of my favorite fog images into a black-and-white print.
One-on-One Consulting
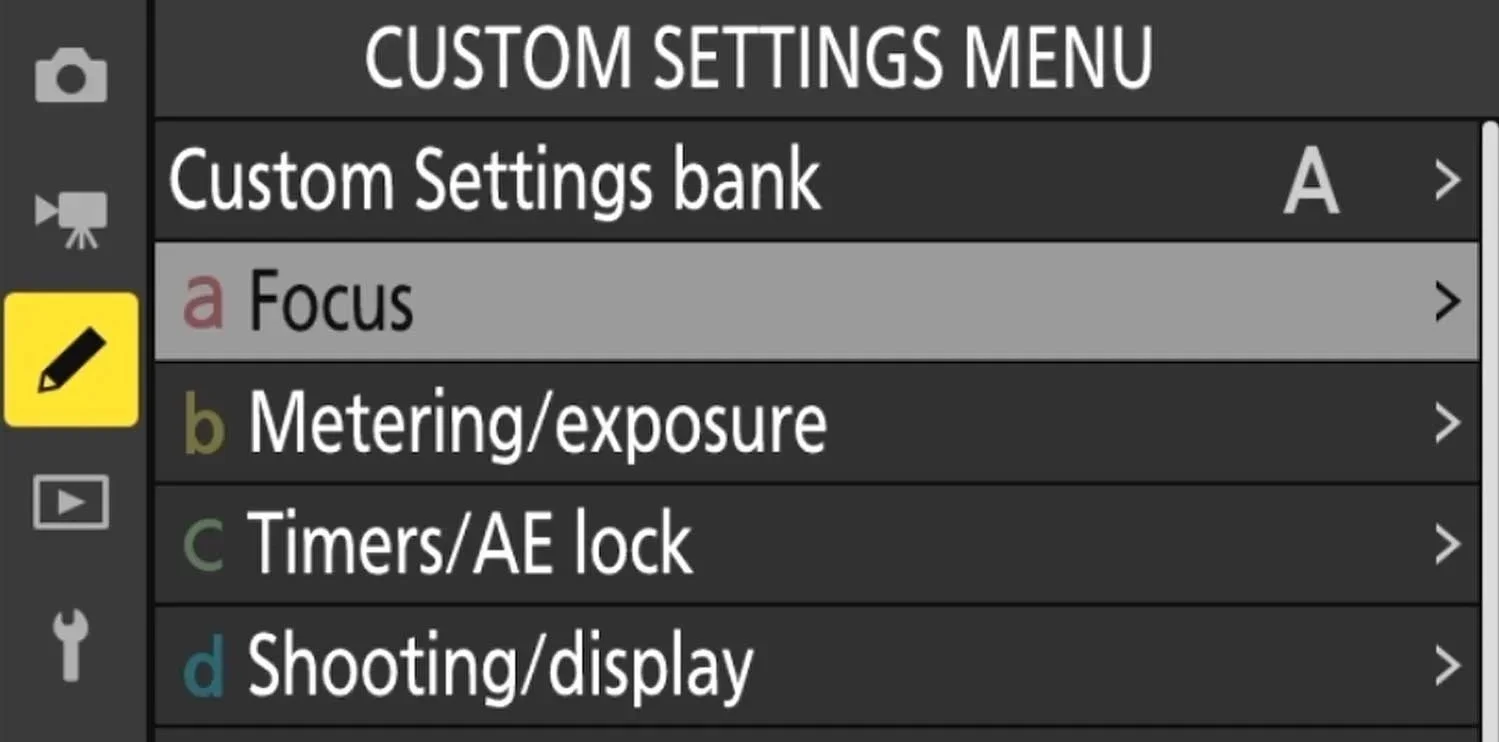
Fiule Grab from One on ONe Online Consulting Session Setting Nikon Z8 Menu Settings.
Alongside tours and blog posts, I’ve launched a new Consulting Services Page. I’m offering Nikon camera setup consulting where I can walk you through the menus of your Z8 or other Nikon body. With screen sharing over Zoom, I can even cast the actual camera menu so you can follow along in real time.
I also cover workflow topics like Lightroom catalog setup, Photo Mechanic ingesting and IPTC metadata, and strategies for protecting your photo files with solid backup systems. Whether you’re just starting out or refining a professional workflow, these sessions are tailored to your needs.
Looking Ahead
As fall approaches, I’m excited to get back out on the water with groups of photographers. There’s nothing quite like watching mist rise over a Louisiana swamp at sunrise — and capturing it with a camera in hand.
If you’d like to join a tour, check out the updated pages for Fall 2025 Tours and Spring 2026 Tours. Or, if you want help setting up your Nikon or organizing your photo library, book a session through the new Consulting Page.
Charles Bush Photography Newsletter – December 2024
Spring Bird Photography Tours: Now open for booking! Explore Cazan Lake, Miller’s Lake, Jefferson Island, Lake Martin, and Henderson Swamp while capturing nesting birds like egrets, herons, Roseate Spoonbills, and Osprey in flight. Includes three half days by boat and three half days on land.
Fall Tour Highlights: 2024 season concluded with spectacular imagery of autumn cypress trees. View the best photos in our gallery. 2025 dates to be announced soon.
Tool Updates: Insights from using Fast Raw Viewer and Photo Mechanic during fall tours. Detailed comparison coming soon.
Backup Strategies: Guidance for Apple users on the latest options for protecting your photo files. Blog post coming soon.
Thinking of Spring
Roseate Spoonbill at Rip’s Rookery Jefferson Island
As the year winds down, it’s the perfect time to start planning for spring! Our Spring Bird Photography Tours are designed to capture the stunning nesting wading birds of Southern Louisiana. You’ll have the opportunity to photograph majestic egrets, herons, ibis, the vibrant Roseate Spoonbills, and Osprey in flight in their natural habitats.
Tour Highlights:
Locations: Cazan Lake, Miller’s Lake, Jefferson Island, Lake Martin, and Henderson Swamp.
Structure: Three half days by boat and three half days on land to ensure a diverse range of photographic opportunities.
Learn more and book your spot today—limited availability for this unforgettable experience!
Great Egret Courtship–Cazan Lake
2024 Fall Tours Completed
Lake Martin early morning
Thank you to everyone who joined us for this year’s fall tours! The stunning cypress trees with their fiery autumn hues and the golden-hour reflections made for some incredible images.
Want to see the best shots from this season? Click here to view the gallery.
Looking ahead, the 2025 Fall Tour Dates will be announced soon. Stay tuned for updates in early 2025 and be ready to reserve your spot.
Sunrise at Lake Dauterive
Photo Mechanic / Fast Raw Viewer Update
I’ve put Fast Raw Viewer and Photo Mechanic through their paces this fall during the tours. Here’s a quick update:
Fast Raw Viewer: A fantastic tool for quickly checking exposure and sharpness, making it an essential part of my workflow. But it won’t replace Photo Mechanic as the import and keywording tools are lacking.
Photo Mechanic: Still my go-to for downloading and keywording images efficiently.
I’ll publish a detailed comparison soon, including insights from real-world use on the fall tours. Watch out for this on the blog!
Photo Computer Backup Strategies
Backup strategies are a hot topic, especially as we handle ever-larger files. I’ve been working closely with a client to develop a robust backup system tailored to photographers, particularly those using Apple computers.
New options, including improved cloud integrations and hardware setups, are making it easier to protect your images. I’ll be sharing these insights in an upcoming blog post to help you create a backup plan that works for you.
Stay Connected
Thank you for being part of the Charles Bush Photography community. As always, your passion for capturing the beauty of nature inspires everything we do. If you have questions about tours, tools, or techniques, don’t hesitate to reach out.
Happy holidays, and here’s to another year of extraordinary photography!
Warm regards,
Charles Bush


