Photographing Stunning Louisiana Landscapes in the Fog
Southern Louisiana’s foggy mornings create stunning photographic opportunities, from mist-covered cypress trees to ethereal landscapes where the fog glows in the morning light. Learn how to capture breathtaking fog photography with exposure, composition, and lens selection techniques.
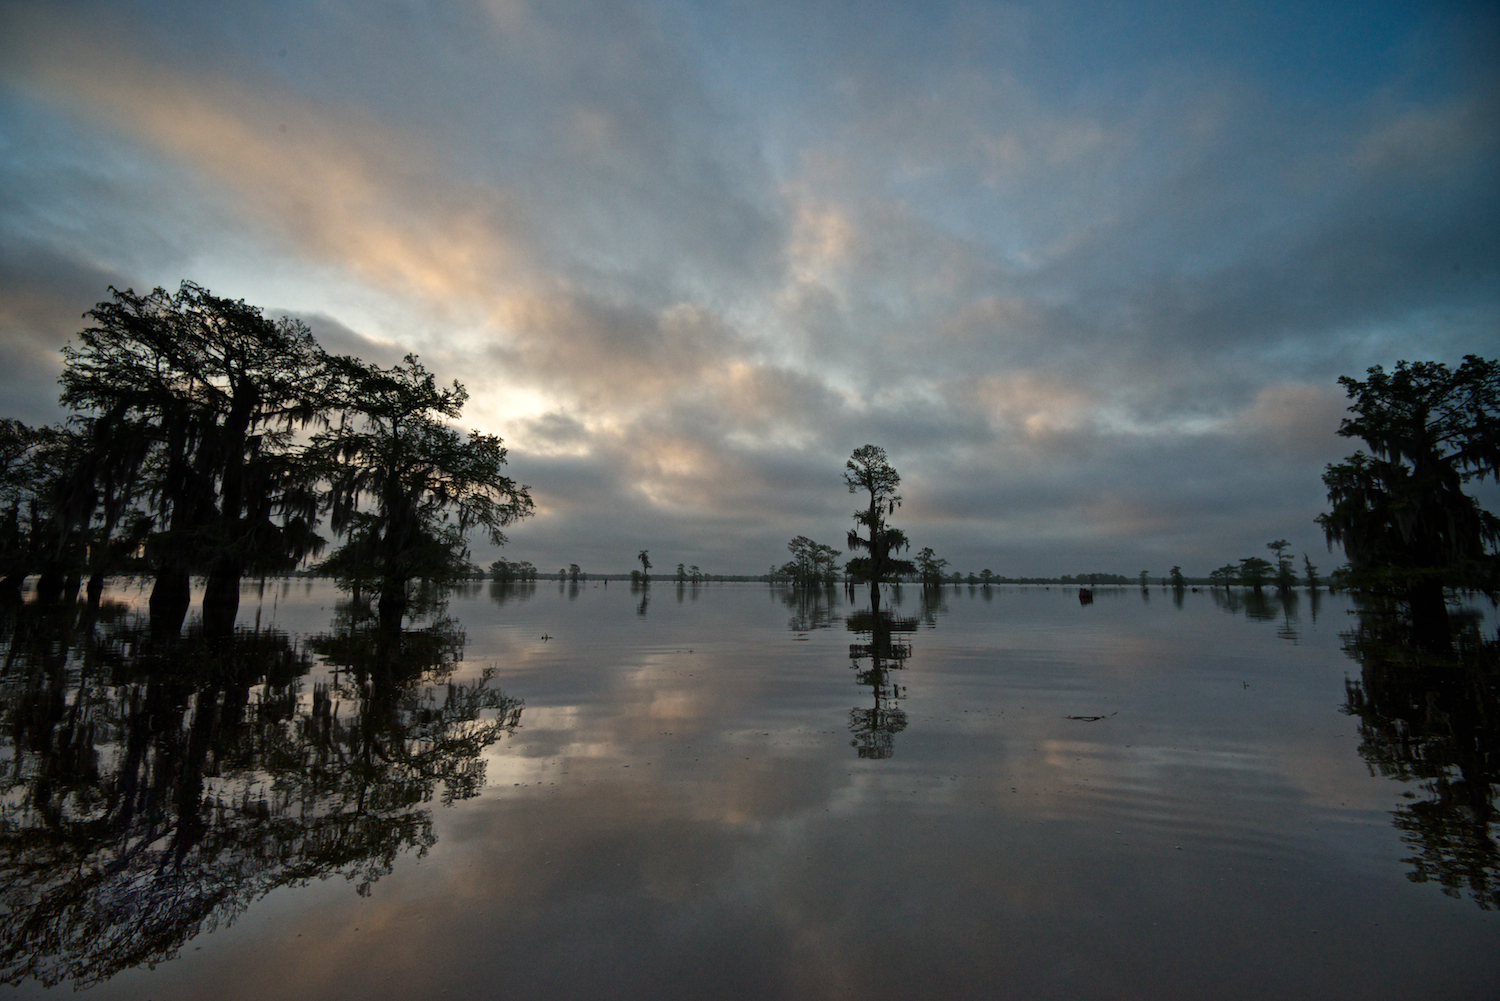
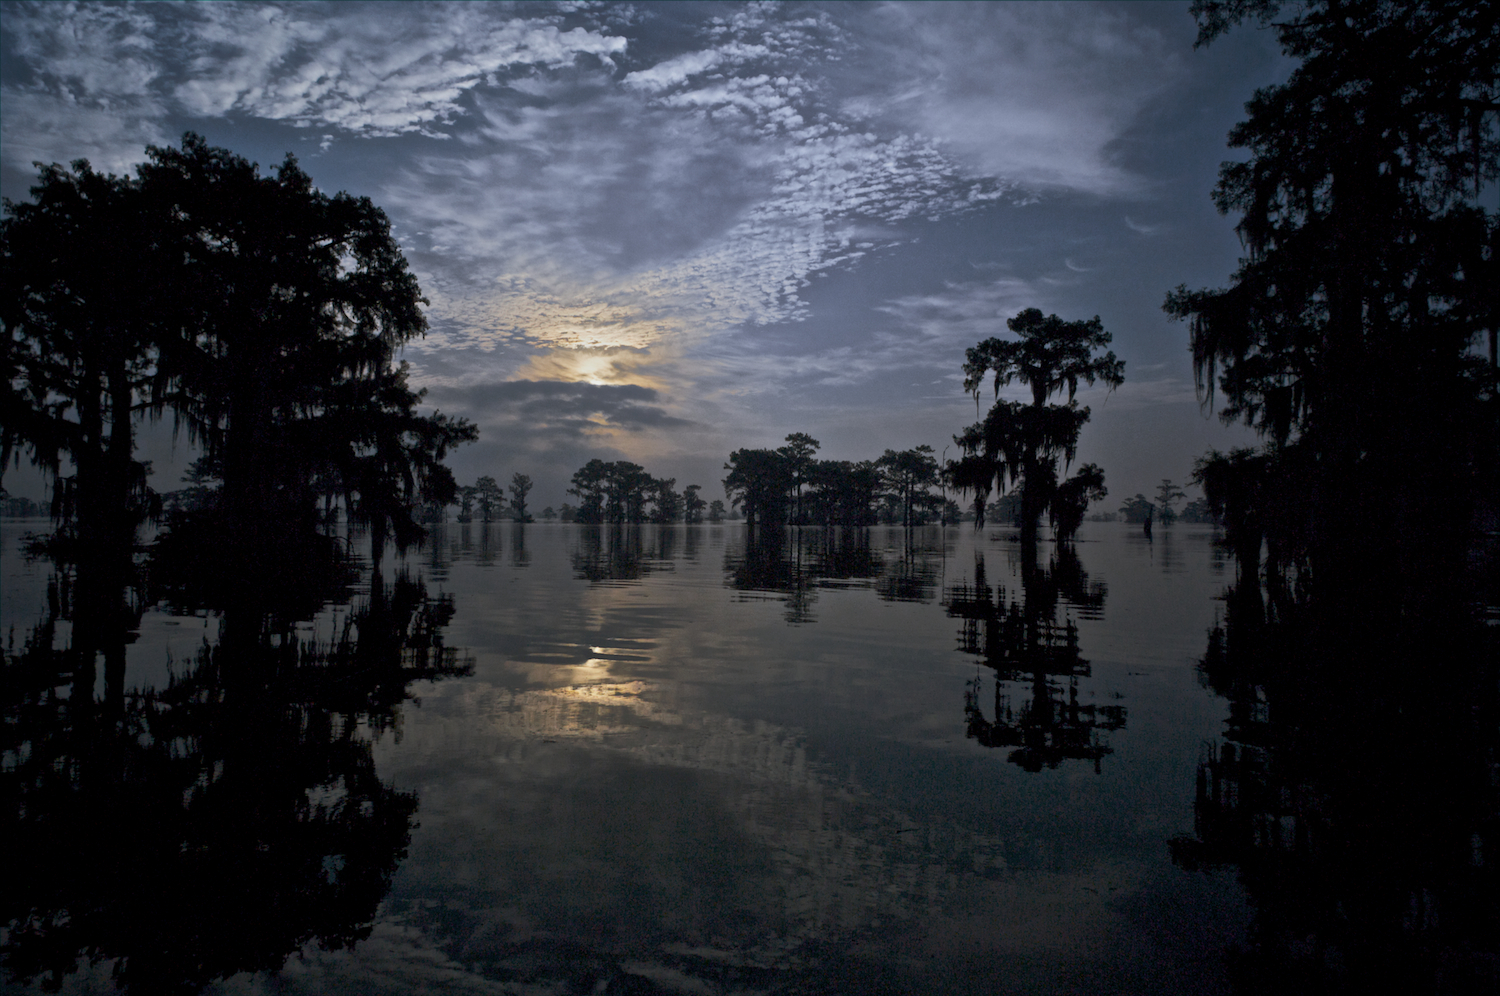
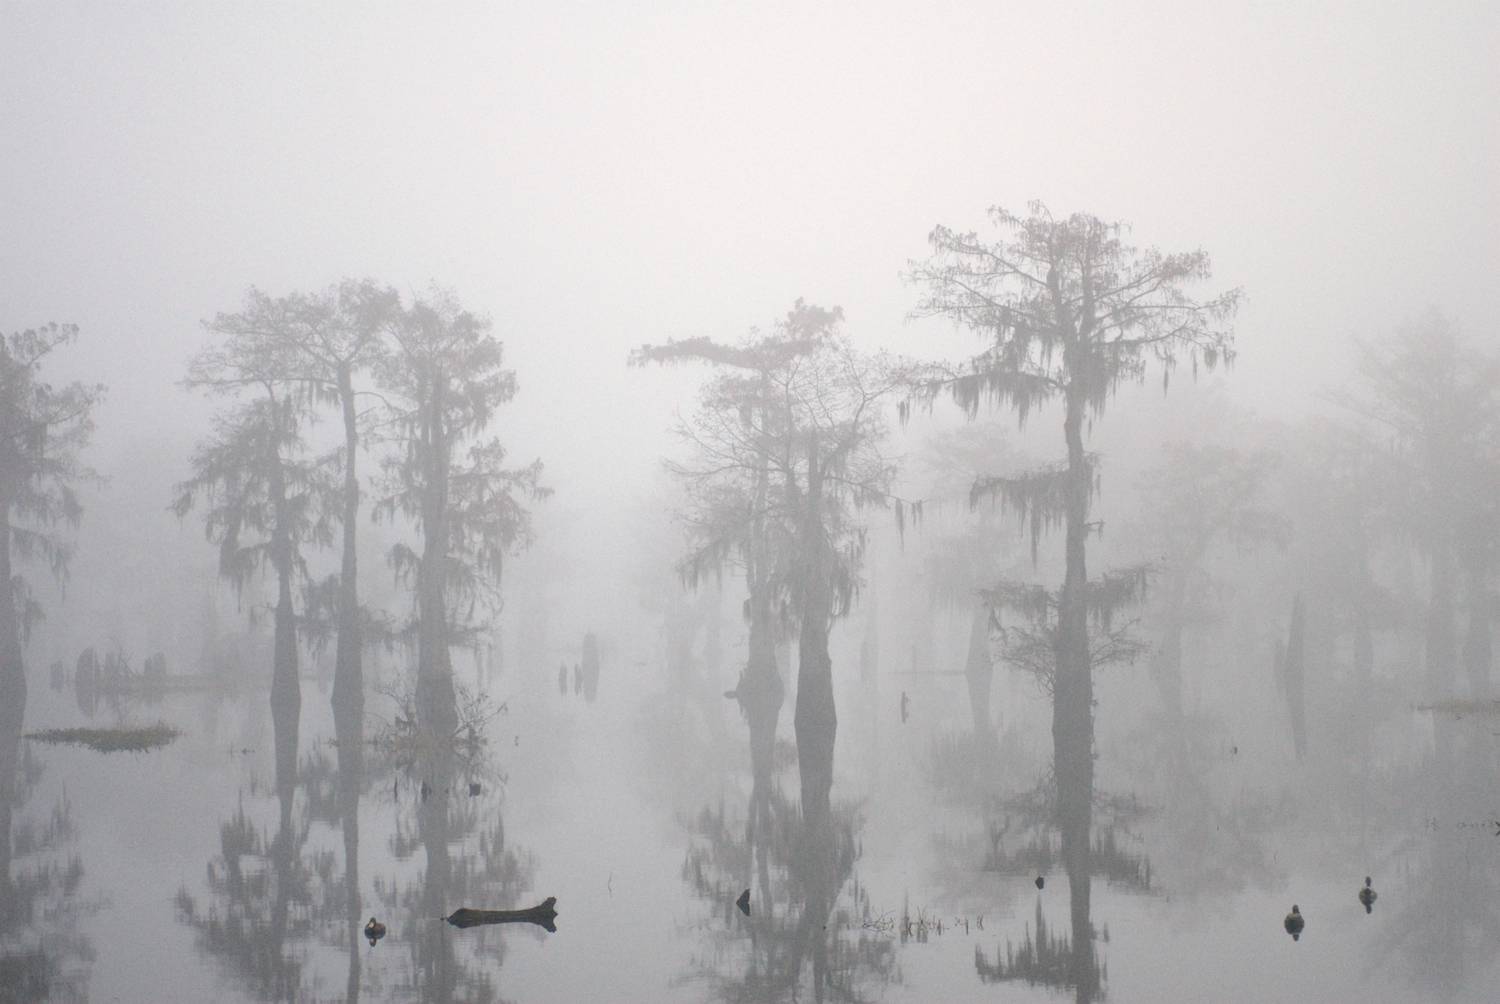
Southern Louisiana is blessed with many foggy mornings, creating a dreamlike atmosphere that is perfect for photography. I particularly love capturing foggy cypress scenes over the water, where the mist isolates the trees against a stark white backdrop. Even more dramatic are mornings when low-lying fog catches the light, making it appear as though the mist is on fire.
Louisiana and Fog
Due to the humid conditions, Fog is not unusual in Southern Louisiana. Fog forms when the air temperature falls below the dew point. Over the water, in the Atchafalaya Basin, it is not unusual to have very dense fog that covers all. Less frequently, the fog forms in a thin layer over the water. Both situations lend themselves to stunning photographs.
Key Characteristics of Fog Photography
When photographing foggy landscapes, you’ll notice a few distinct characteristics:
Soft, diffused light – Fog eliminates harsh shadows and softens the entire scene.
Low contrast – The mist mutes colors and details, creating a dreamy effect.
Atmospheric perspective – Objects become blurrier and less distinct with distance.
Glowing effect – Shooting into a light source, such as the rising sun, makes the fog appear luminous.
Brighter-than-expected exposures – Camera meters often underexpose foggy scenes, so manual adjustments may be needed.
Techniques
Choose your position in the scene prior to picking a focal length, judge the degree of blur desired, and then choose the lens focal length to create the composition.
Focus the lens on Close Objects rather than distant ones. The image appears sharper closest to the photographer, A sharp foreground with a blurred background will look natural.
Largely ignore the depth of field as distant objects will appear blurred in fog anyway. A moderate Telephoto Lens is often a good choice in dense fog even with its shallow depth of field.
Assume the scene is white, often requiring 2 stops of light beyond mid-tone. In an automated mode such as Aperture Priority, try 1.7 to 2.0 stops of positive compensation. Check your histogram after shooting and adjust to the conditions. I shoot in manual and watch the histogram to achieve the proper exposure.
With Low-lying fog, look for opportunities to shoot into the sun and achieve a fiery appearance.
Lake Martin - Status of a Favorite Photo Location
An update on photography at Lake Martin. While the birds are not yet back near the road and many of the price landscape locations are now blocked, Lake Martin is still worth a visit if you're in the area.

History
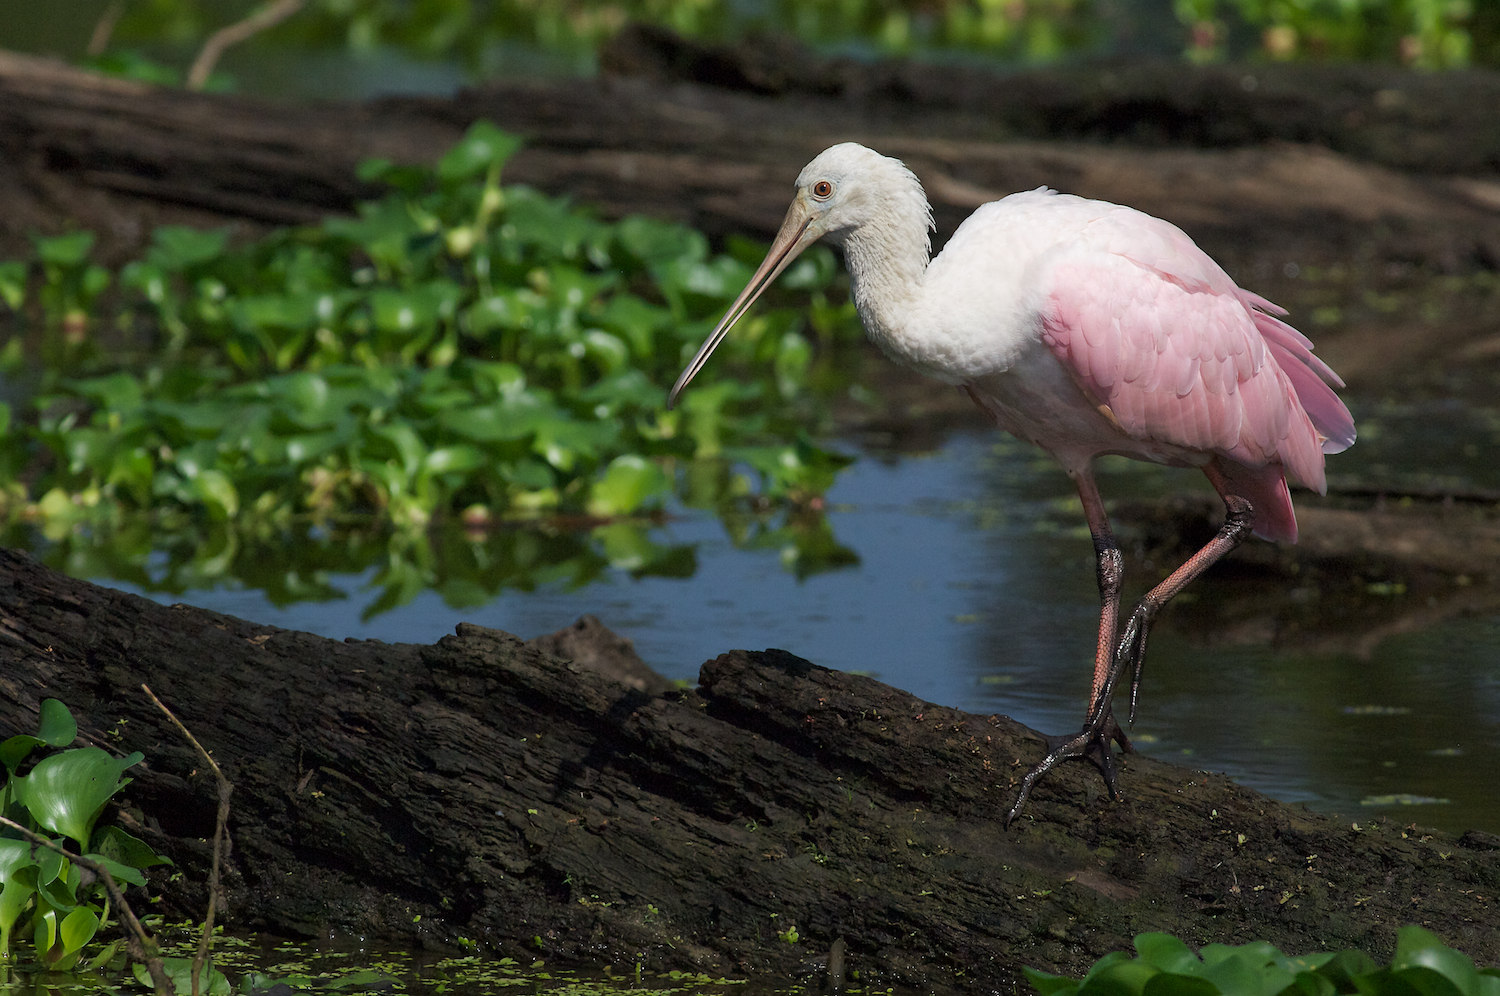
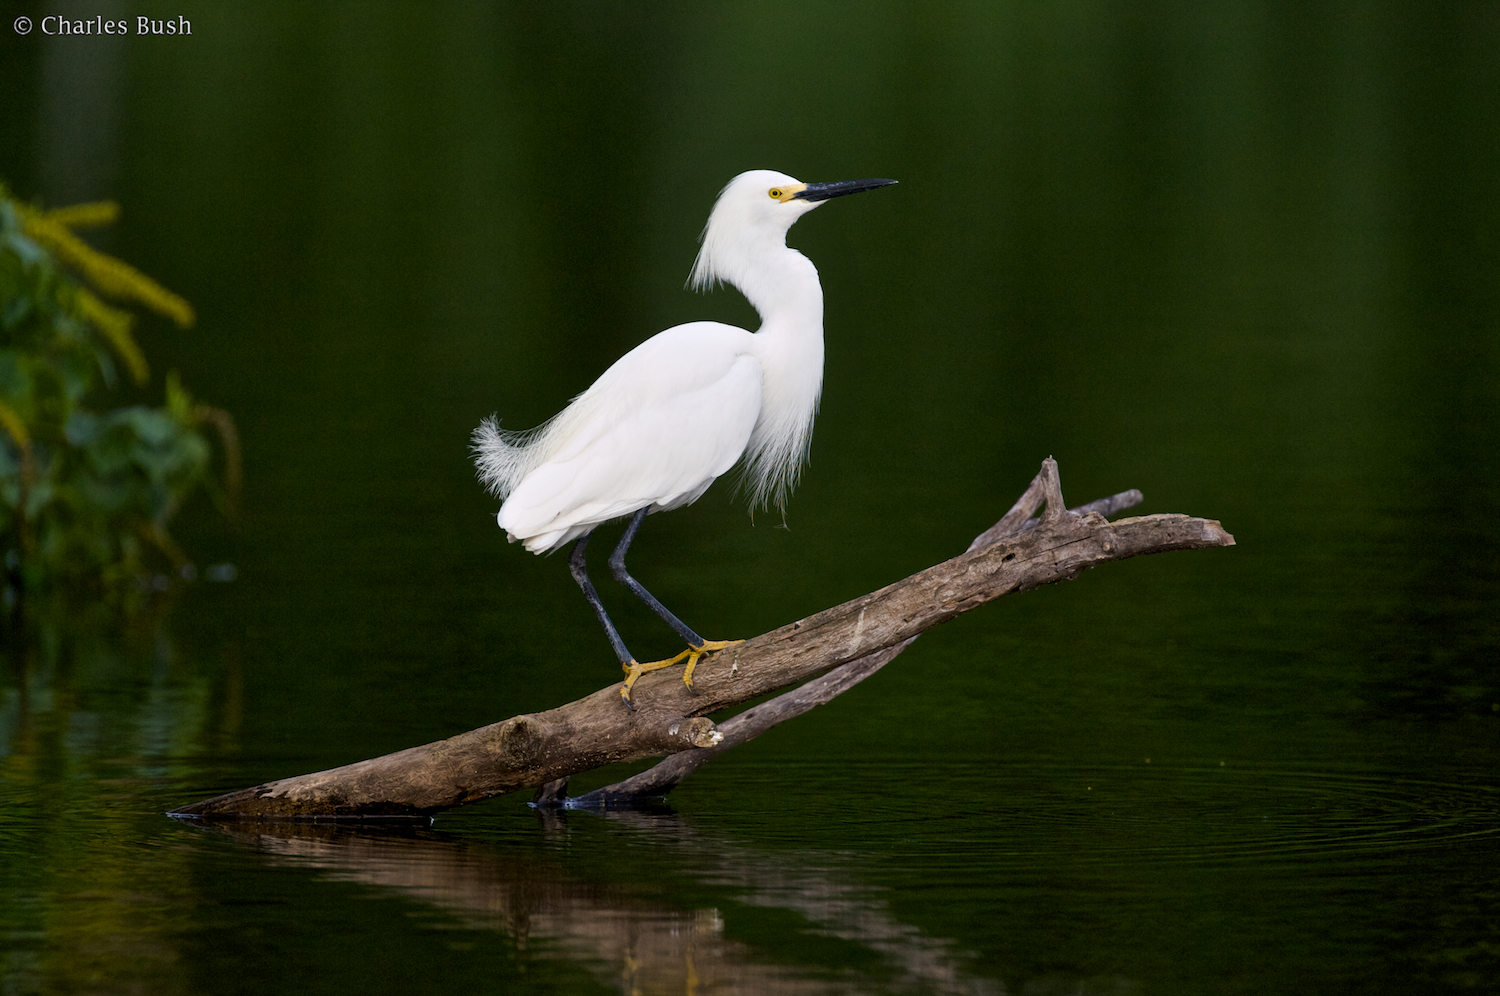
When I first moved back to Louisiana in 2001 I discovered the amazing Rookery at Lake Martin. There were literally thousands of nesting wading birds, including resplendent Roseate Spoonbills nesting within easy photo access of the road. from the Spring of 2002 through March of 2006, I spent hundreds of hours photographing the amazing scenes unfolding before my eyes. This was truly a world class place to photograph wading birds, particularly the Roseate Spoonbill.
That all abruptly ended in Late March of 2006. On the morning of March 26th, I received an email telling me that the majority of the birds had left. Having been there on the morning of the 24th and witnessing what appeared to be a better than typical nesting season, this came as a real shock. While it can't be proven, I believe that this was a man made tragedy.
In the last 7 years, many of the nesting birds have returned. Unfortunately none are are nesting within easy photo range. While in the early spring there are good opportunities to photograph the birds in flight retrieving sticks for their nest, the best opportunities are birds within the lake feeding and landscapes.
Current Photo Opportunities
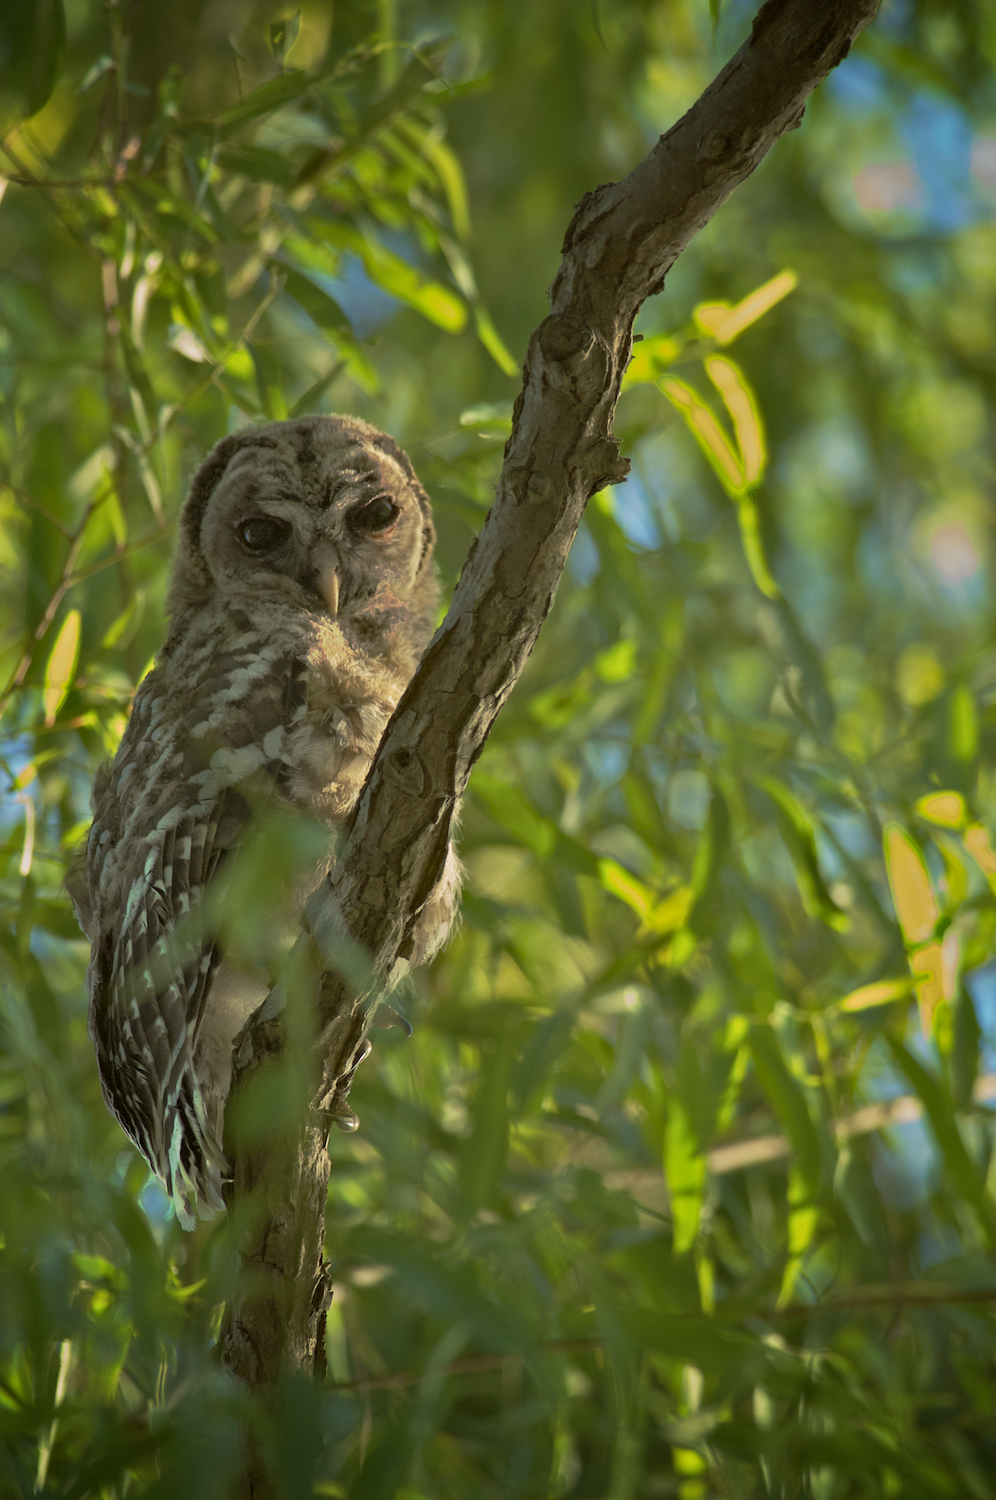
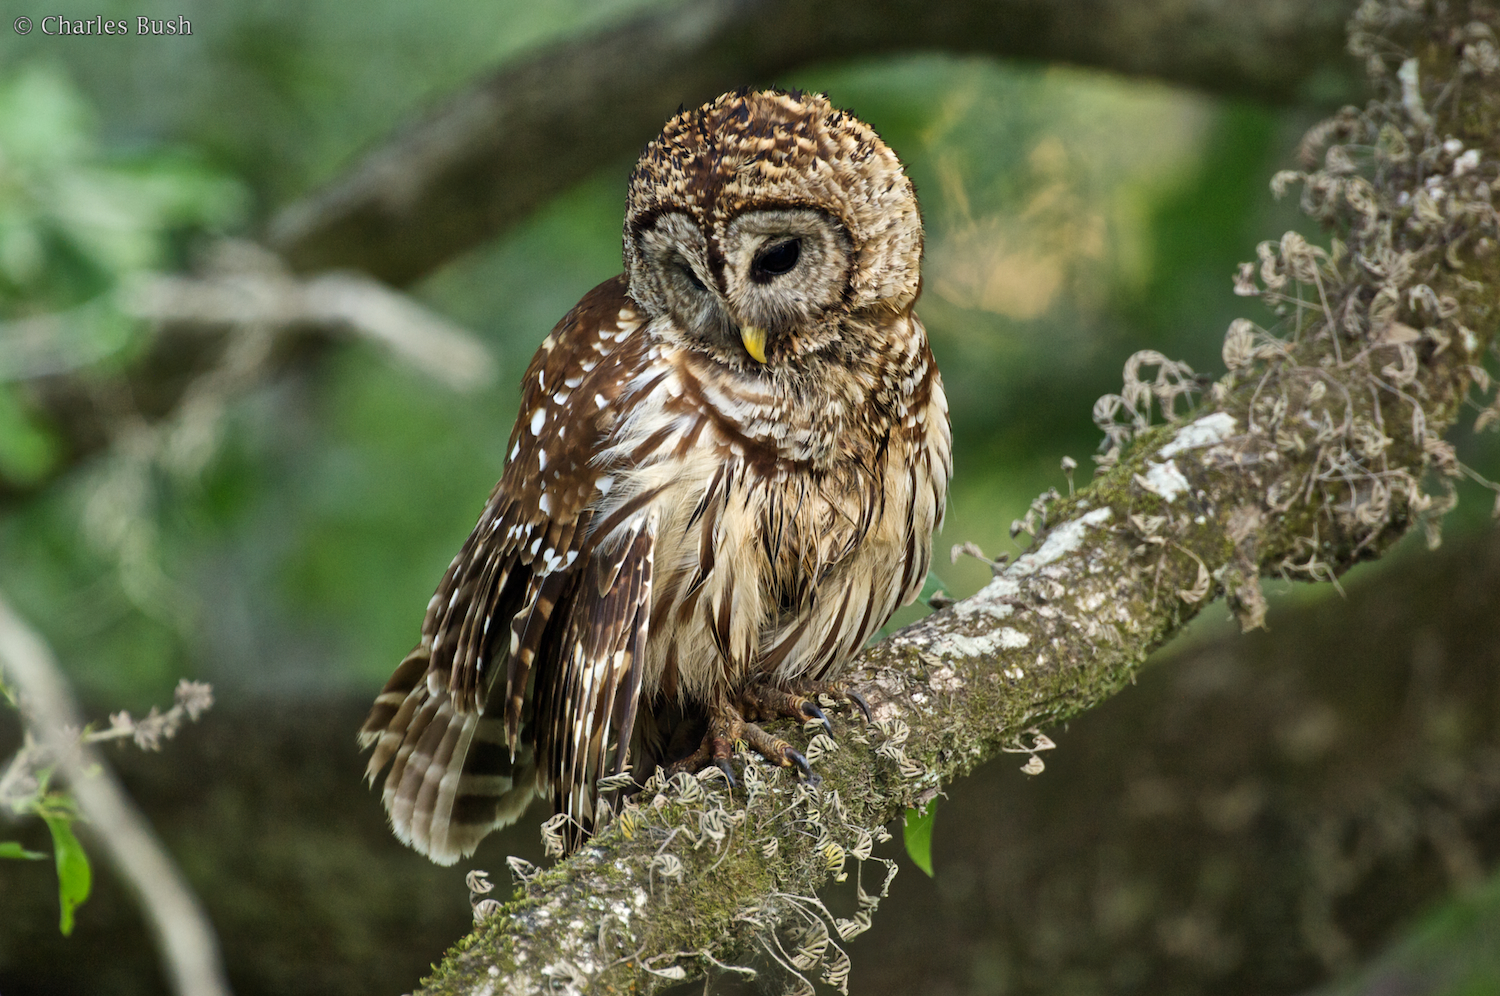
Lake Martin is one of the best places to photograph owls. Barred owls are frequently seen along the road and from the new board walk early in the morning. Several times I have spent at least an hour following an owl from tree to tree as it caught crawfish from the water and returned to the tree to eat.
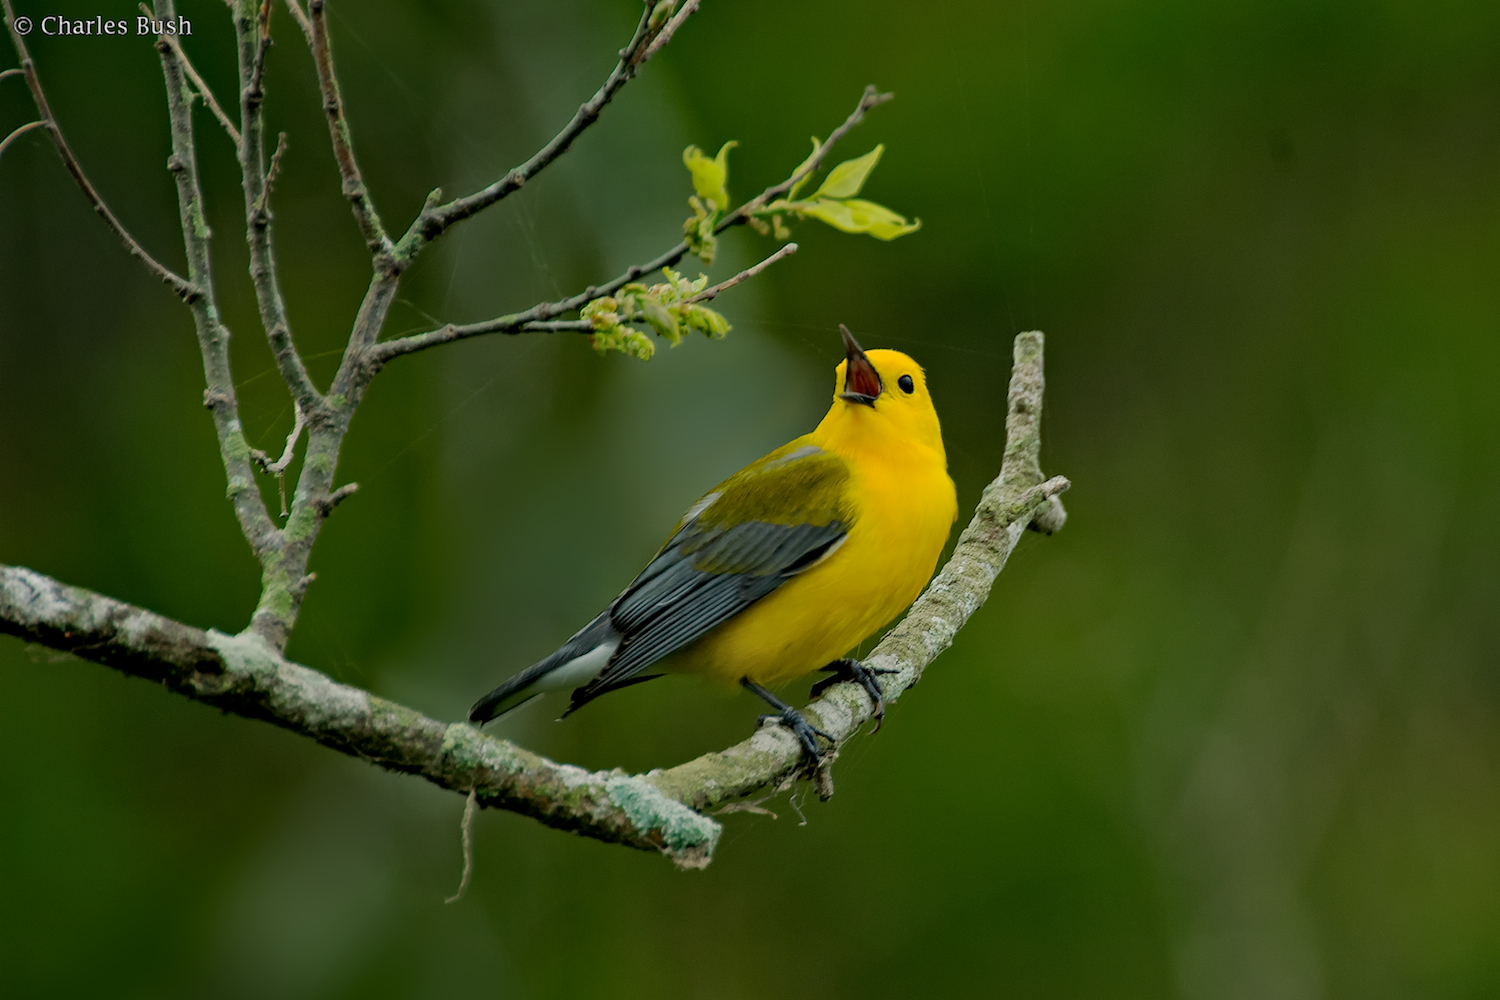
Lake Martin is also a good place to photograph smaller birds in the spring, such as the Prothonotary Warbler. While I haven't gotten any good shots of them, I've also seen Painted Buntings in Mid to Late April.
The lake is also a very good place to photograph irises. Mid April finds Irises in bloom along the edge of the lake and with some work you can make outstanding photographs.
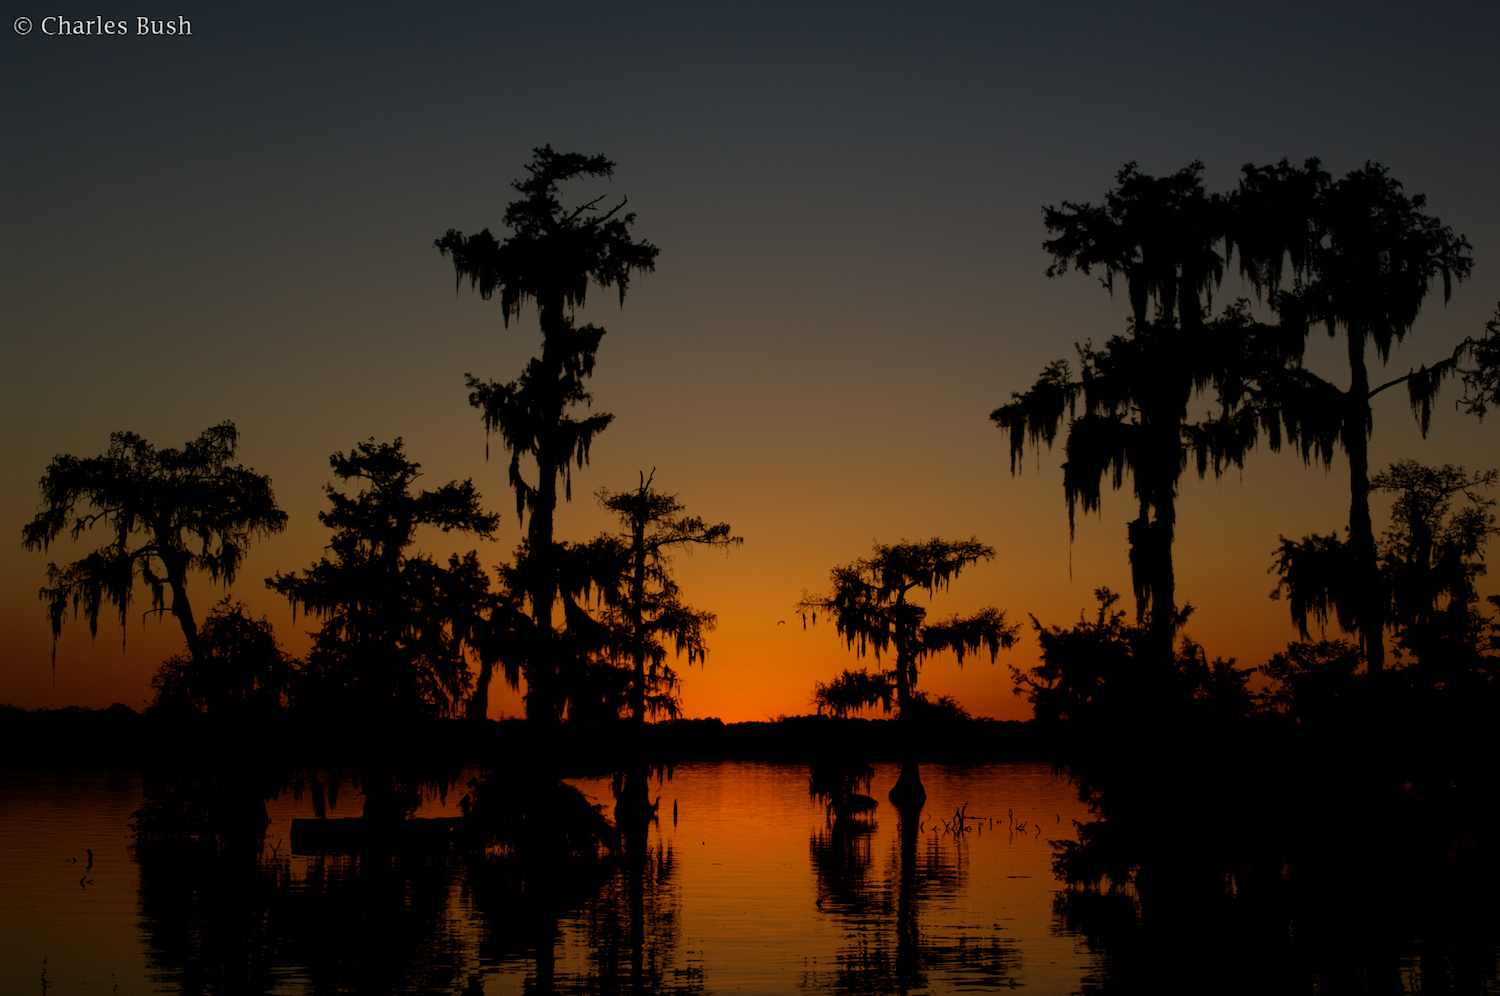
Finally Lake Martin is a great place to photograph Cypress in the water. Although some of the best sites have been blocked by recent construction along the Lakes edge, good shots can be obtained along the road early in the morning One of the best spots in the state to capture sunsets is on the small peninsula along the boat launch.
Summary
While the loss of photographic access to nesting wading birds and to some of the better landscape locations due to construction, Lake Martin still offers significant opportunities to the nature photographer. A day at Lake Martin can provide great shots of native Louisiana wildlife and landscapes.
Update Late 2015
Unfortunately, 2015 saw a significant decline in wading birds over 2014. My hopes for a return of a great place to photograph nesting wading birds seems to be unwarrented and I'm focusing elsewhere. I've also not been able to photograph owls over the past several years and many of the best places to photograph landscapes have been obscured by development and no trespassing areas. Unfortunately I have also witnessed people removing many of the natural wild irises on the northern side of the lake, of course nearest the road where it's easiest to photograph. While still a good place to photograph natural Louisiana, it is no longer a great place.
Henderson - A Magical Swampland
Many people living in or visiting Southern Louisiana have driven 18 mile the stretch of the highway from Lafayette to Baton Rogue which is elevated over an immense wetland. The area below the highway is an incredible area of Cypress Trees growing in the water with an abundance of wildlife. This area, which I know as Henderson, from the name of the town on the West side of the area, has been one of the go to shooting sites for my tours for many years.
Many people living in or visiting Southern Louisiana have driven the 18 mile stretch of the highway from Lafayette to Baton Rouge which is elevated over an immense wetland. The area below the highway is an incredible area of Cypress Trees growing in the water with an abundance of wildlife. This area, which I know as Henderson, from the name of the town on the West side of the area, has been one of the go to shooting sites for my tours for many years.
Access
First obviously a boat is required. For my tours I use the folks at The Atchafalaya Experience, they know the area and have the right equipment to properly explore the area. The area can be accessed either from the commericial boat launches along the Levy in Henderson, or from the boat launch at the Atchafalaya Welcome Center near Butte LaRose.
Opportunities
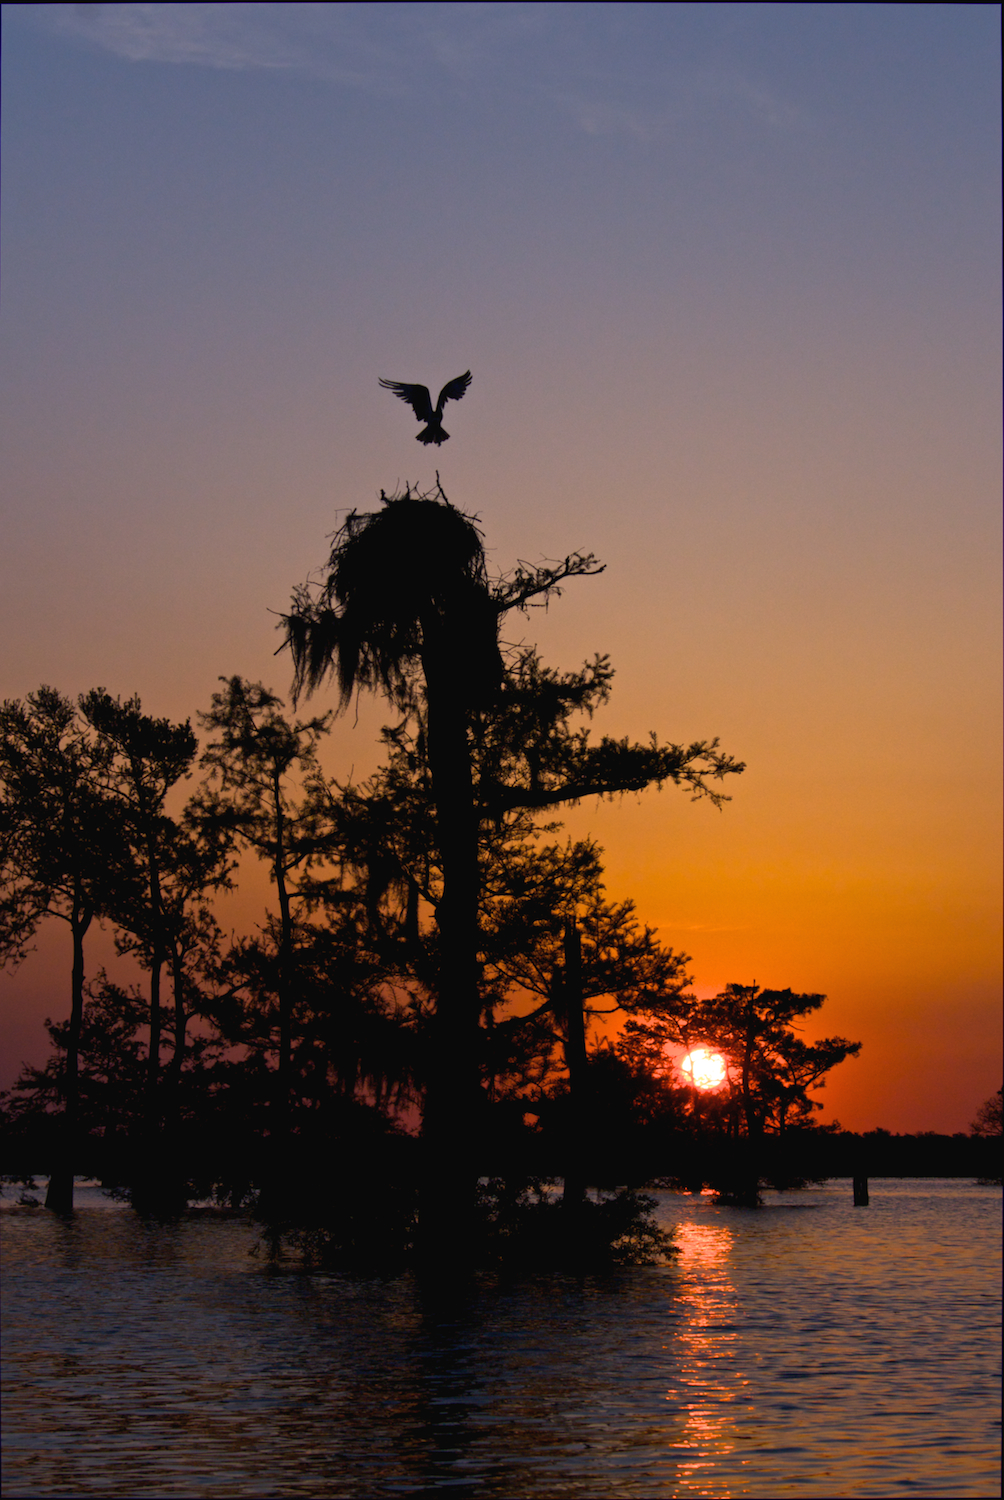
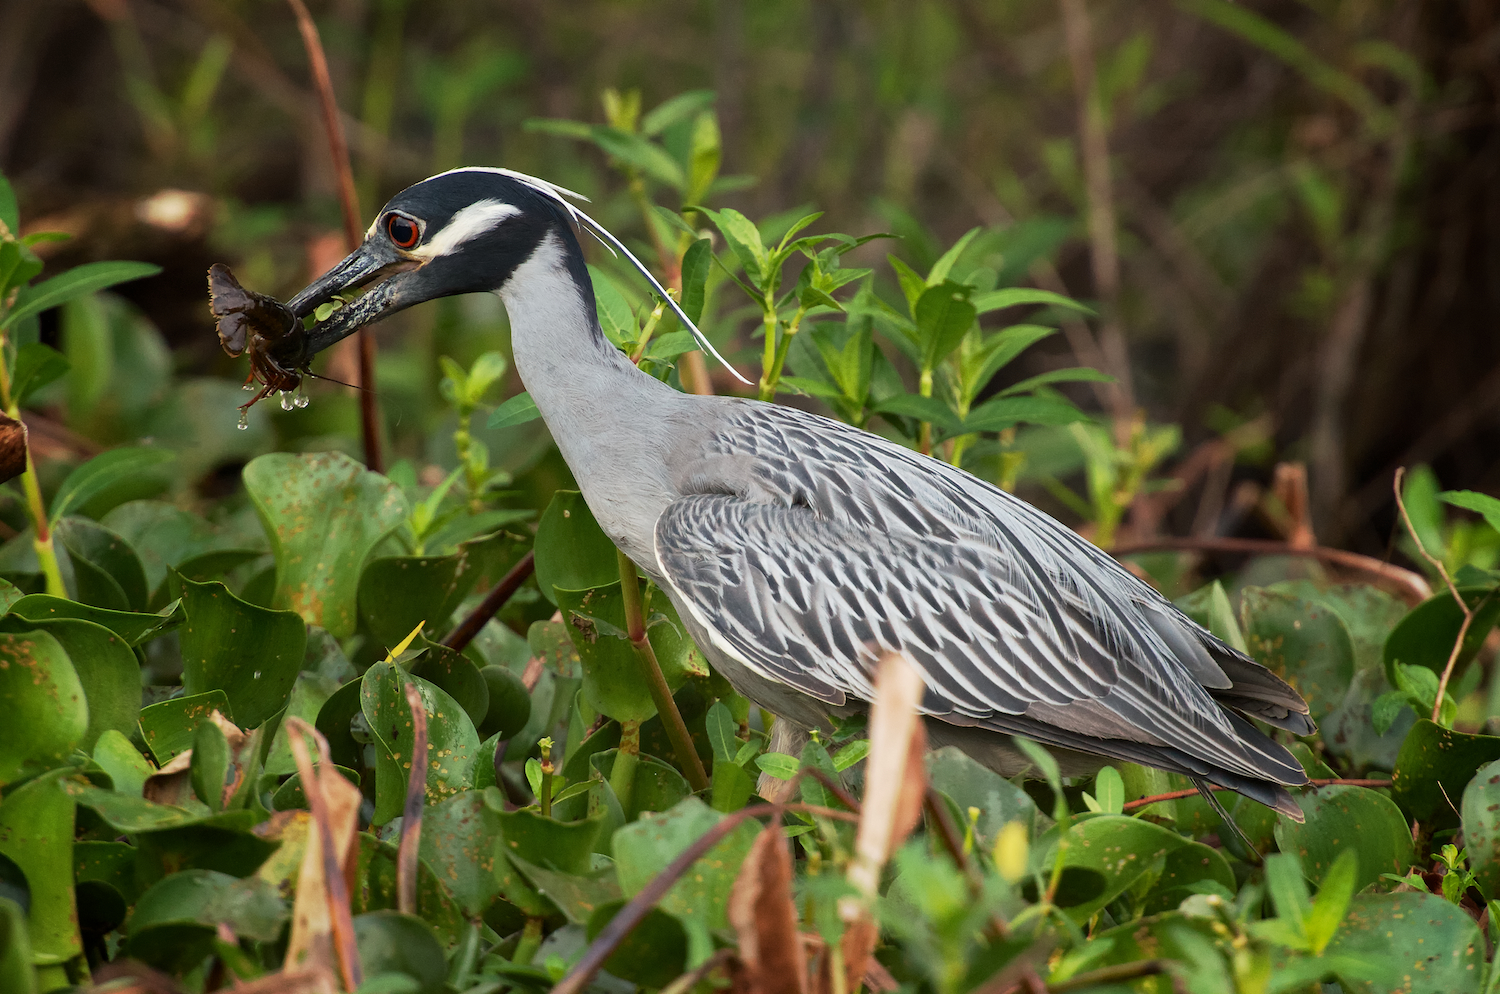
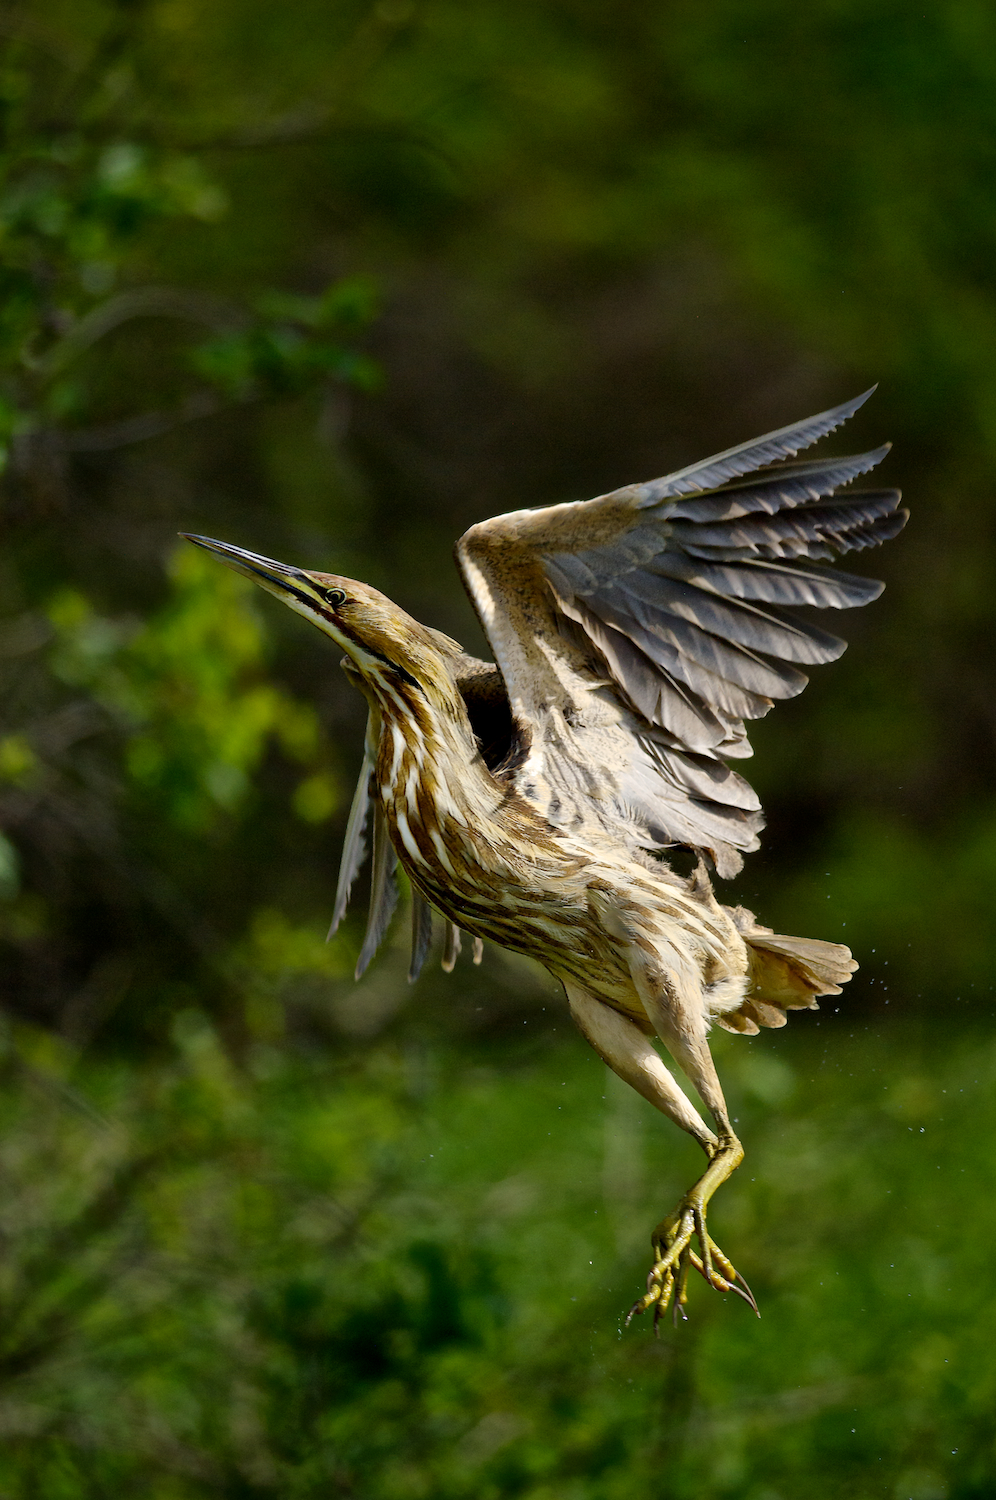
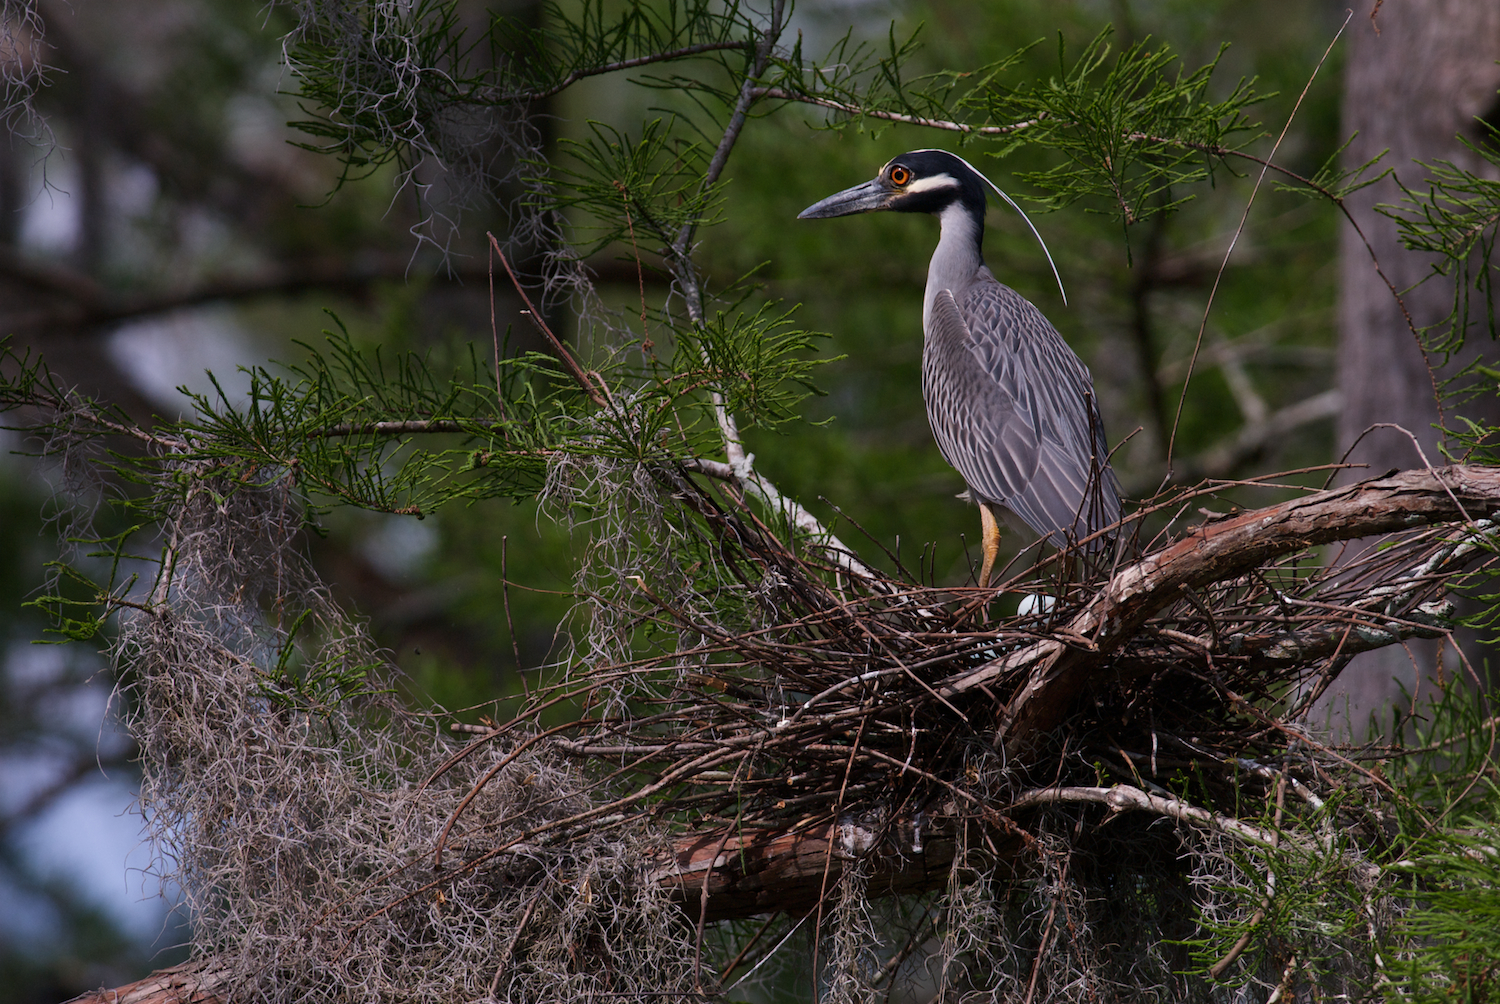
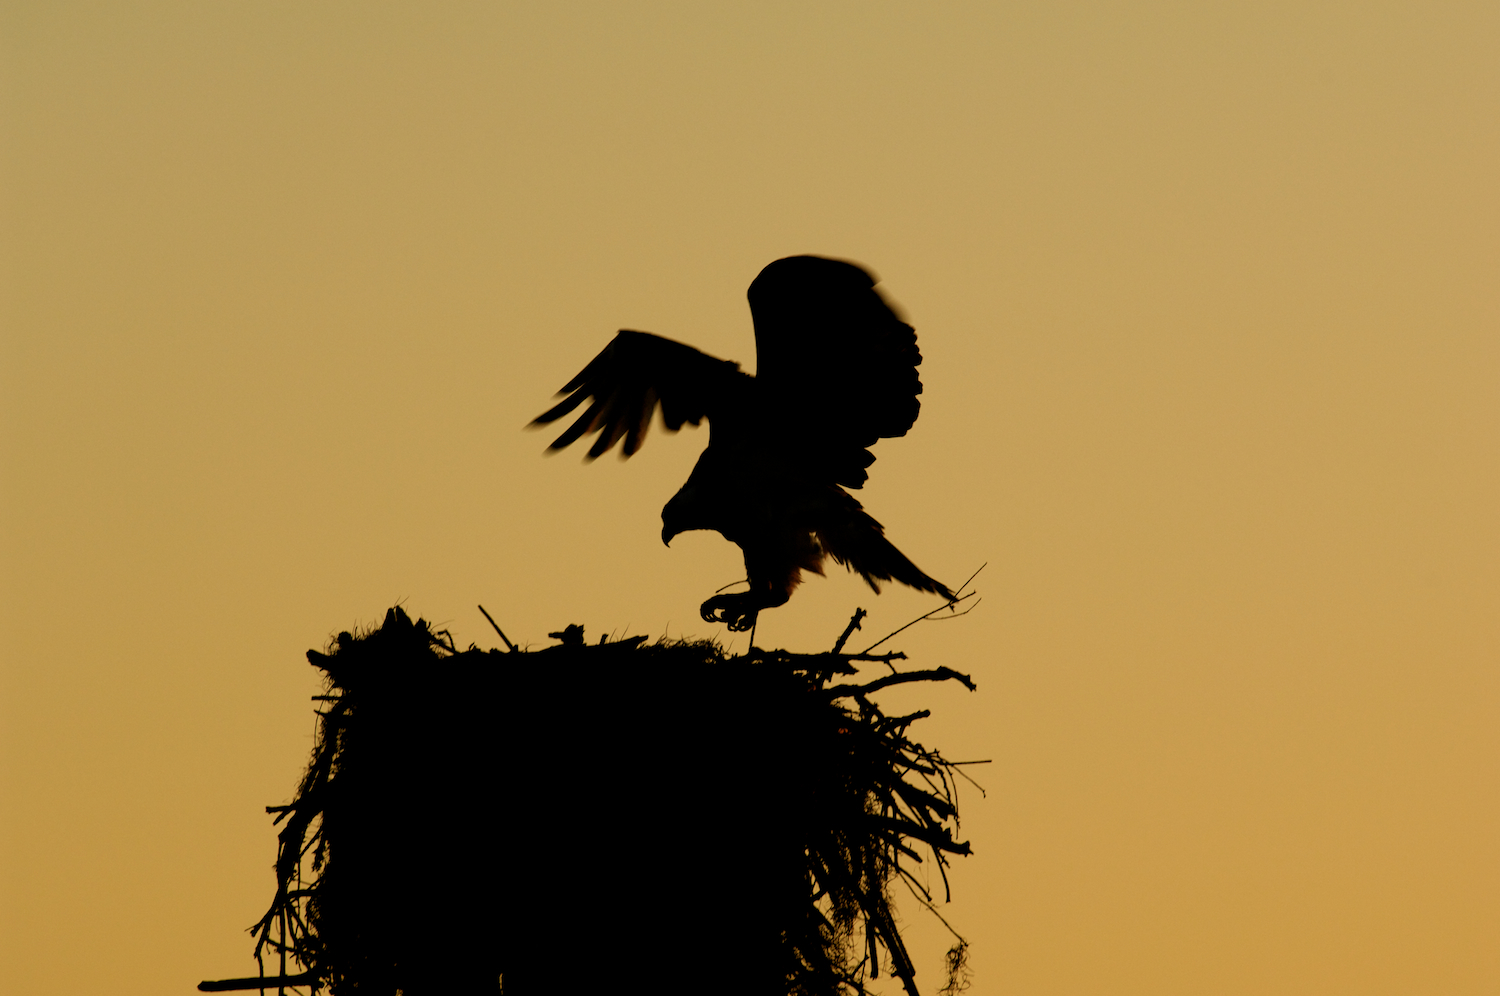
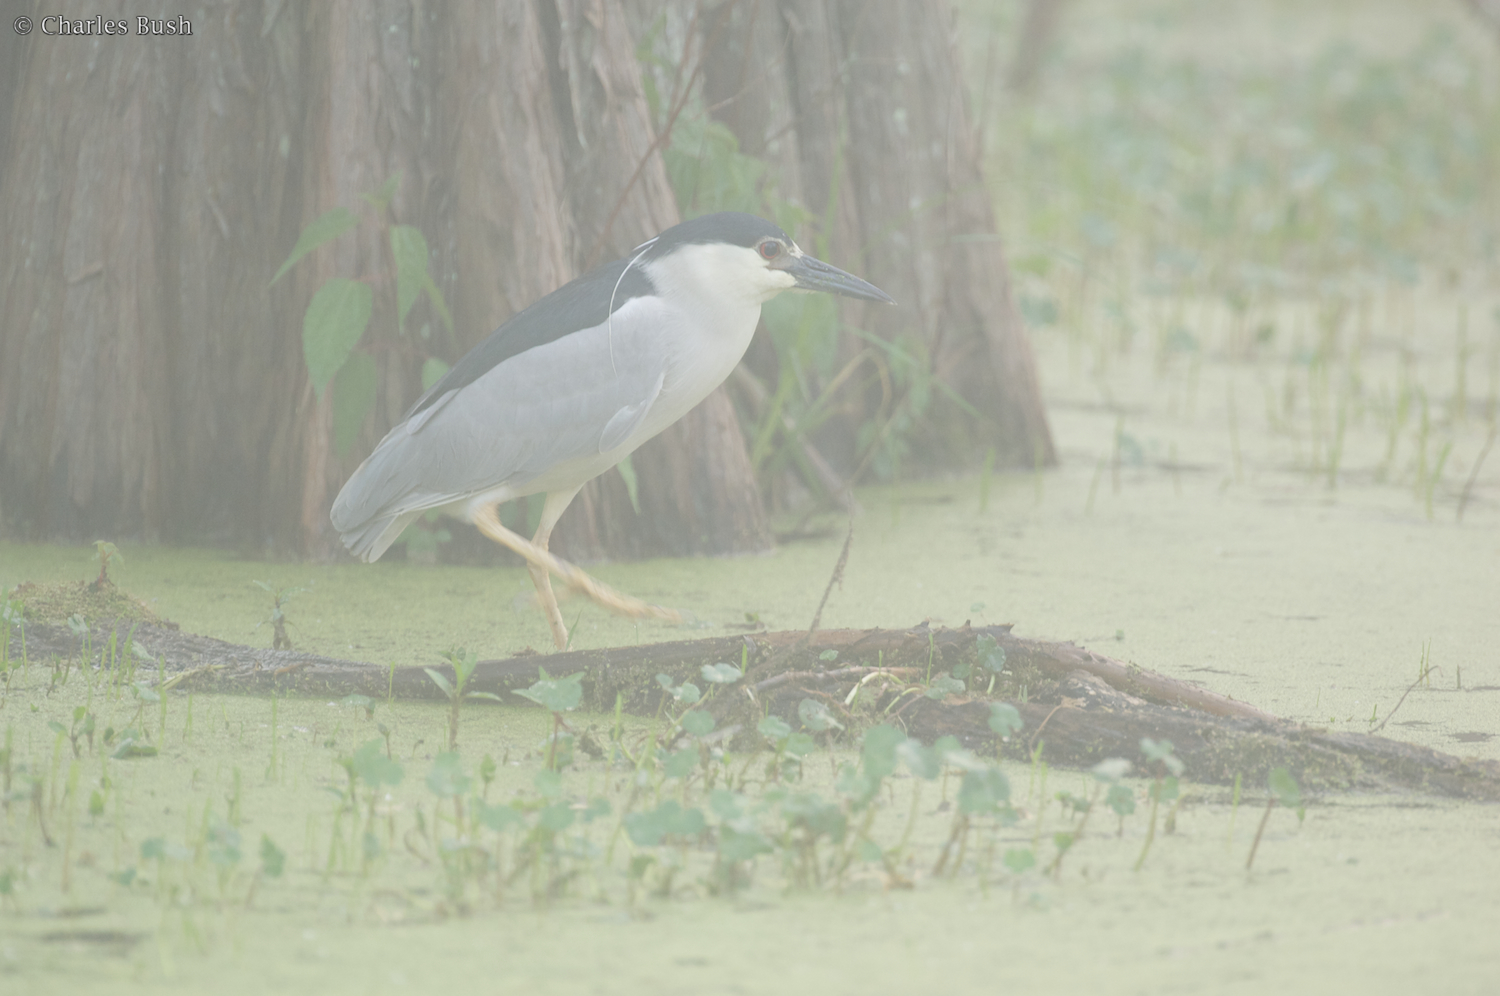
Normally on the tours we launch from the Welcome Center and head west from the launch between the spans of interstate 10. Wonderful opportunities abound both South and North of the Interstate. Most often we visit Henderson in the morning and photograph landscapes first with the sunrise and for the first half hour or so. Then as we have more light, we run the canals in search of birds, usually an owl or two, yellow crowned night herons, etc. We have also gotten on ducks, bitterns, beaver, etc. The final hour or so is spent photographing Osprey on the nest, there are numerous nests, both South and North of I10, and the birds put on quite a show. For birders this is a wonderful place to view song birds particularly in the spring. While it's difficult to photograph song birds from a boat, many of the smaller birds can be seen. We've seen Indigo Buntings, Pileated Wood Peckers, and Prothonotary Warblers. There are also Alligators, Snakes, Beaver, and Nutria. With the abundance of opportunities, rare is the visit that doesn't allow a photographer to create incredible images.
Fall
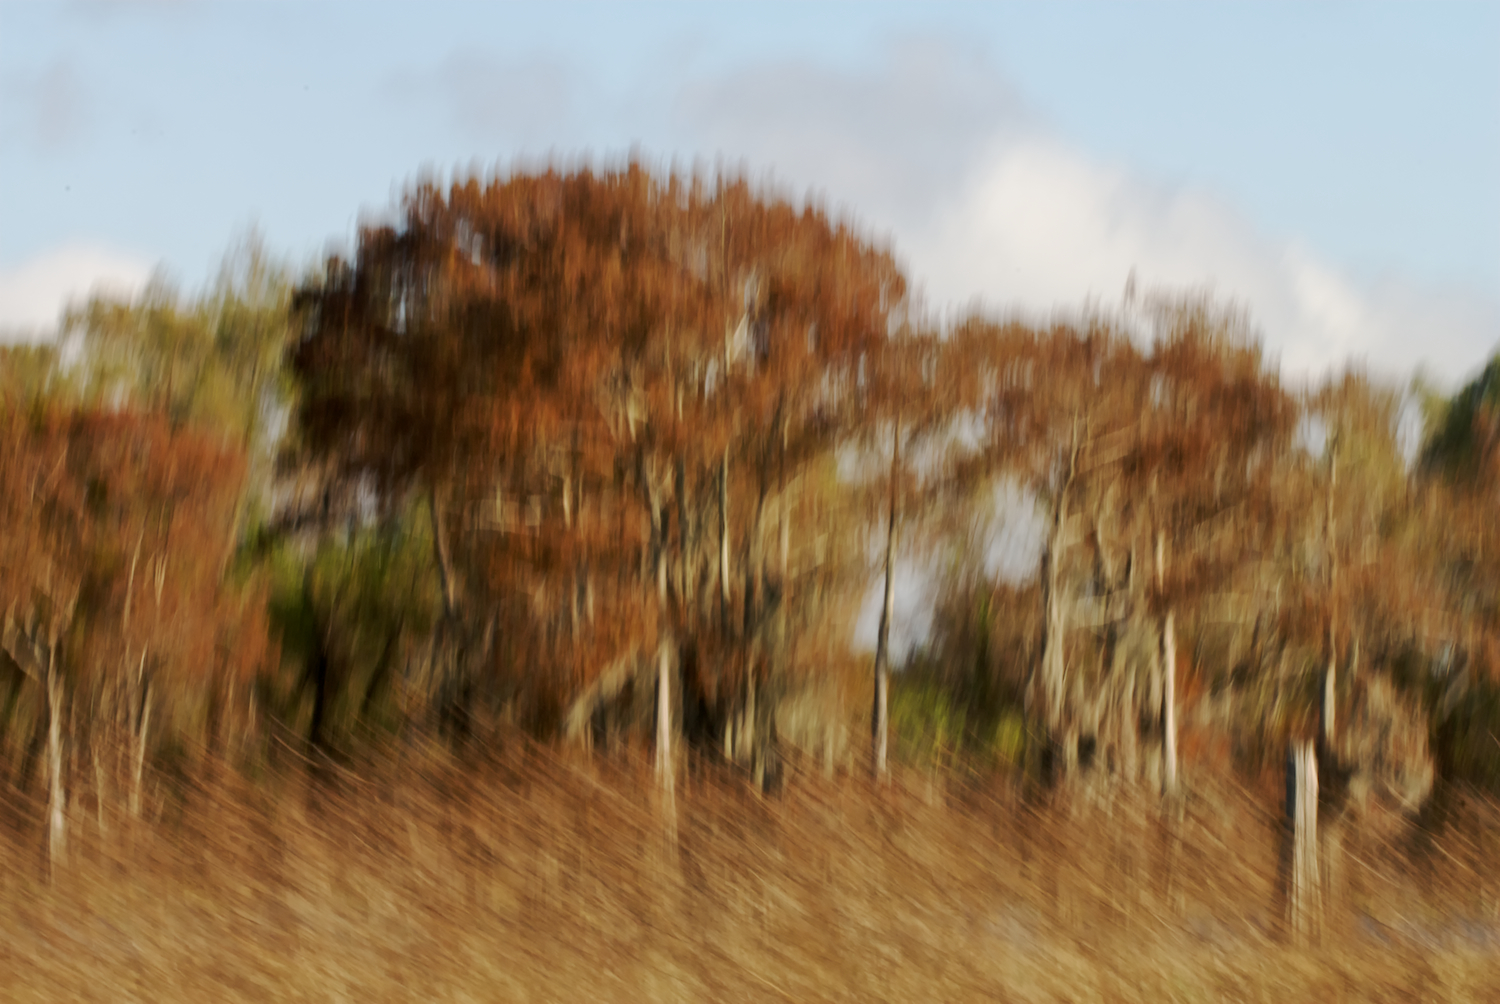
The Cypress in the late Fall turns a beautiful rust color. Providing a strong contrast against a dark blue sky. We also frequently encounter foggy conditions in the fall, allowing a photographer to create almost etherial images. This is truly a magical time in the swamp.
This area is one of the best places to see the beauty of the state of Louisiana and get a close up view of our beautiful wetlands. If you are in the area, make it a point to see this wonderland.


