
Lake Martin 2023 update
I previously wrote about Lake Martin's current situation. Many changes have occurred at the lake over the past few years. Firstly, the boat launch and several surrounding areas were inaccessible for over a year due to a property dispute. Although much of the dispute has been resolved, some places we could photograph are still restricted. Fortunately, the peninsula next to the launch we used to photograph sunsets, is now open again.

Great Egret from the boat at Lake Martin
I previously wrote about Lake Martin's current situation. Many changes have occurred at the lake over the past few years. Firstly, the boat launch and several surrounding areas were inaccessible for over a year due to a property dispute. Although much of the dispute has been resolved, some places we could photograph are still restricted. Fortunately, the peninsula next to the launch we used to photograph sunsets, is now open again.

Lake Martin Panoramic Sunset
Rookery Road is now closed on the south side of the lake. We can no lnnger drive to where the rookery is to check on the progress or diretly drive to teh visitors center. The visitors center is now only infrequently opened and the boardwalk is damaged and is not passible. The last time I could drive by the rookery, very few birds were visible.
During the spring tour we were unable to get any good photographs from the road. Next spring I don't plan on photographing there From the road.

Great Egret on a log at Lake Martin
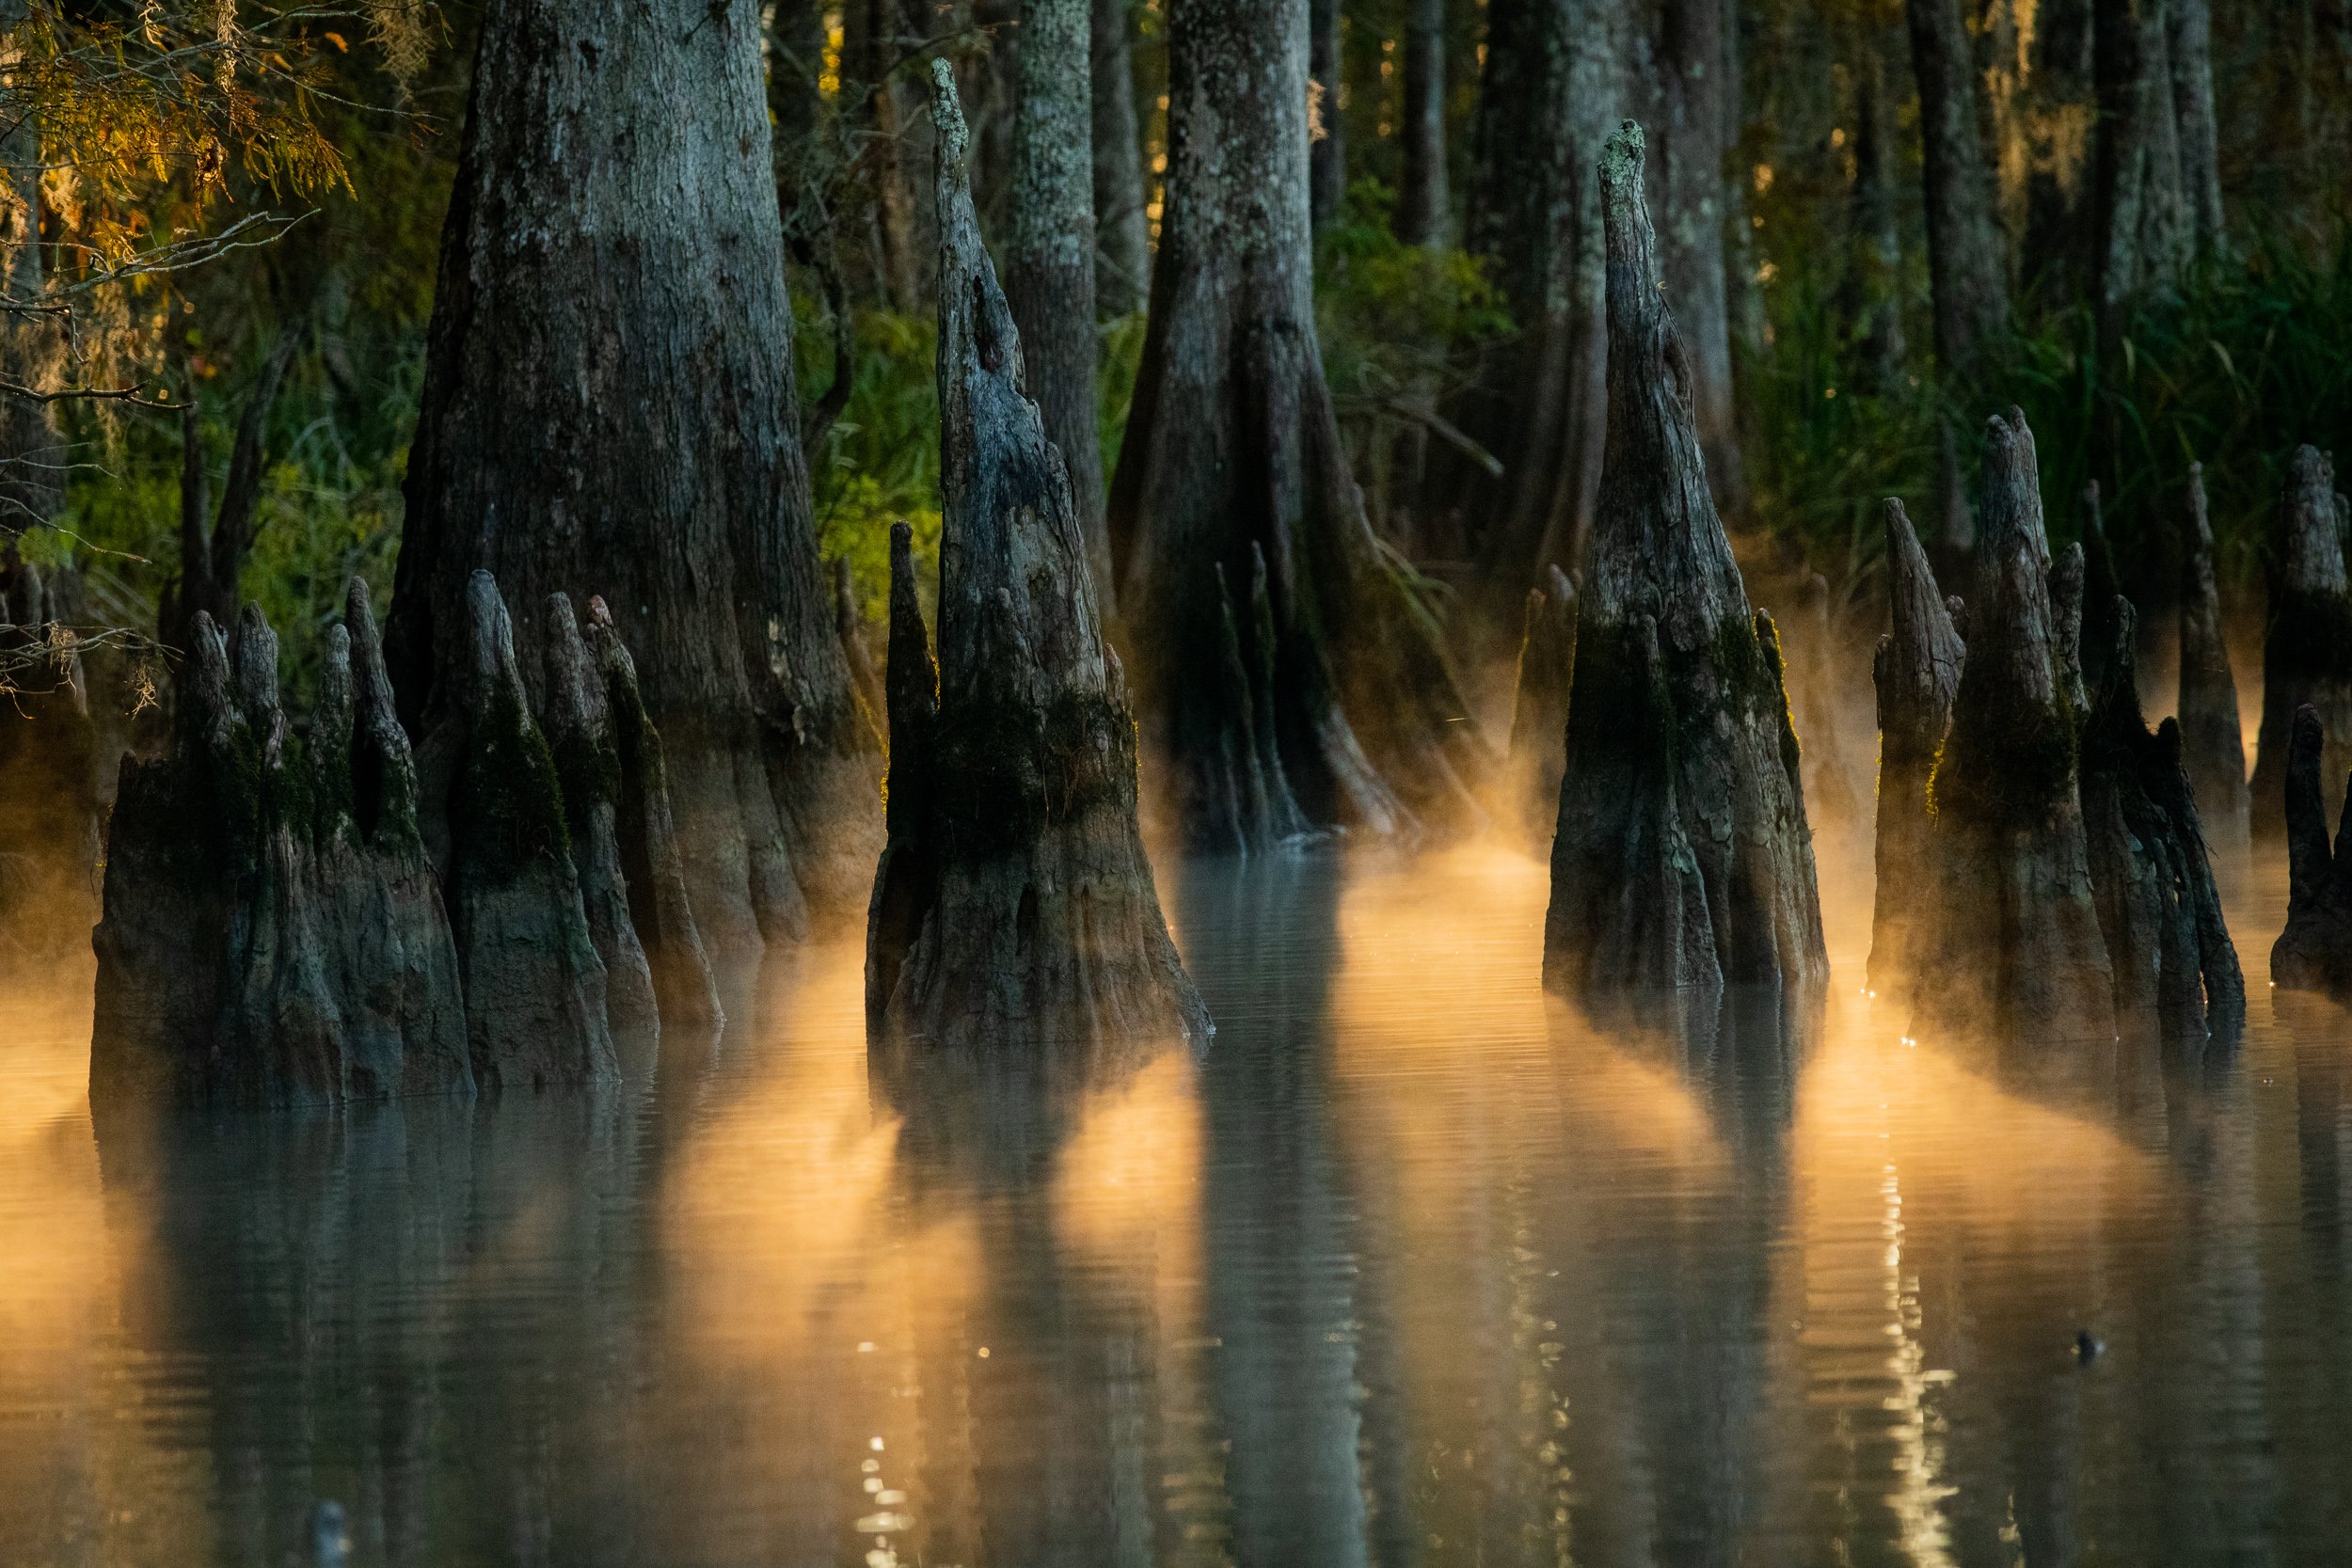
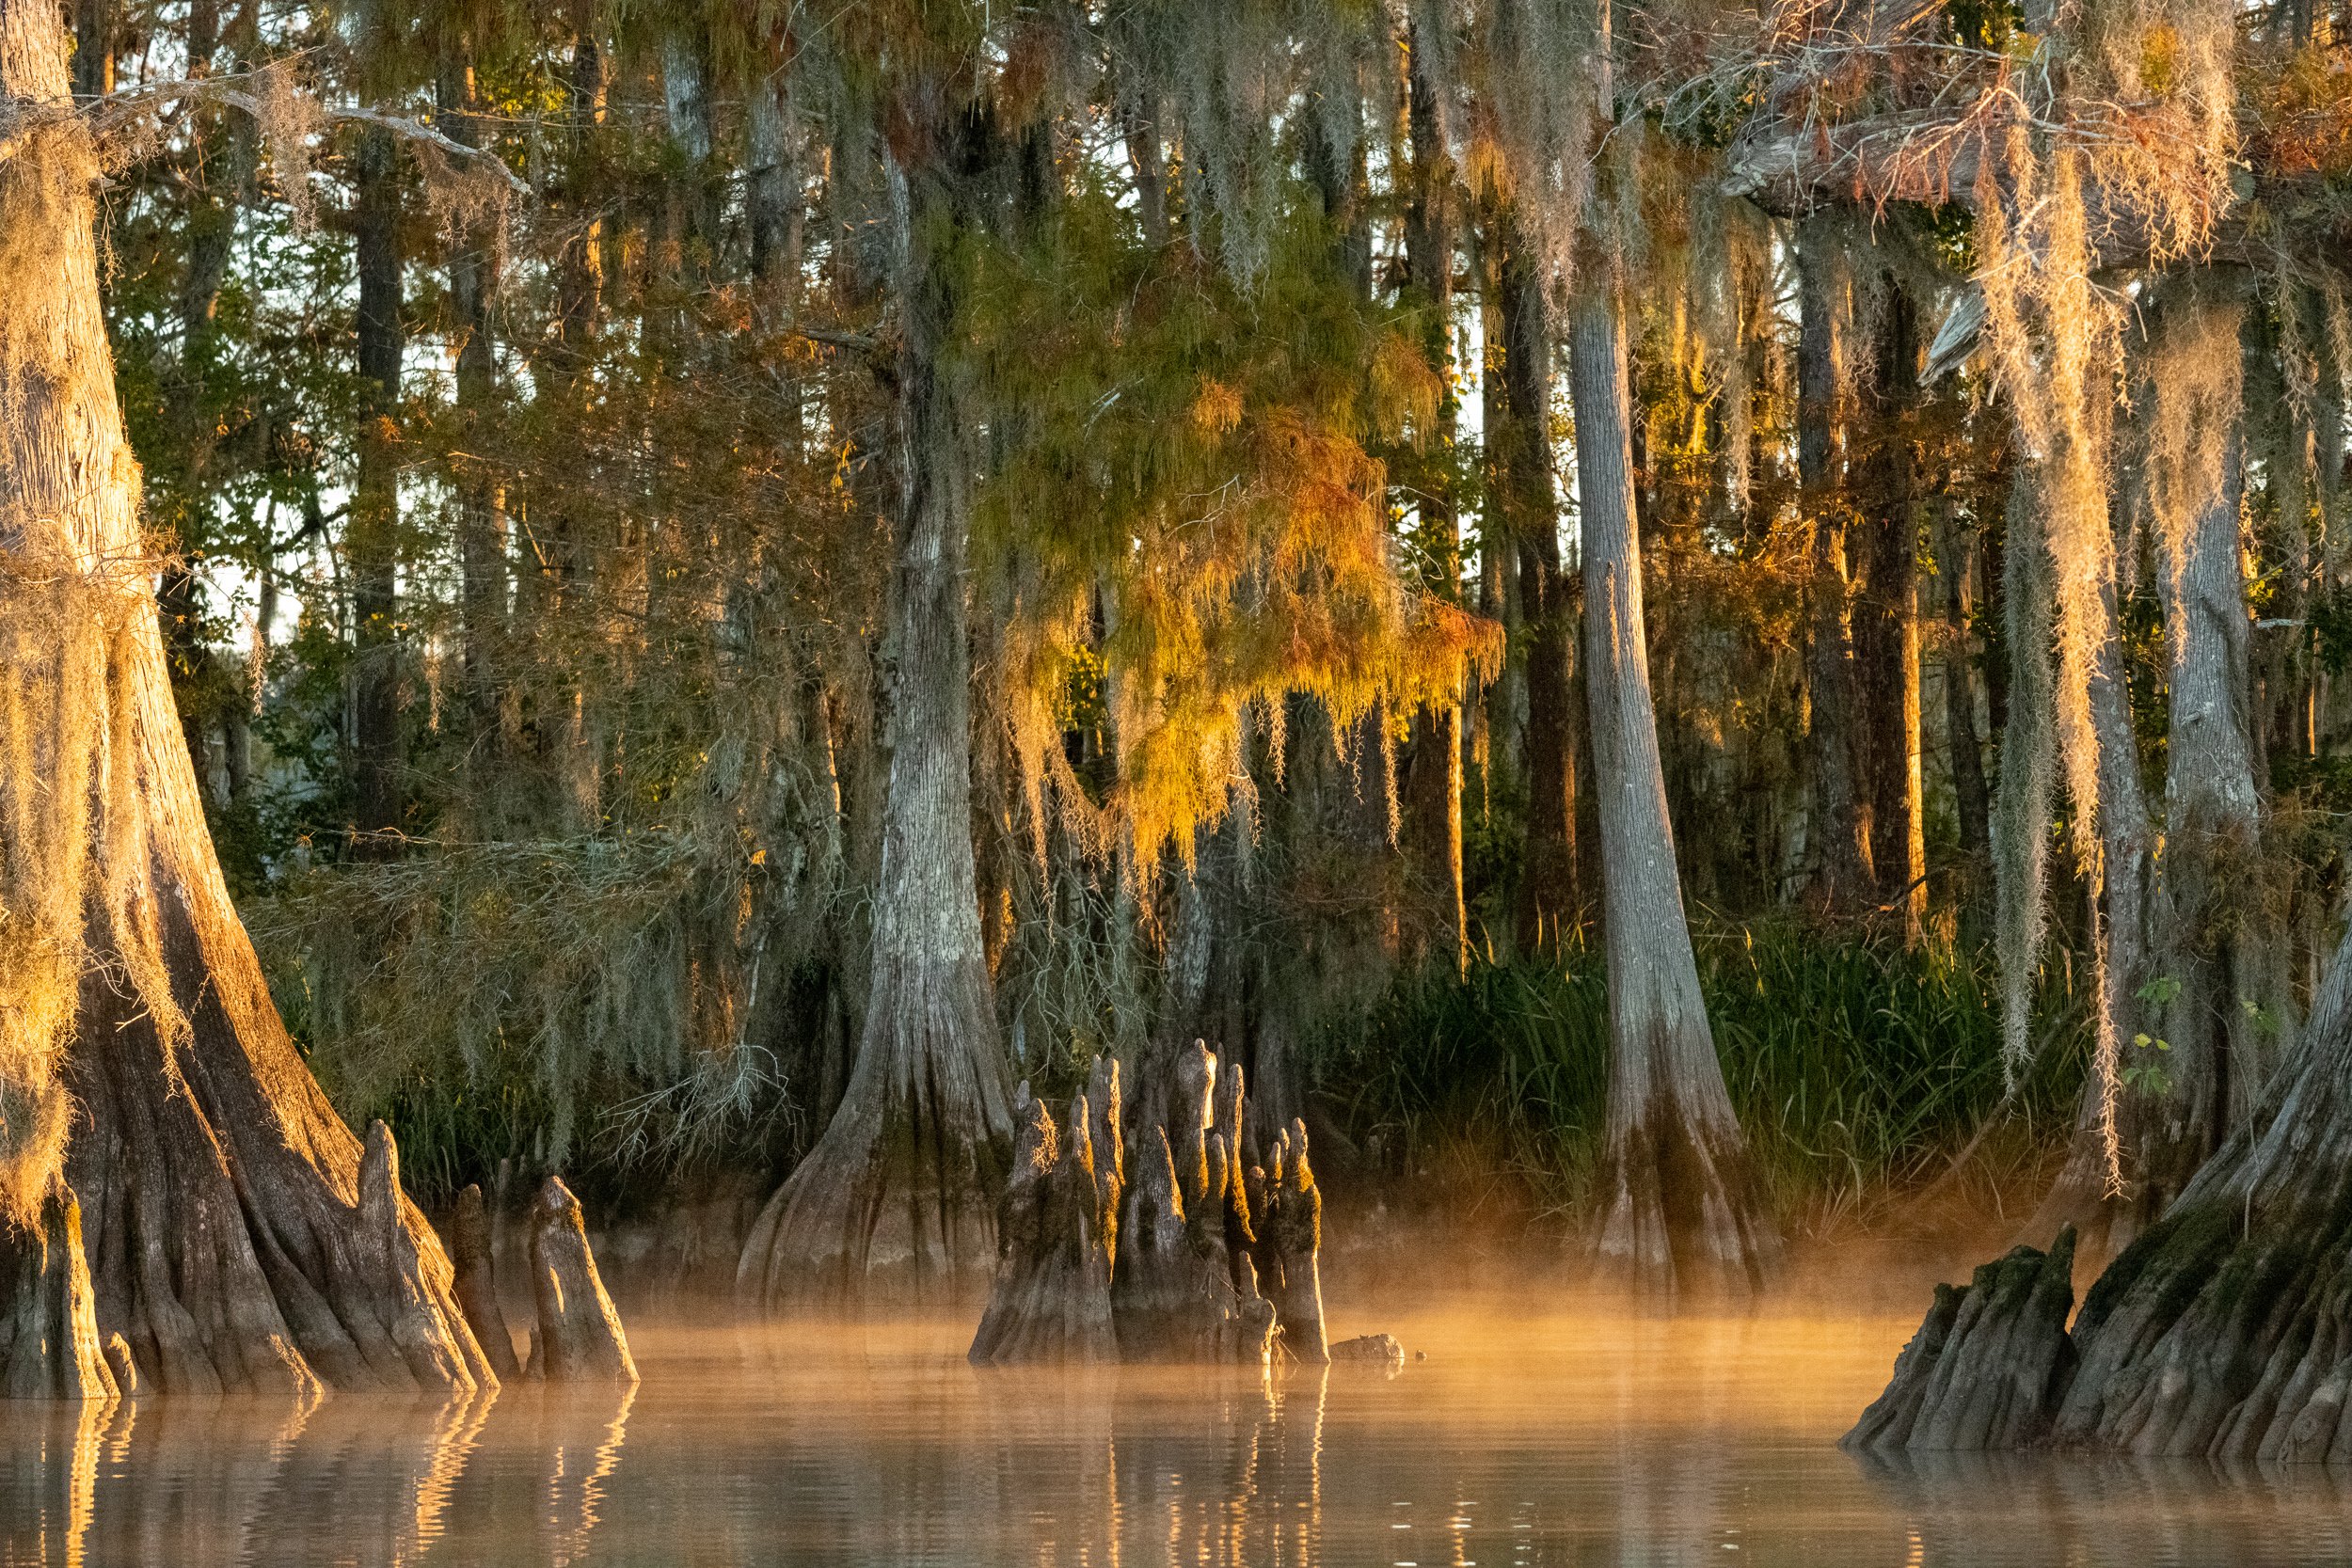
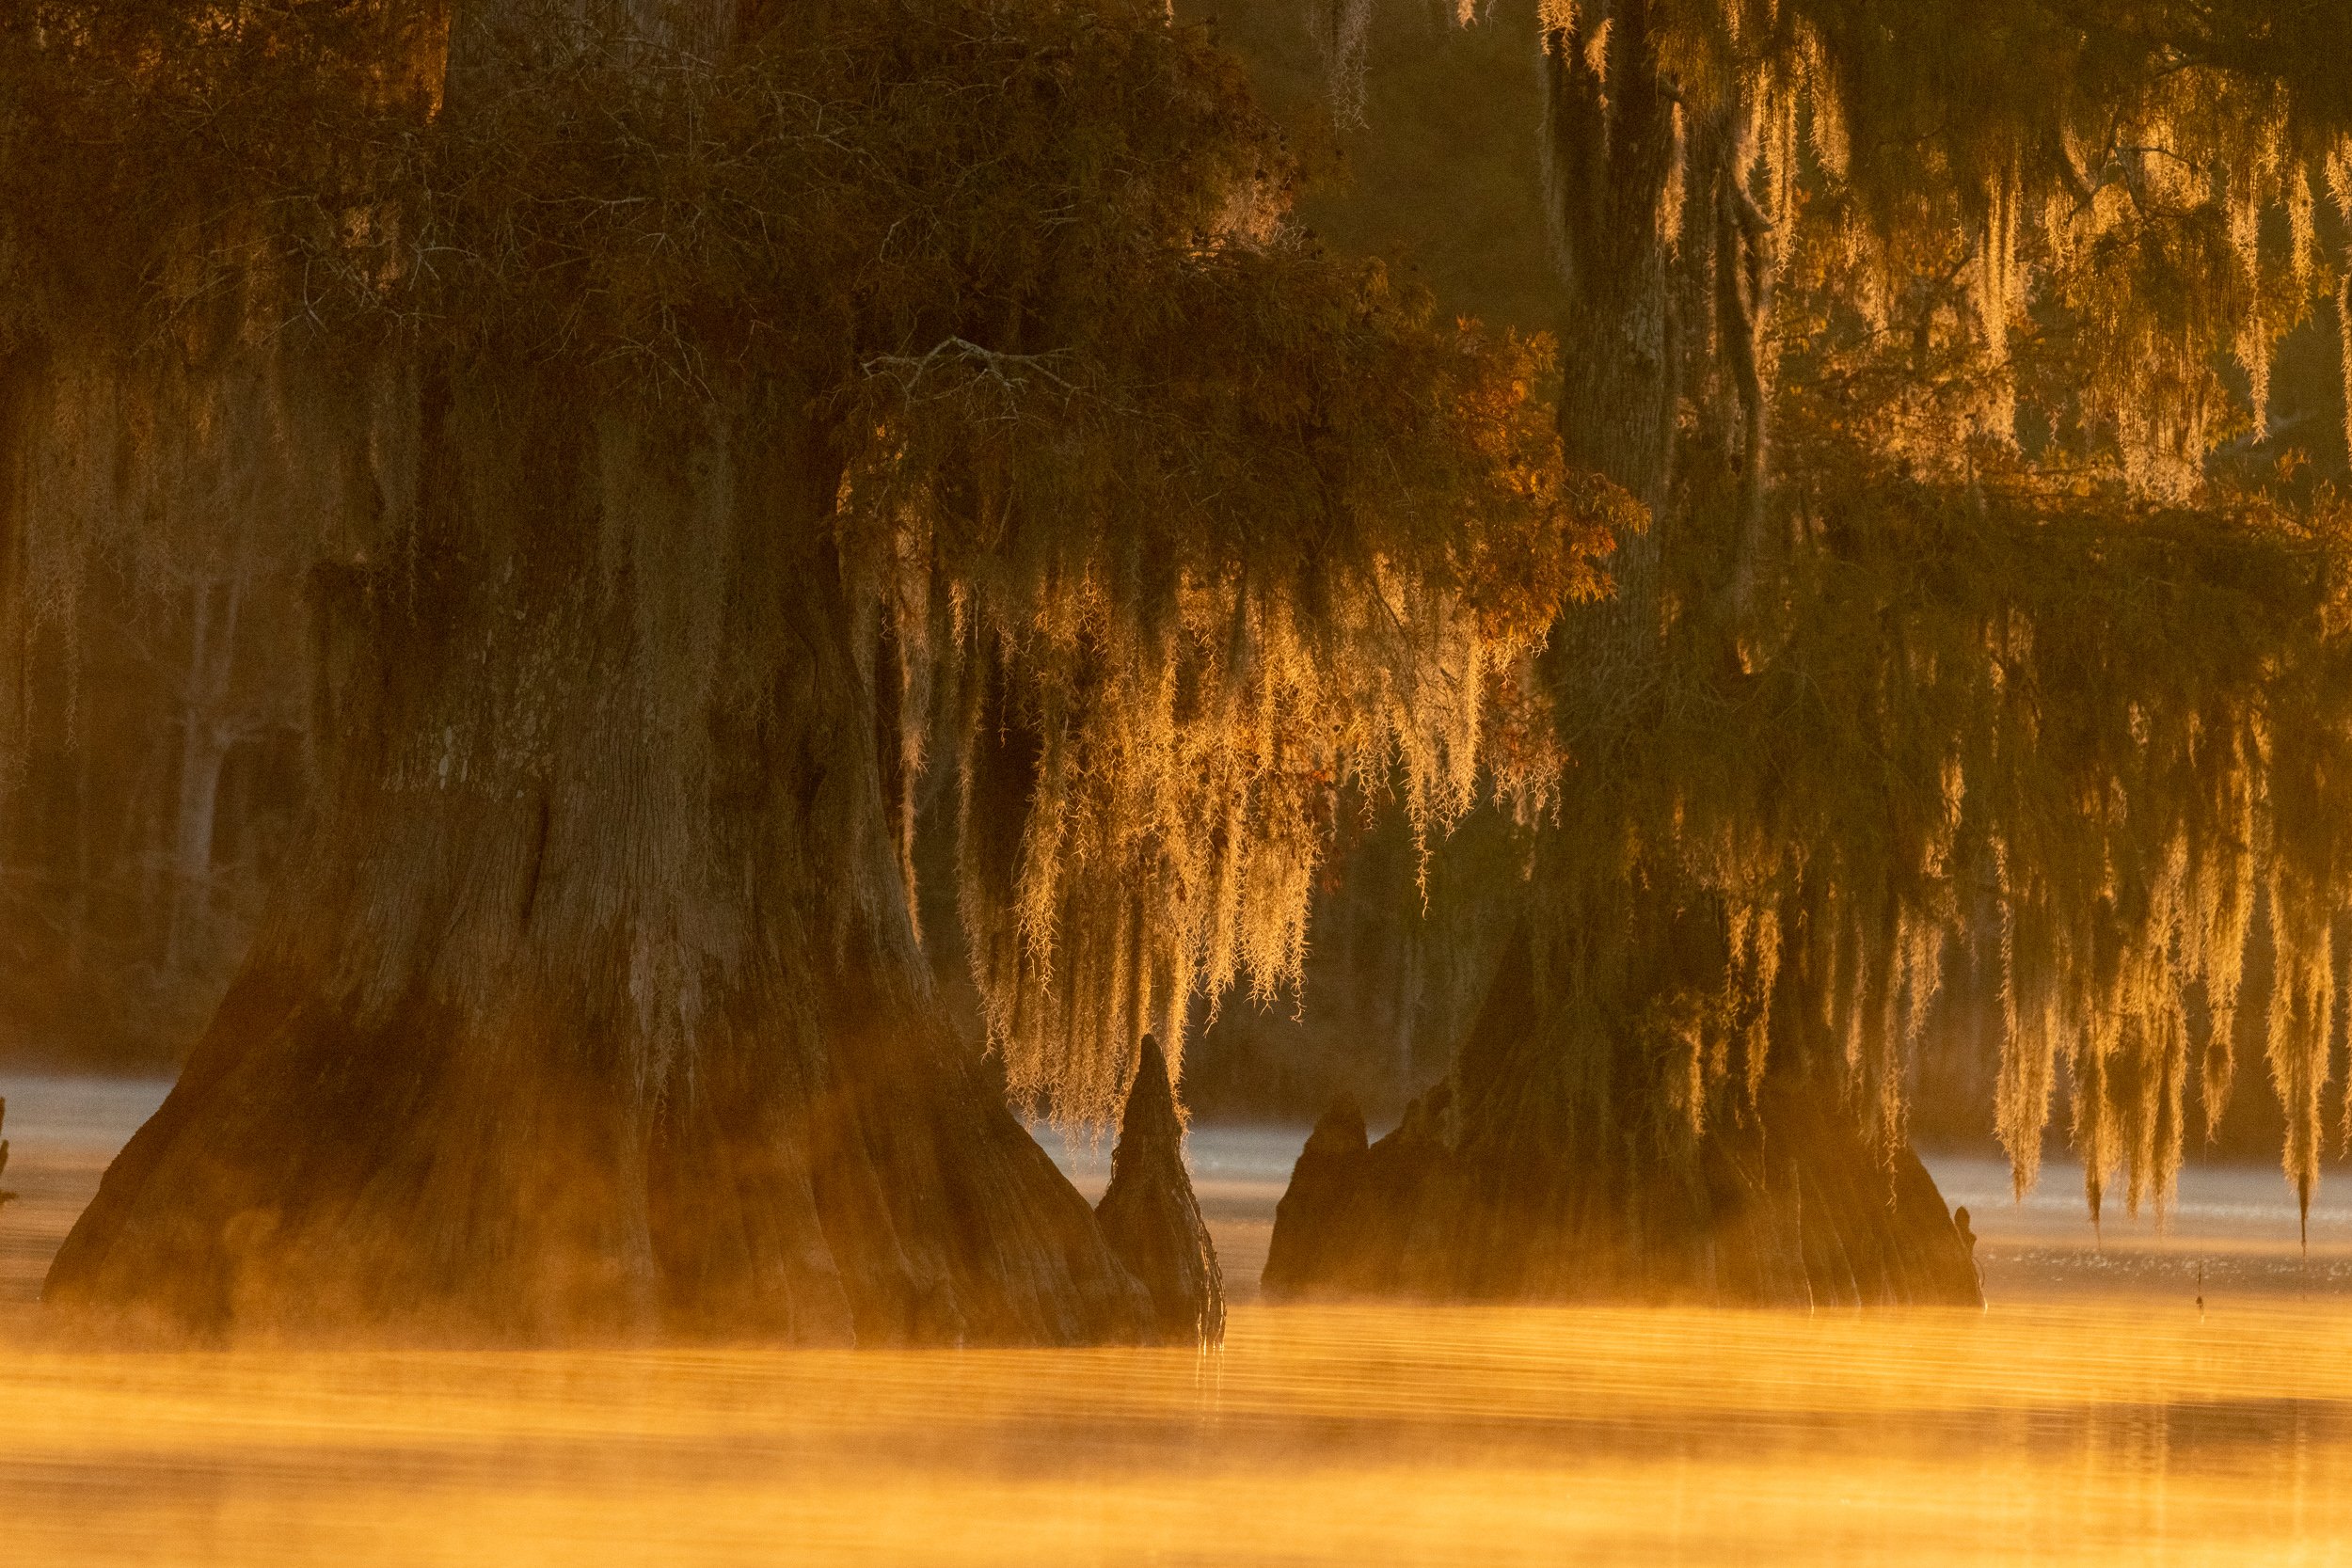
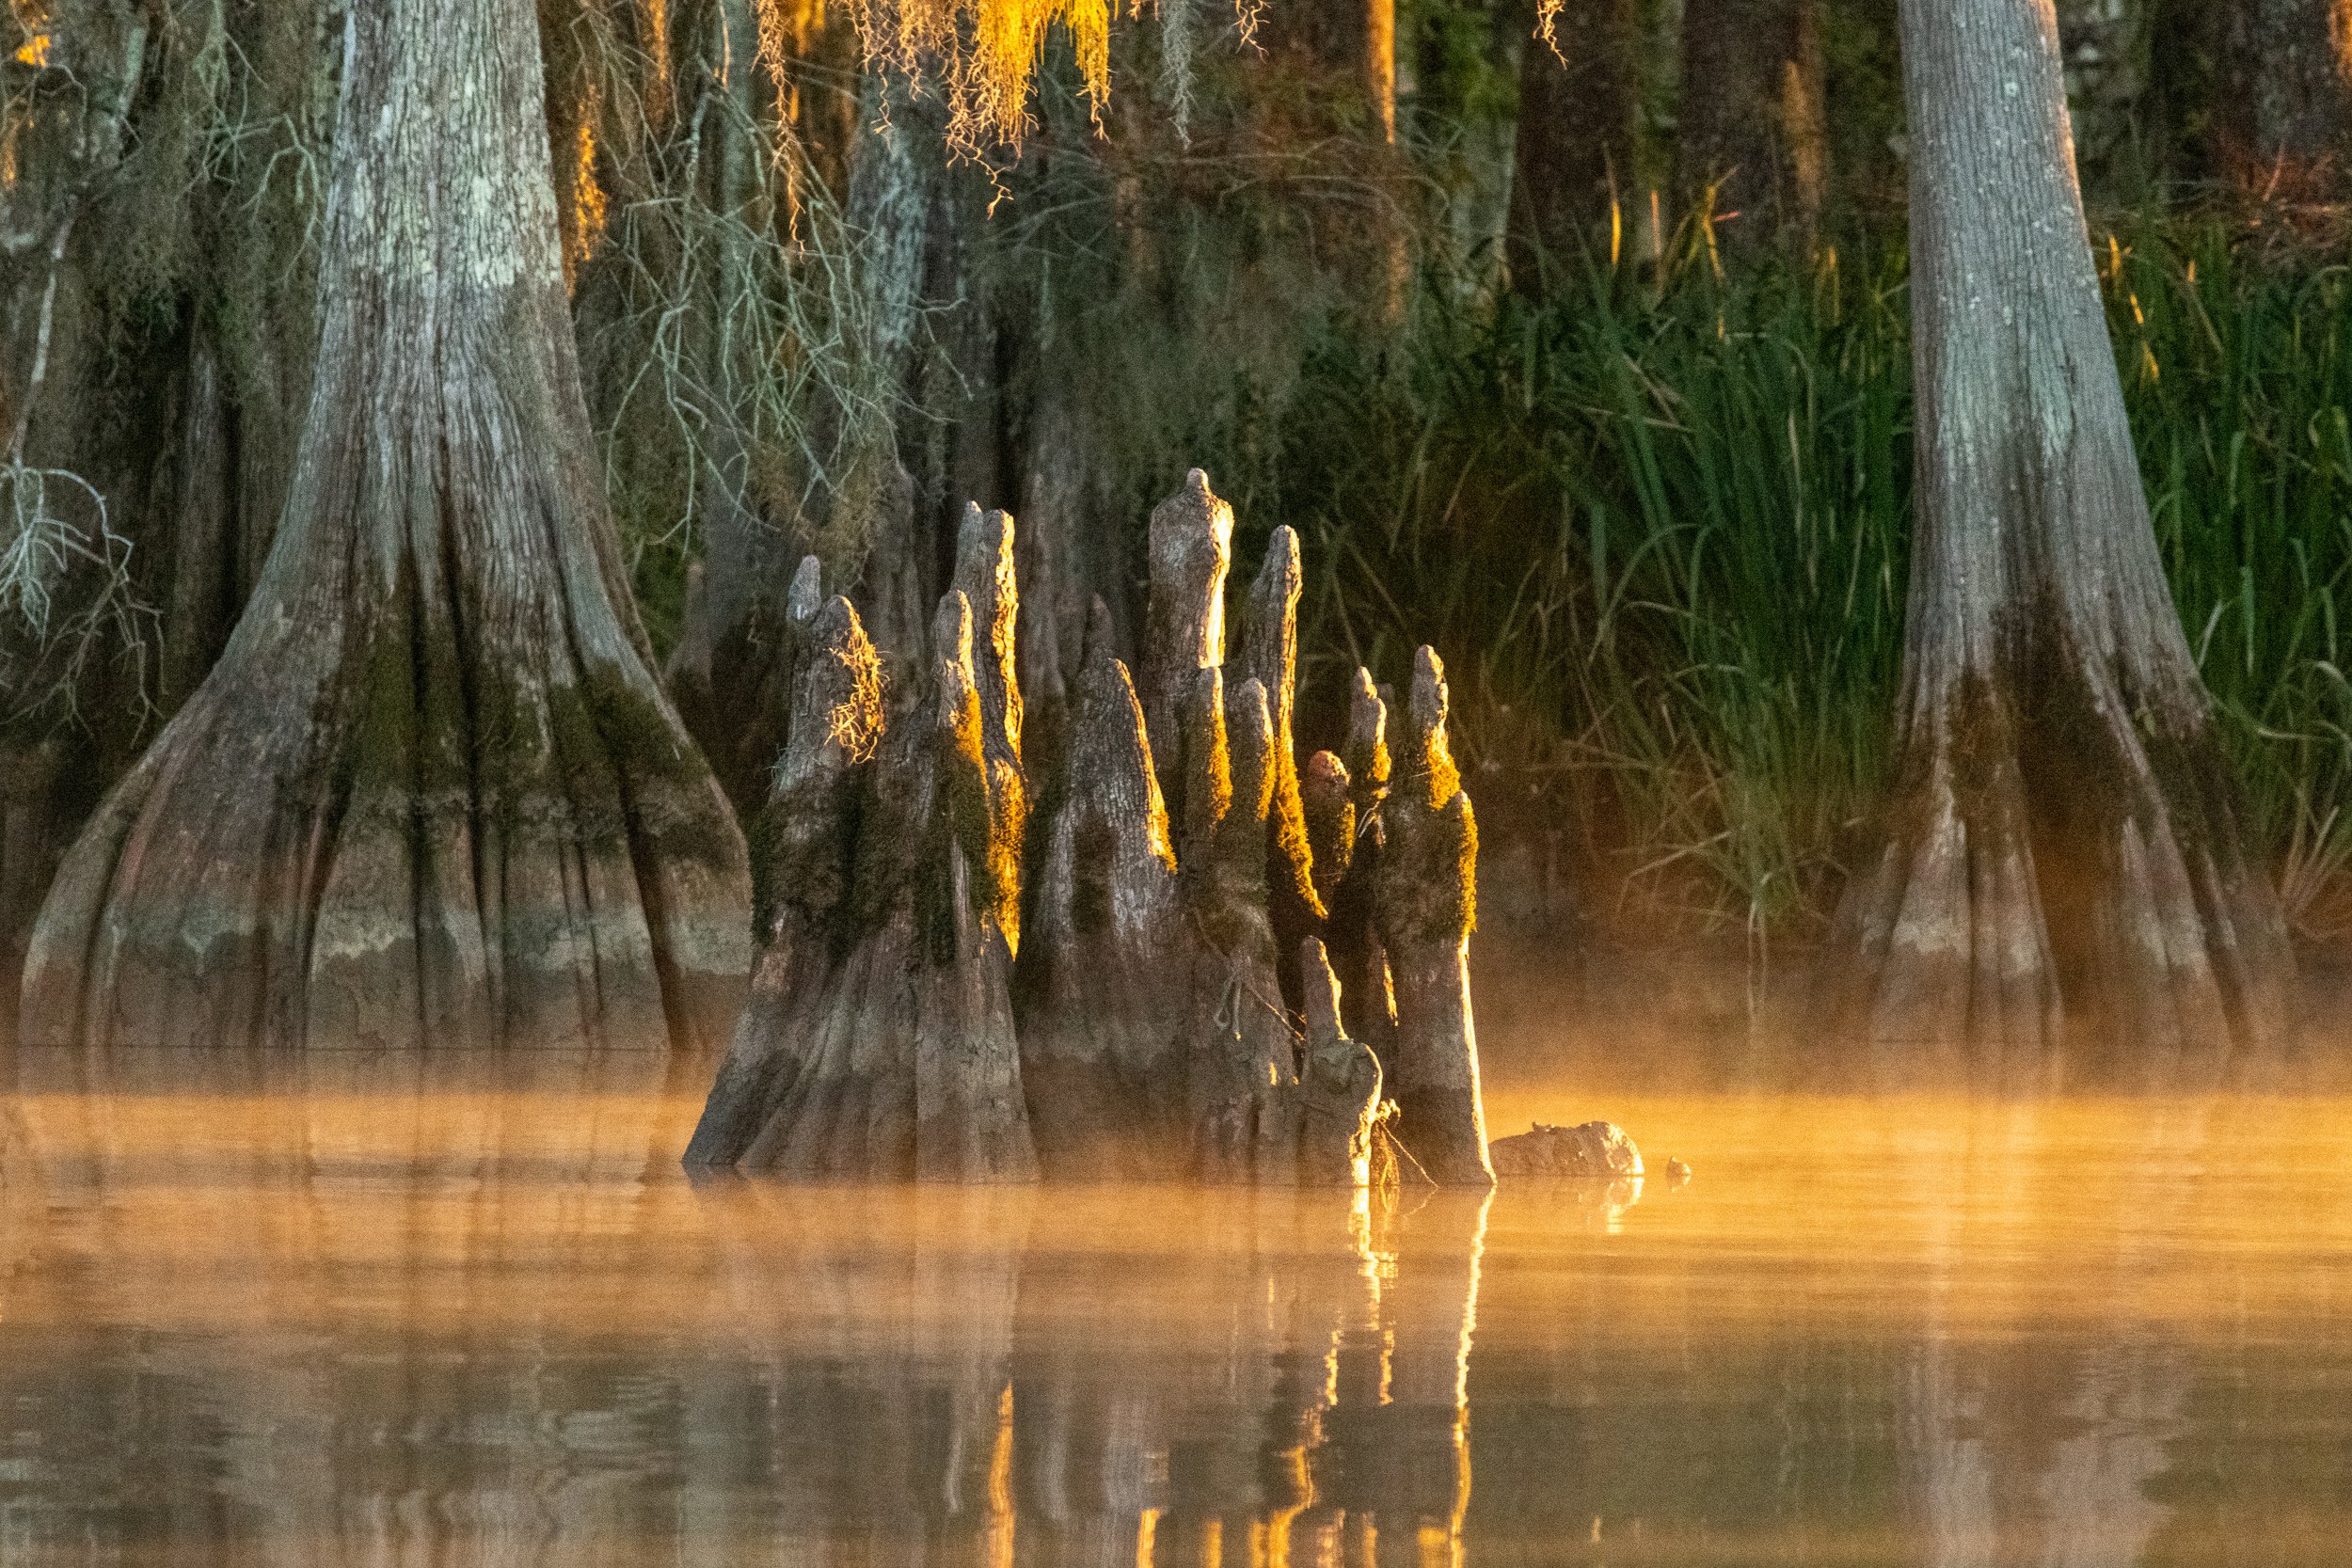
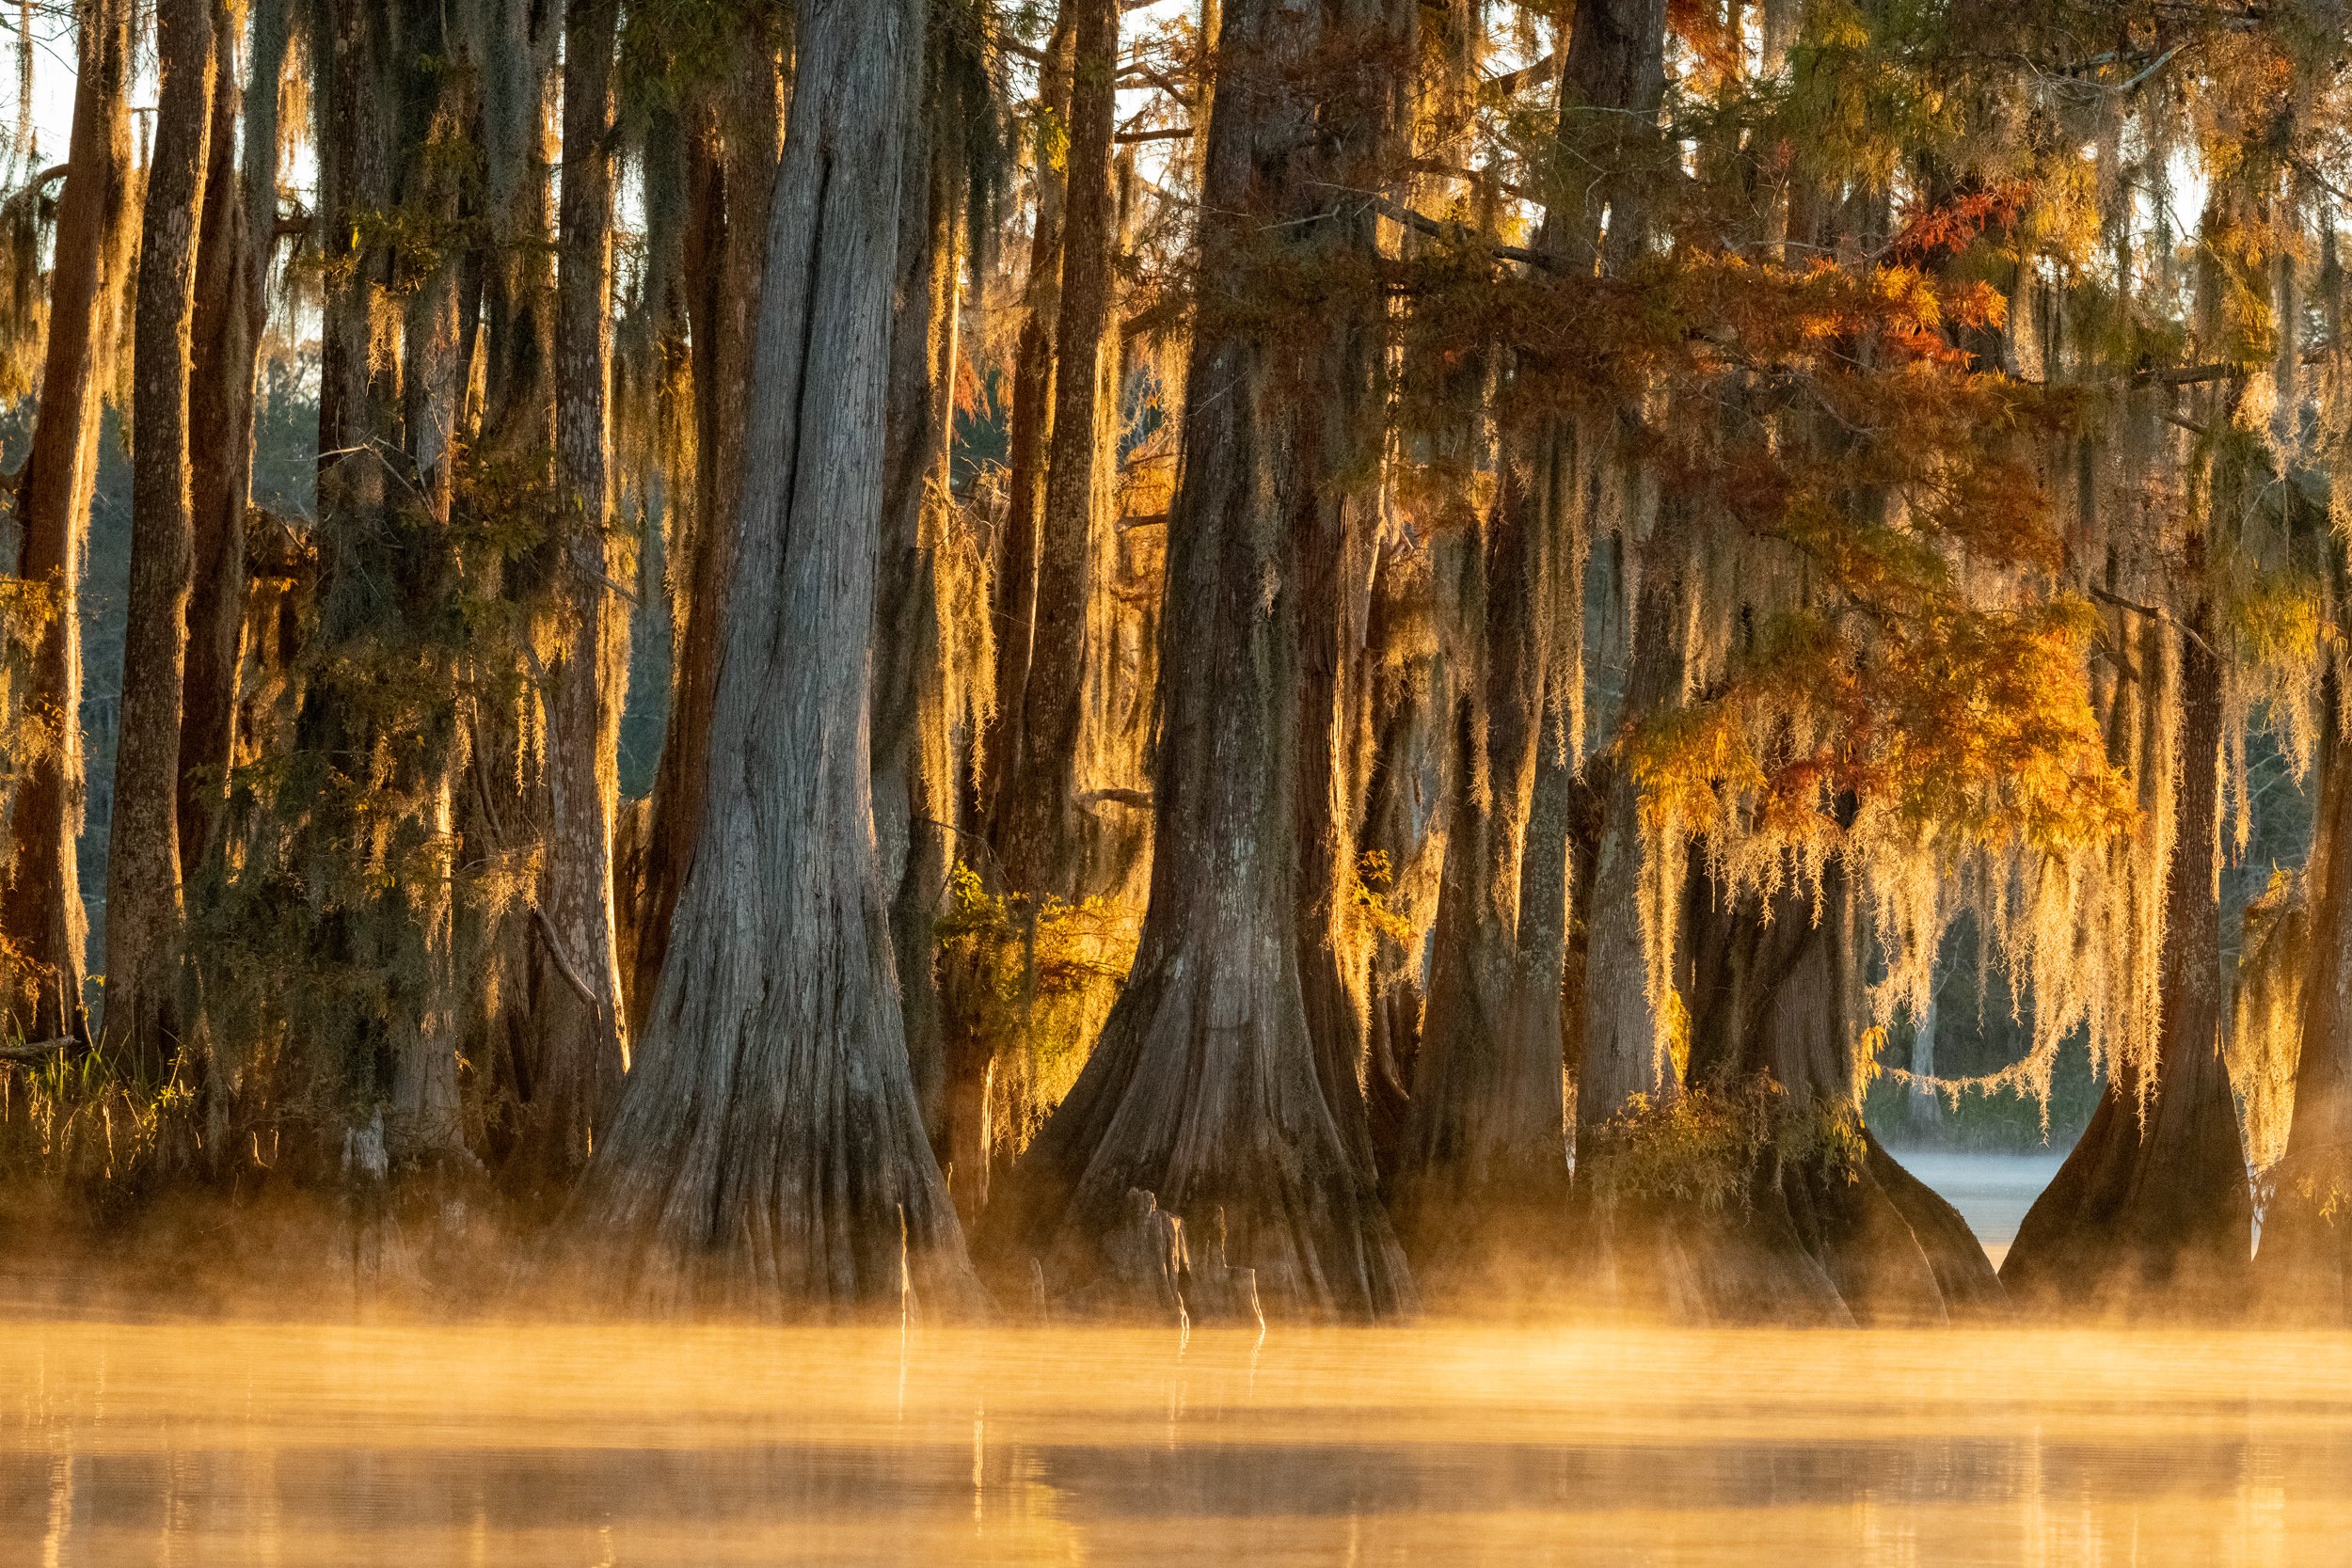
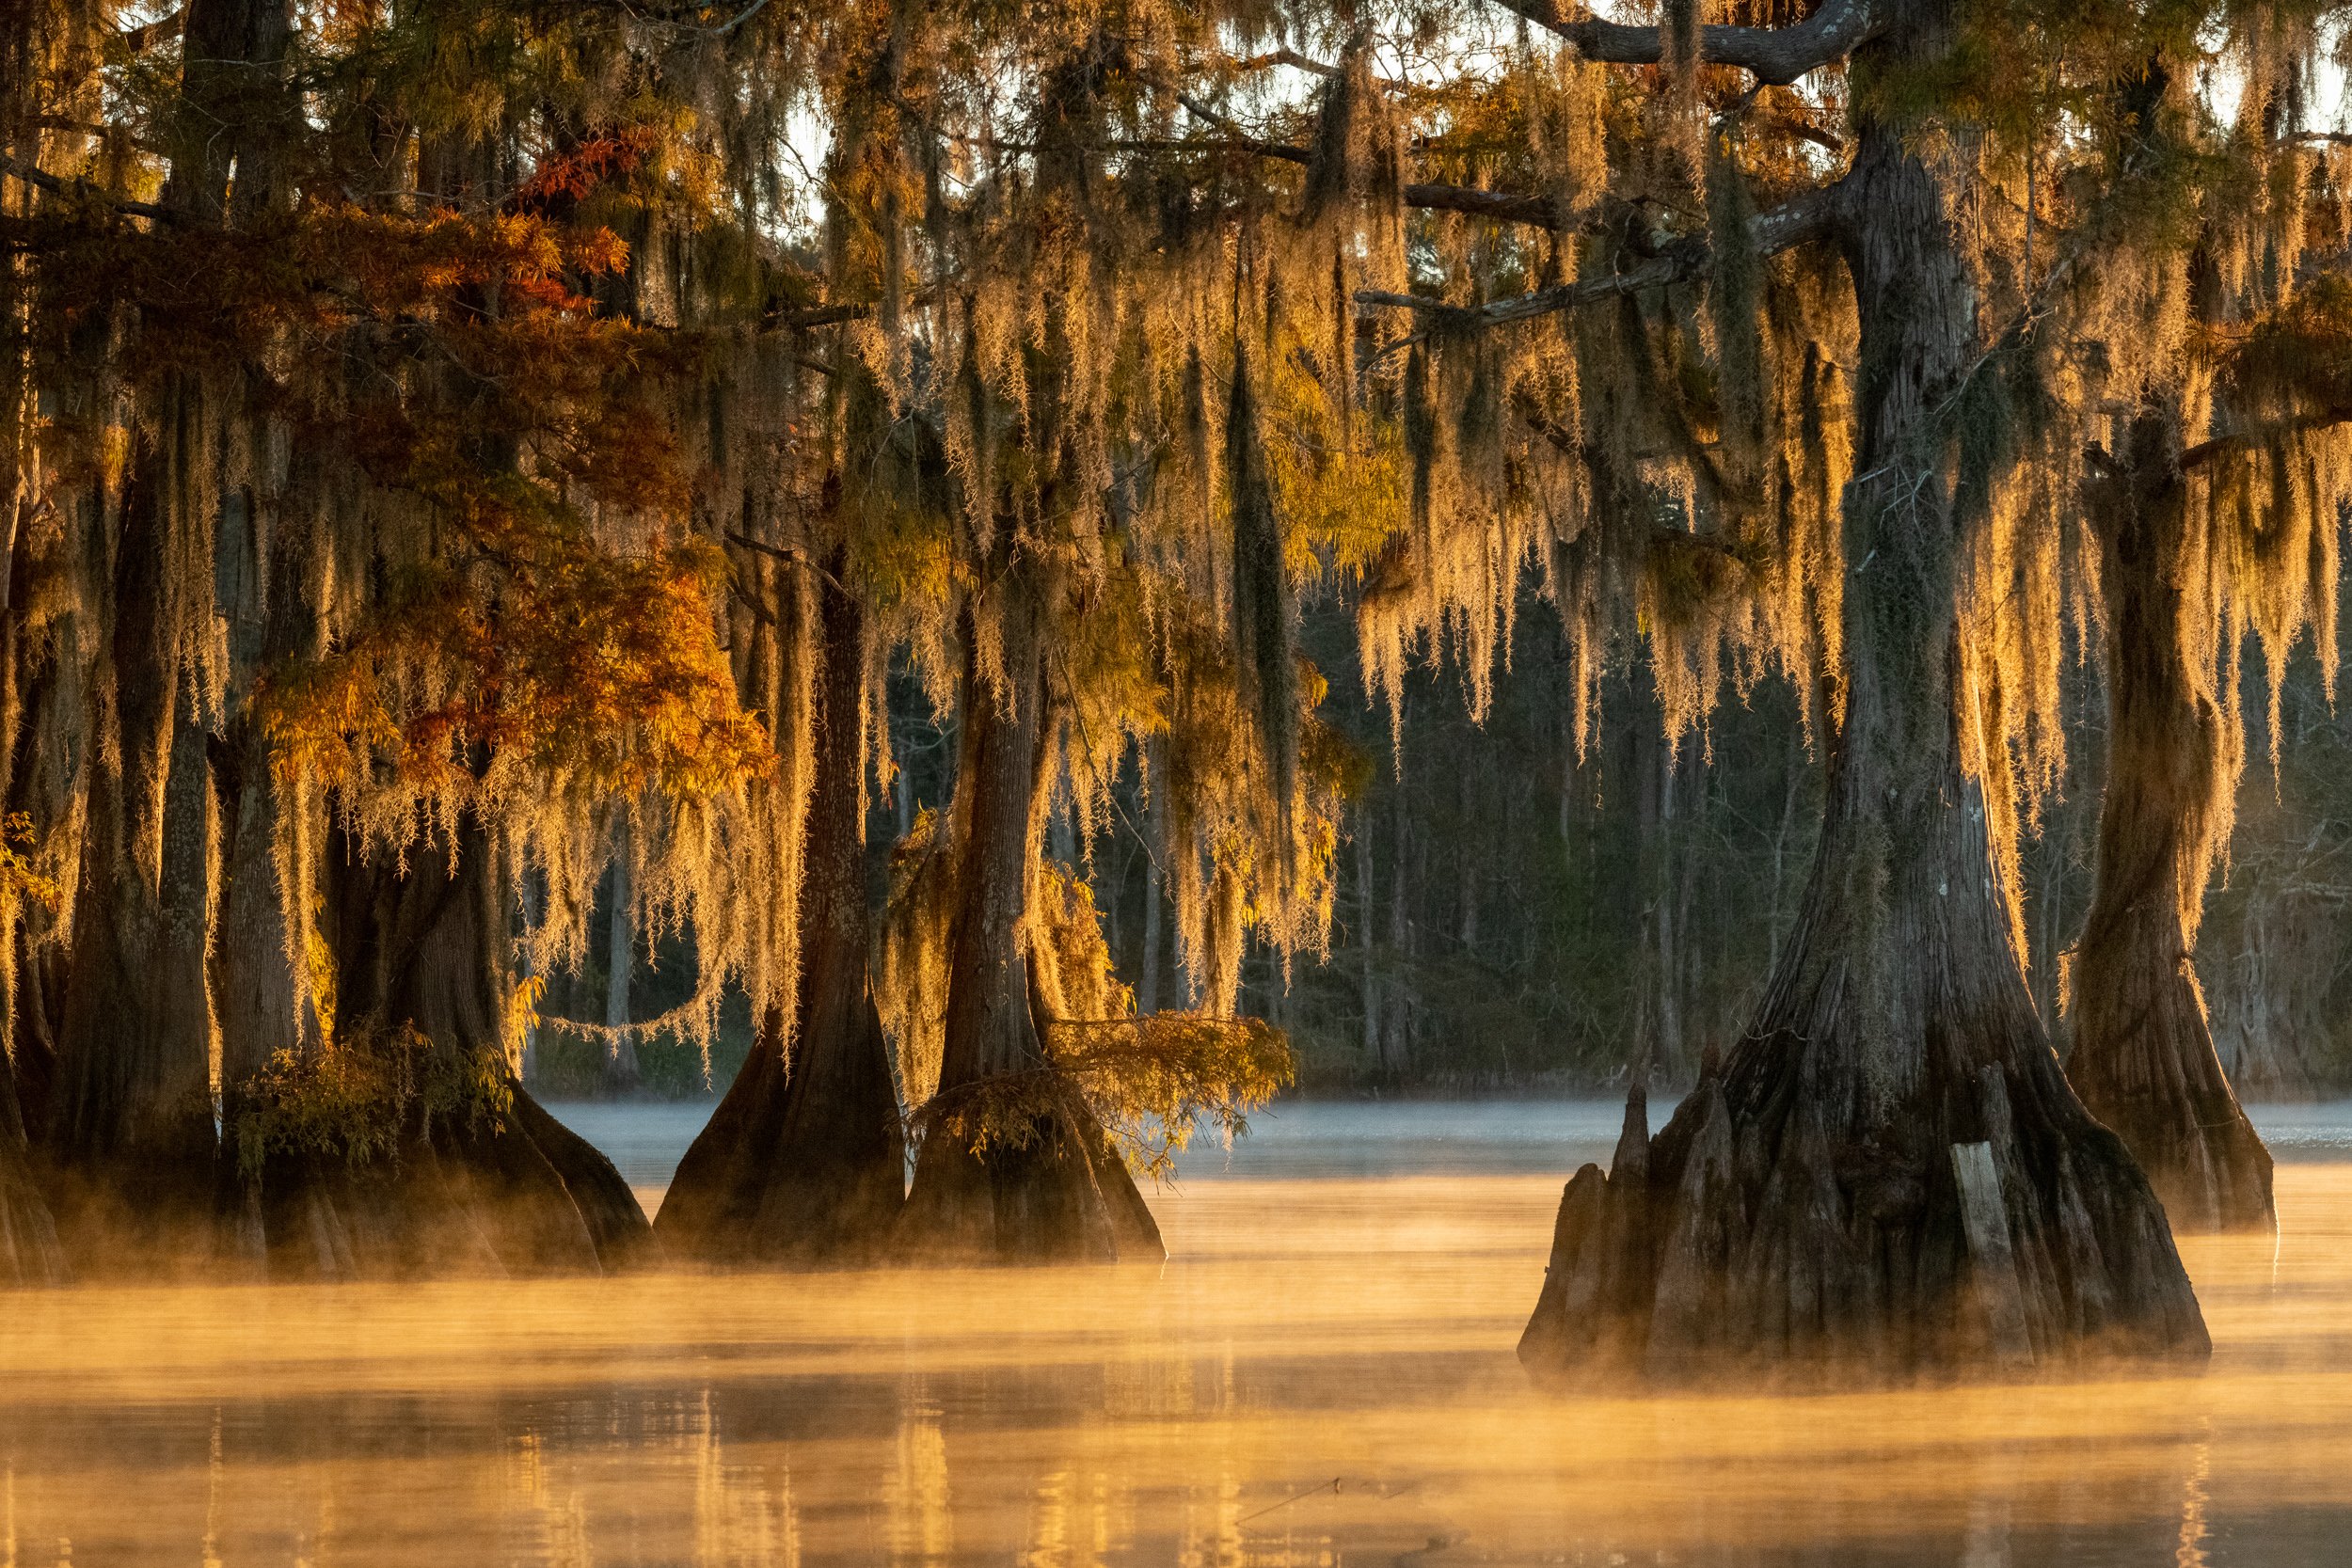
Now for some good news! We have captured many great images from the spring and fall tours on the boat in the lake. We also took beautiful cypress scene photos during the fall tours.
So for now, look elsewhere during the sping if you're not in a boat. Photography from the boat is still exceptionaly good. Fall Cypress and susnet photograph is as good as ever.
So, photography from the road probably needs to be improved; look elsewhere. Photographing from a boat is very good and worth the trip. Fall Cypress Scenes and Sunsets are still good options.

Alligator on a log–Lake Martin
If you found value in this post, please consider making a donation to help me continue publishing guides and field notes like this.

Images from this weeks photo tour
Here are a few images from this morning on our photo tour, enjoy.

Making and Processing a Black and White Image–Part III
Part III of a series on making and processing a black and white image.

St Eloi Church Theriot, Louisiana
Image Processing
Once you've got a color image optimized for the conversion, the fun begins. I processed the image in three ways to determine the best approach. First, I used Lightroom's LUT-based method, viewing each of the LUT presets and picking the one closest to my vision which was B&W12. Below is a screenshot of the selection process.

The LUT is selected on the 4 box icon on the right side of the Lightroom window

Scroll through and view the options and pick the best choice
This method has the advantage of allowing you to change the basic settings while viewing the black and white image. I was trying to optimize the sky for both contrast and the rays.
I also processed the image using Silver Efex Pro, producing a similar result. However, it was more tedious as I had to readjust the input file several times and reprocess it.
Finally, I used DXO Photolab 4 starting from scratch, using the raw file as the input. I was able to use Silver Efex Pro. I couldn't find a way to maintain the contrast in the sky with this method, but it may be possible to use some of the Nik Collection filters.
The best approach for me was Lightroom's LUT method. I found the key to the sky contrast was to adjust the Dehaze filter to my taste as I viewed the black and white image. The resulting image is below.

Processed Black and White Image
Next, I processed the brighter image, making it black and white using the same method and brightening the overall image, so the cross was very bright.

The image processed for a bright cross
Then I loaded both images into photoshop as layers as shown below.

From Lightroom use the Edit it > Open as Layers in Photoshop Command
I used the photoshop Command to Auto Align Layers as shown below

Use the Edit > Auto-Align Layers in Photoshop to correct for any camera movement between shots
Then I selected the Cross. I used the Polygon Lasso Tool and then the quick mask to clean up the selection.

Select the Cross, then clean up the selection with the Quick Mask Tool
I arranged the layers so the brighter layer is on top. Then, I created a layer mask with the "Selection Revealed" from the "Layer Menu".

I fine-tuned the final image by;
- Applying a "Curves Layer" to fine-tune the exposure in the sky.
- Using a "Dodge Layer" to accentuate the rays in the sky.
- Cloning out unwanted power lines on a merged duplicate layer.

Photoshop Layers for final image

Final Processed Image
If you found value in this post, please consider making a donation to help me continue publishing guides and field notes like this.